
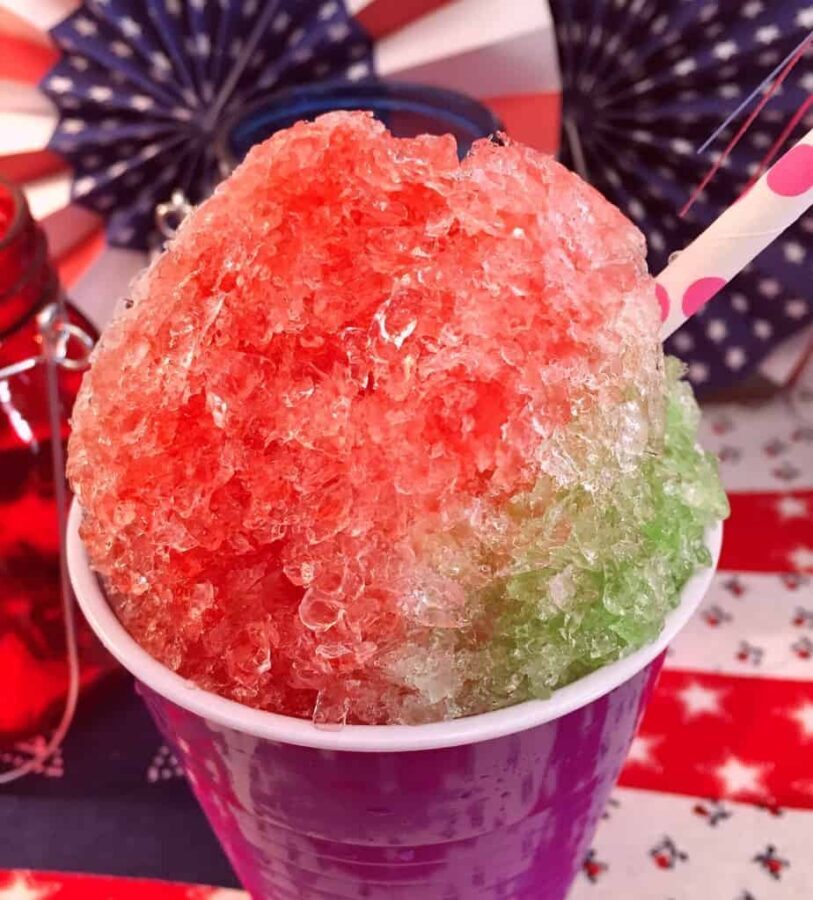
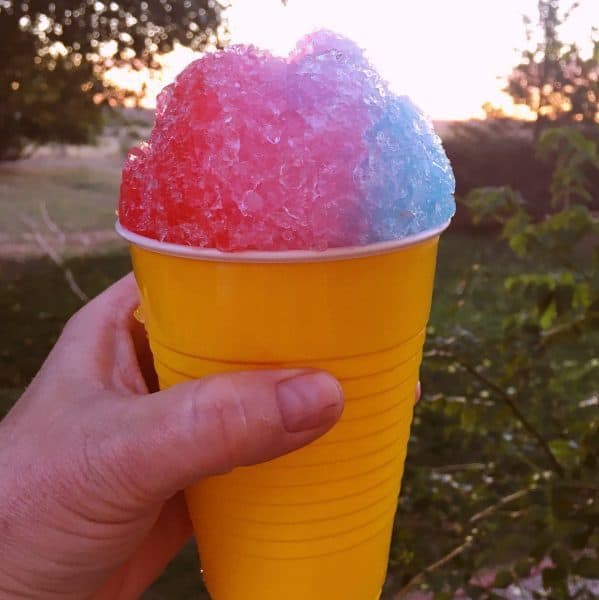
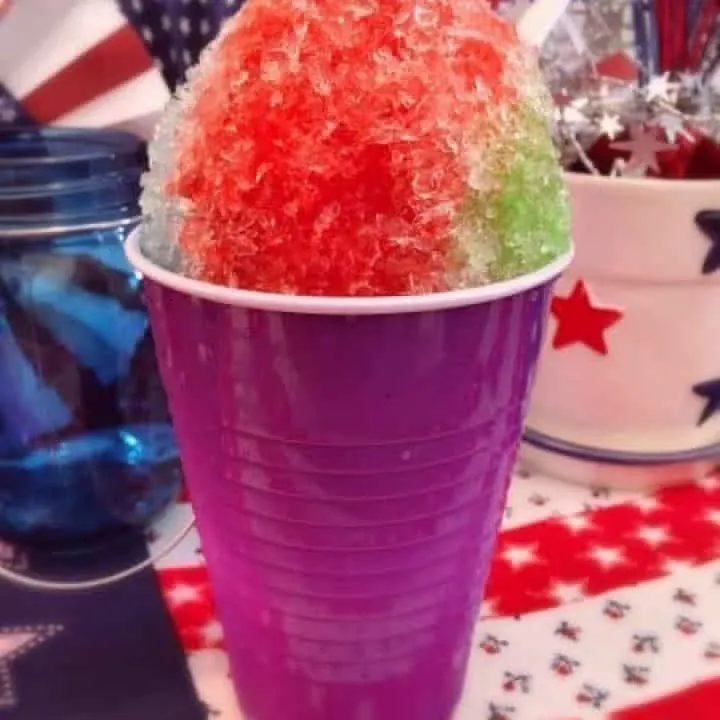
Homemade Snow Cones with 3 ingredients Syrup are a quick, easy summer treat that everyone will enjoy! You’ll never need to go to another shaved ice stand again! That makes Mom’s everywhere happy!!!
When the chicks were little at this nest… I wanted to teach them how to run a small business. The question was…what could my kids from ages 8-13 do to make money?
Then I stumbled upon a recipe for homemade snow cone syrup! We lived way out in the country with no snow cone stands insight. It was perfect! And different from the typical “Lemonade Stand”.
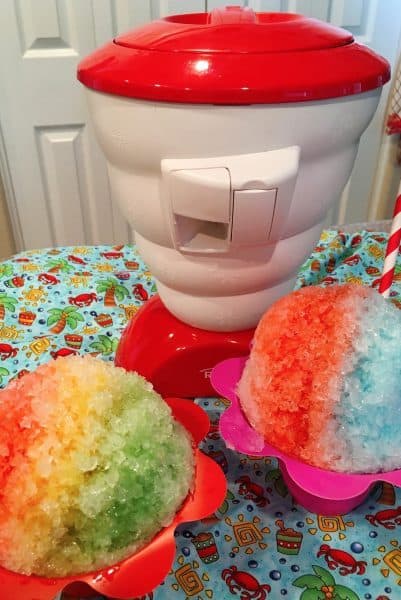
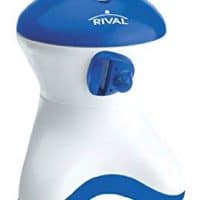
I bought a simple “Rival” snow cone machine from Walmart, (price point about $18.99). It uses regular ice… which is super handy. Also, this machine has safety features, so kids can use it.
I started out with 6 different flavors and the kids were in business.

I left it all up to them, except for making the syrups. They ran their snow cone business for 6 summers.
One summer, they sold snow cones as a fundraiser, to purchase women in Africa sewing machines, so they could start their own small businesses! It was a great, rewarding family experience and I highly recommend it!
The snow cone syrup is the easiest and BEST snow cone syrup EVER! (I’m an official snow cone connoisseur. It’s a title I’m very proud of and have been working on for over 45 years!)
How To Make Kool-aid Snow Cone Syrup
In a large sauce pan, add 2 cups of sugar. (Whoa! I know, I know…but we are making “simple syrup” and… Any good treat starts with sugar!)


Add 1 cup of water. (You want more sugar than water because it is a “syrup”.)
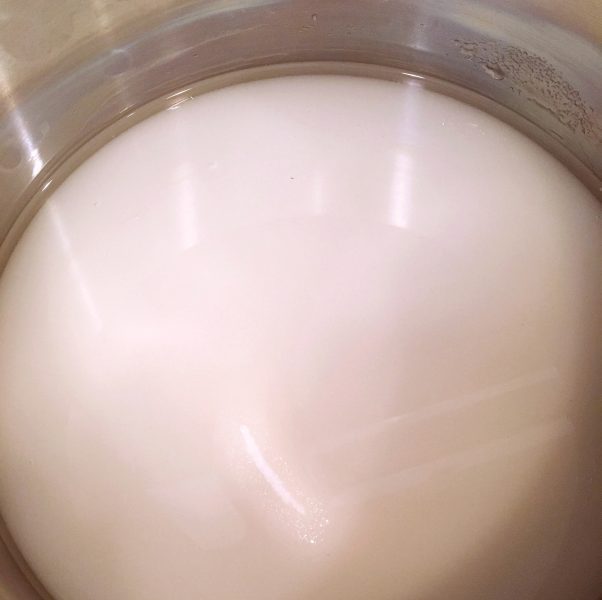
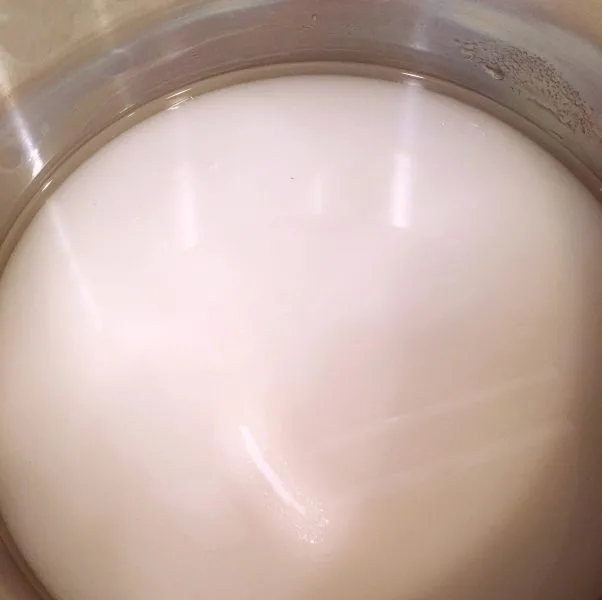
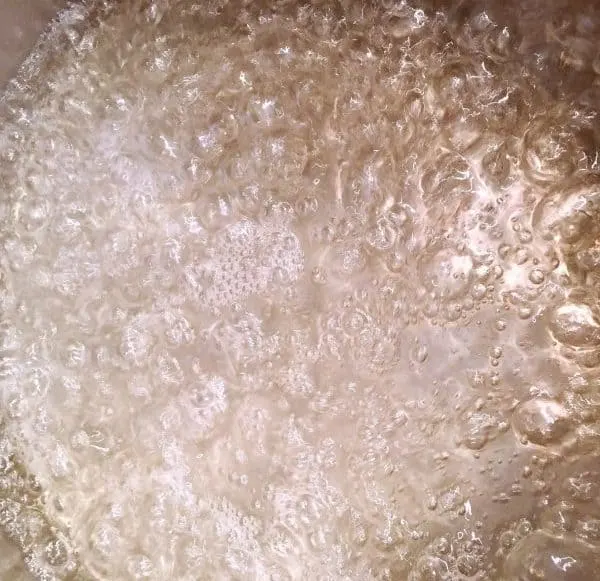
Bring the mixture to a boil over medium heat. (It’s like witches brew…only, SO much better cause there are no toads involved! Gross!)
Boil 1 minute, stirring occasionally, until all the sugar is dissolved!
Note: PLEASE put this mixture on the BACK burner so no little’s get burned! This is a VERY hot syrup!

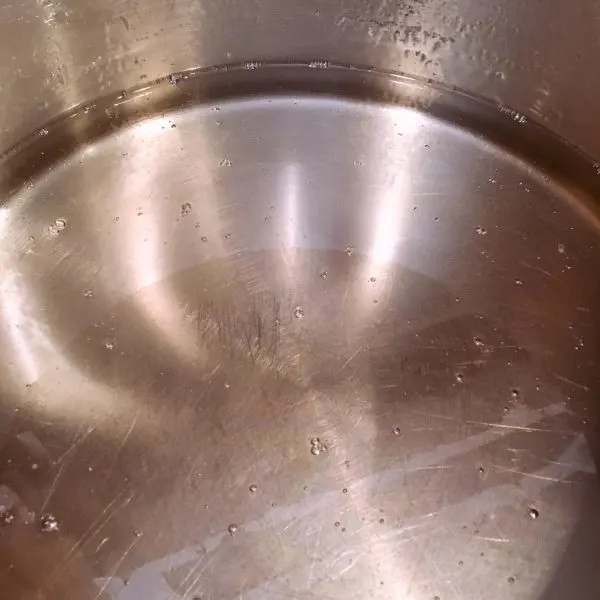
Turn off the heat and cool to Luke warm!
Tip: I triple the mixture! This way, I can make three different syrups at once.

How To Flavor Simple Snow Cone Syrup
If you make more than one batch… Use a ladle to scoop out 2 cups of warm syrup mixture into a large glass measuring dish or another glass mixing bowl.
Add one packet of…wait for it…KOOL-AID AID to each batch of syrup!
YES! Let’s hear it for the big ol’ happy jug of summer fun! Yep, Kool-aid makes the BEST snow cone syrup ever! It’s magical! (This is the only thing we ever used it for! It’s SO good!)
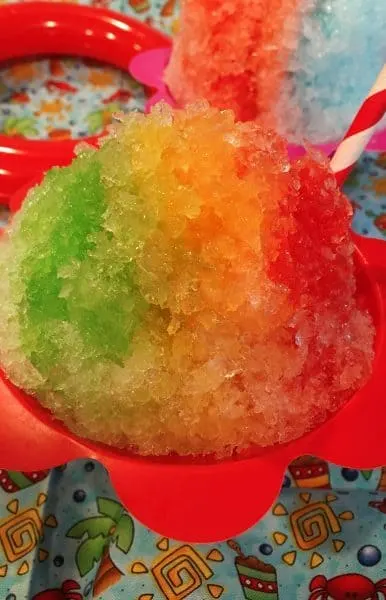
Some of our favorite flavors are watermelon, blue raspberry, cherry, lime, mango, and pink lemonade.
TIP: Now here’s my REALLY big TIP! If you want additional flavors like coconut, banana, and root beer, you can use flavoring extracts! Just add 2 teaspoons of any flavor extract you desire. Taste test. Depending on the extract, sometimes I had to add 3–4 teaspoons, but usually 2 did the trick. (You’ll smell like one big Popsicle! It’s like being your own wall flower scent! A dream come true!) You may want to add a drop of yellow food color to the banana.
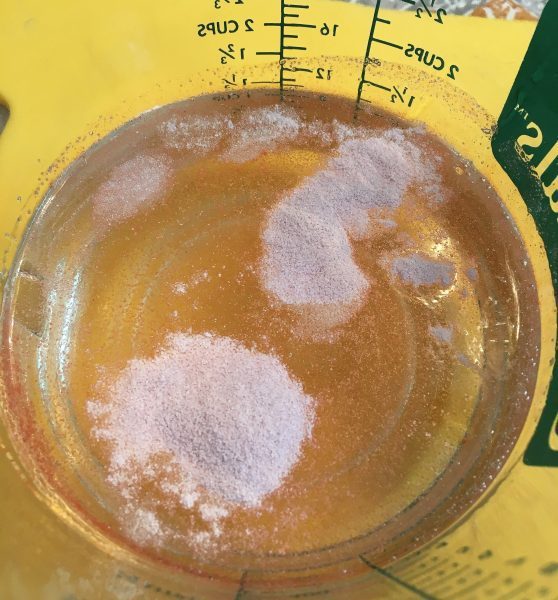
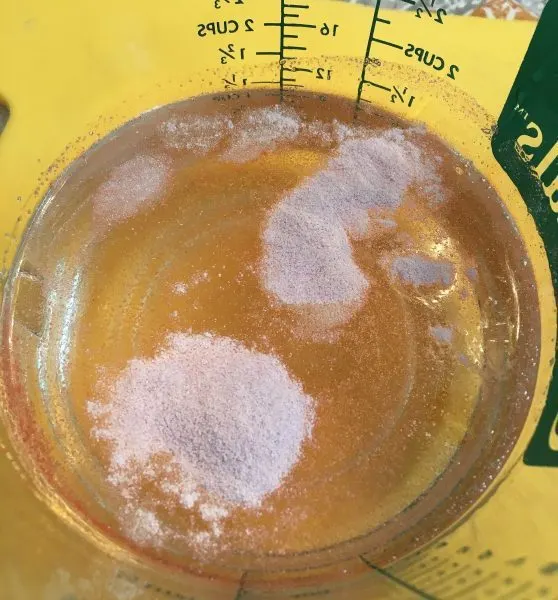
Mix the flavoring into the clear syrup until well blended. Allow the syrups to cool completely before using. (Unless you just want kool aid syrup in water…just another helpful hint…ice doesn’t like anything hot! Like me! Unless it’s Tom Selleck! I’m suddenly having a hot flash!)
How To Bottle Snow Cone Syrup
We used empty cleaned out water bottles and repurposed purchased syrup bottles. Anything the size and shape of a water bottle will work. Use a funnel to pour syrups into water bottles and have someone hold that bottle! I’m speaking from experience. Snow cone syrup + kitchen floor…NOT GOOD!

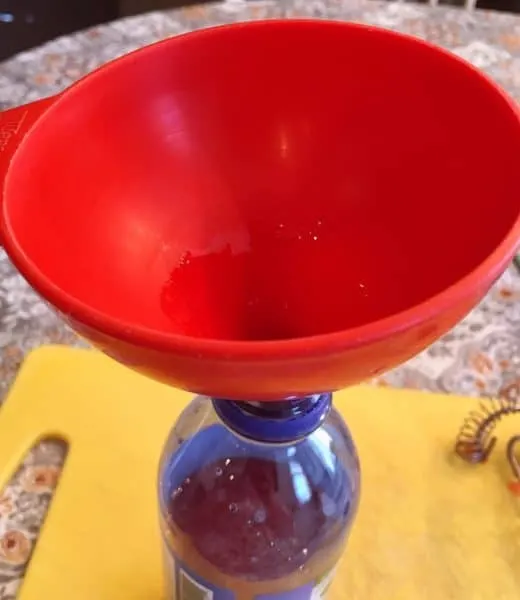
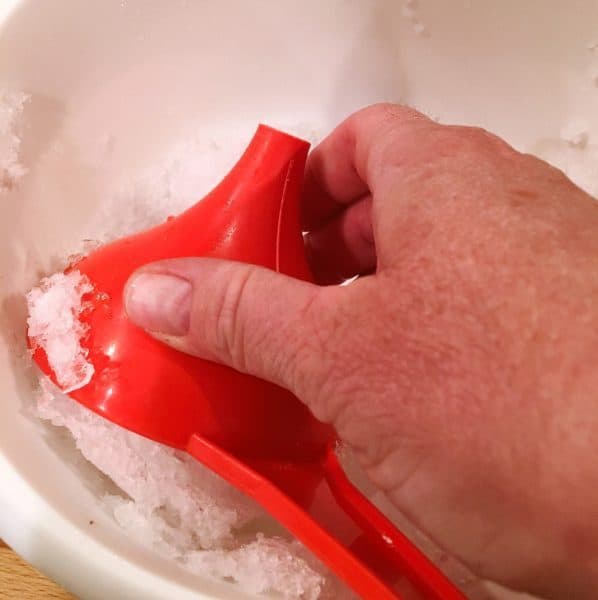
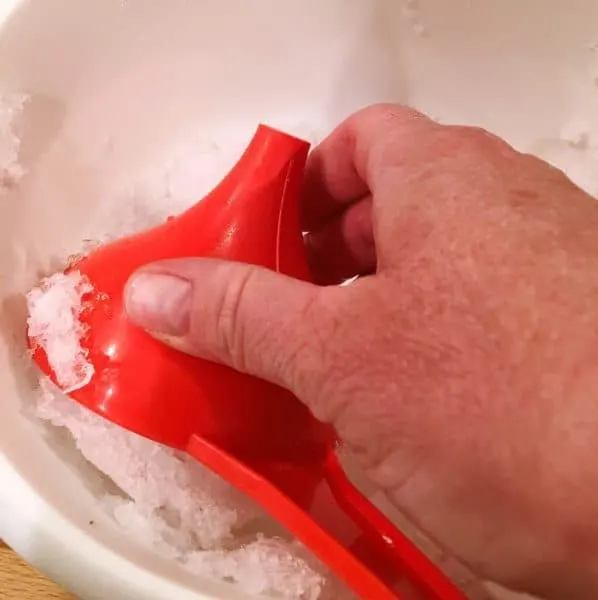
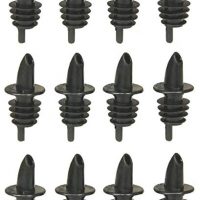
TIP: Use Plastic Liquor Pour Sprouts. You can find them at Walmart, Home Depot, etc. A dozen usually run about $5.00. They fit snugly in the opening of a water bottle and allow the syrup to flow freely.
How To Make Perfect Homemade Snow Cones

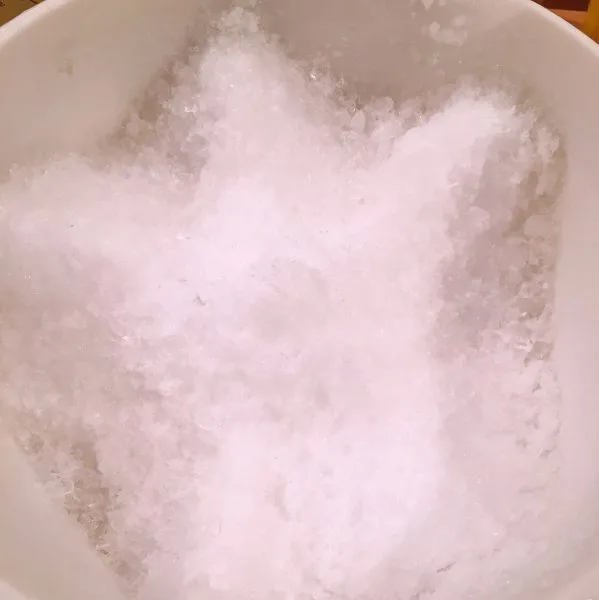
To make the snow cones, shave the ice from your snow cone machine into a bowl. If it’s 103° out you may want to skip the rest of the steps and just face plant it into this bowl! (No judgment here friends!)

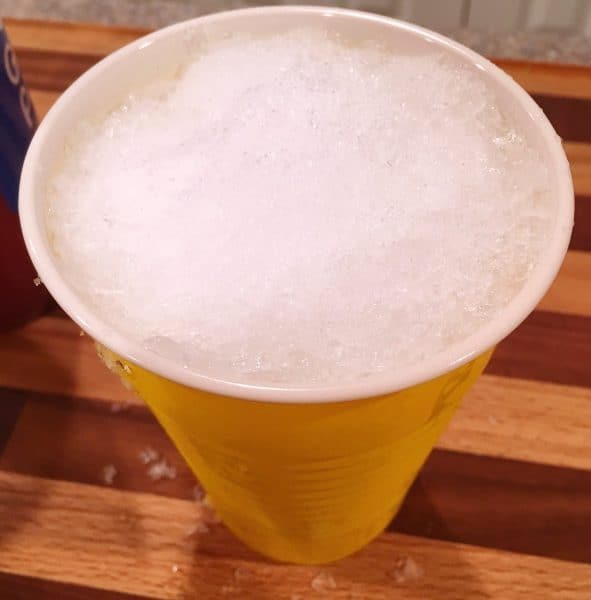
Fill a cup with ice to the rim. Be sure to pack it down slightly. If you pack it too tightly, the syrup will not filter down through the packed ice. Pack it, but not too tight. (Think awful face lift tight! Don’t go that far!)

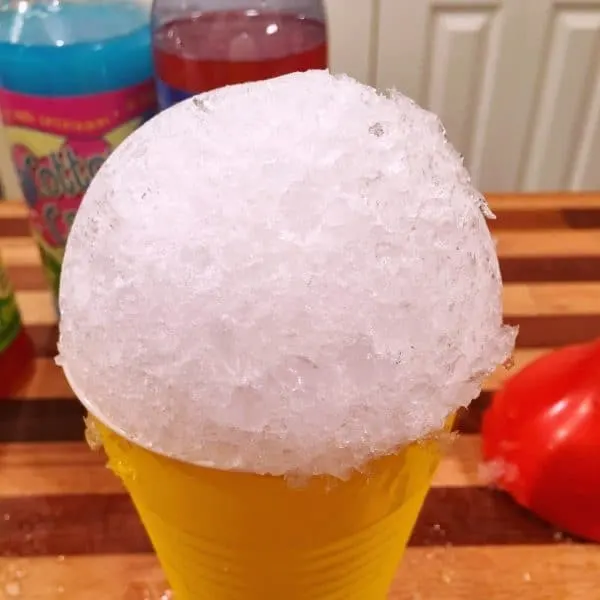
Now to make the nice rounded tops, we use a Tupperware funnel. It works perfectly! Fill the funnel with shaved ice. Again, packing it slightly.
Place on top of an ice-filled cup. Press down firmly and move the funnel back and forth to create the perfect rounded top!

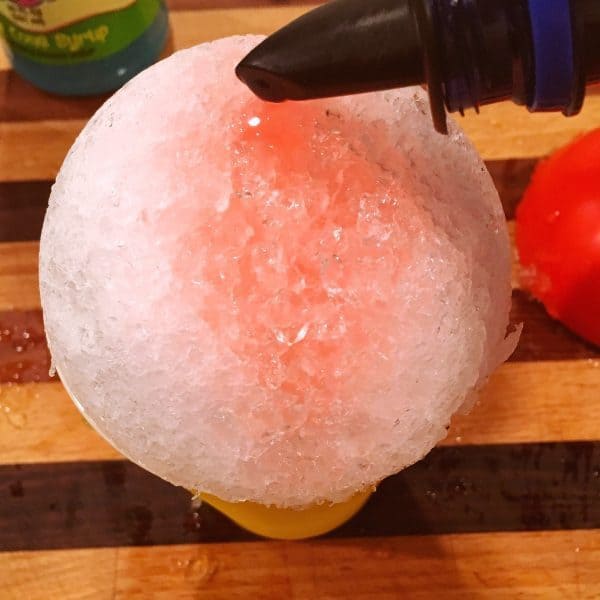
Pour the syrup slowly and carefully over the top of the snow cone until you have the desired amount.
We’re a crazy rainbow family! Why? just have one color when you can have multiple? So I started out with watermelon…
Then we added cherry and blue Raspberry! It was basically… Snow Cone PERFECTION!

Even as a kid, when the ice-cream man came through the neighborhood playing his magical music… I always buy a “snow cone” with my quarters! They have been my favorite summer treat for as long as I can remember.
I love how they instantly cool you down and the happy colors! There’s nothing better than the fun flavors of summer! It is truly happiness in a cup! Basically… I LOVE SNOW CONES!


Want to see your kids smile this summer and save a few $$$ on summer treats? Make these delectable fun easy treats!
One last BIG TIP…want Tiger Blood? Mix cherry and coconut together! Mind-blowing!!! This will be the BEST Tiger Blood you’ve ever slurped! Try it!
Enjoy this cool yummy summer treat, friends! I’ve been making them this summer for the grandkids. Yep…the grandkids! That’s my story, and I’m sticking to it! (Don’t mind my rainbow-colored tongue…it happens to all snow cone lovers! Lol)

Great Summer Frozen Treat Recipes!
- White Chocolate Raspberry Milk Shake Recipe
- Mint Fudge Asphalt Pie Recipe
- Cherry Chocolate Chip No-Churn Ice Cream
- Orange Creamsicle Frozen Dessert
- Frozen Chocolate Covered Banana’s
- Creamy Mocha Frozen Dessert from Taste of Home
Thanks for stopping by! The easy FREE printable recipe is below! Enjoy and stay cool!
Happy Nesting!

Homemade Snow Cones

This 3 Ingredient Homemade Snow Cone Syrup is the BEST and so easy to make. You'll have delicious tasty treats all summer long!
Ingredients
- 4-5 Cups Shaved Ice
- 2 Cups Sugar
- 1 Cup Water
- 1 envelope of your favorite flavor of Kool Aid
Instructions
- In a large sauce pan add 2 cups of sugar and 1 cup of water. Bring to a boil over medium high heat stirring occasionally. Boil for 1 minute.
- Cool to Luke Warm.
- Add one package of Kool Aid. Mix well. Cool completely.
- Place in clean used water bottle and top with plastic liquor spout.
- Shave ice in Snow Cone Maker.
- Lightly pack shaved ice into a cup. Carefully pour homemade syrup over ice.
Notes
*Prep time includes "cooling" time.
** You can make additional flavors by substituting Kool Aid for 2-3 teaspoons of extract flavorings. i.e.: Coconut, Banana, Root Beer.
Recommended Products
As an Amazon Associate and member of other affiliate programs, I earn from qualifying purchases.


Nutrition Information:
Yield:
10 servingsServing Size:
1/8 to 1/4 cup of syrupAmount Per Serving: Calories: 218Total Fat: 0gSaturated Fat: 0gTrans Fat: 0gUnsaturated Fat: 0gCholesterol: 0mgSodium: 11mgCarbohydrates: 56gFiber: 0gSugar: 51gProtein: 0g
Tina
Thursday 7th of September 2023
Hi, I'm confused how the recipe starts w 1 cup water, but you ladel out 2cups of syrup. I know u triple the recipe bit even then there wouldn't be 2 cups of syrup for each 3 flavors. I apologize if I'm misunderstanding something. To be honest, I just made my syrup. It's cooling now (1 cup water, 1.5 cups sugar). It just tastes so sweet, & doesn't seem to be alot at all. I guess I'm comparing it to the actual Kool Aid drink directions that add another cup of water. ??? But we don't want they bc we want it to be a syrup, not a drink, right? Lol.
[email protected]
Thursday 7th of September 2023
Hi Tina, For simple syrup, which is what we are making before adding the Kool Aid, it is always a 2 to 1 ratio. So for 1 cup of water you add 2 cups of sugar. In the recipe post I state that I triple the recipe and this gives me enough syrup to make 3 different flavors of syrup, 2 cups per flavor. I apologize for the confusion. The recipe card is for one single batch of syrup. The syrup is supposed to be sweet because we are adding it to a LOT of frozen water. Lol. You are right we want a syrup and not a drink. It also doesn't take much to make a flavored snow cone. I hope you enjoy this recipe. It really is my favorite snow cone syrup. Enjoy! Norine
Best Ice Crushers for Party and Home Use in 2021 - Kitchen Gadgetful
Saturday 11th of September 2021
[…] ice crusher is not only suitable for making snow cones and frozen drinks at home. Thanks to its incredible efficiency, this crusher is ideal for producing […]
Alex
Friday 14th of May 2021
hahaha You cracked me up with your jokes...I'll try this out.
[email protected]
Monday 17th of May 2021
Hi Alex! I'm glad I made you smile! Enjoy this recipe. It's my very favorite for snow cone syrup! Come back again soon! Norine
Mommabear
Sunday 12th of July 2020
I did 1 cup sugar, one cup water and 1 koolaid packet. Definitely sweet enough with less sugar!!!
[email protected]
Wednesday 15th of July 2020
Hi! Thanks for sharing...The extra sugar just gives it a more consistent "syrup" texture. Nice to know that it's sweet enough with less sugar. Always a plus for all of us! Thanks for stopping by and stay cool! Whew...this heat calls for snow cones! Happy Nesting! Norine
Frozen Chocolate Covered Banana's | Norine's Nest
Friday 24th of May 2019
[…] Homemade Snow Cones […]