
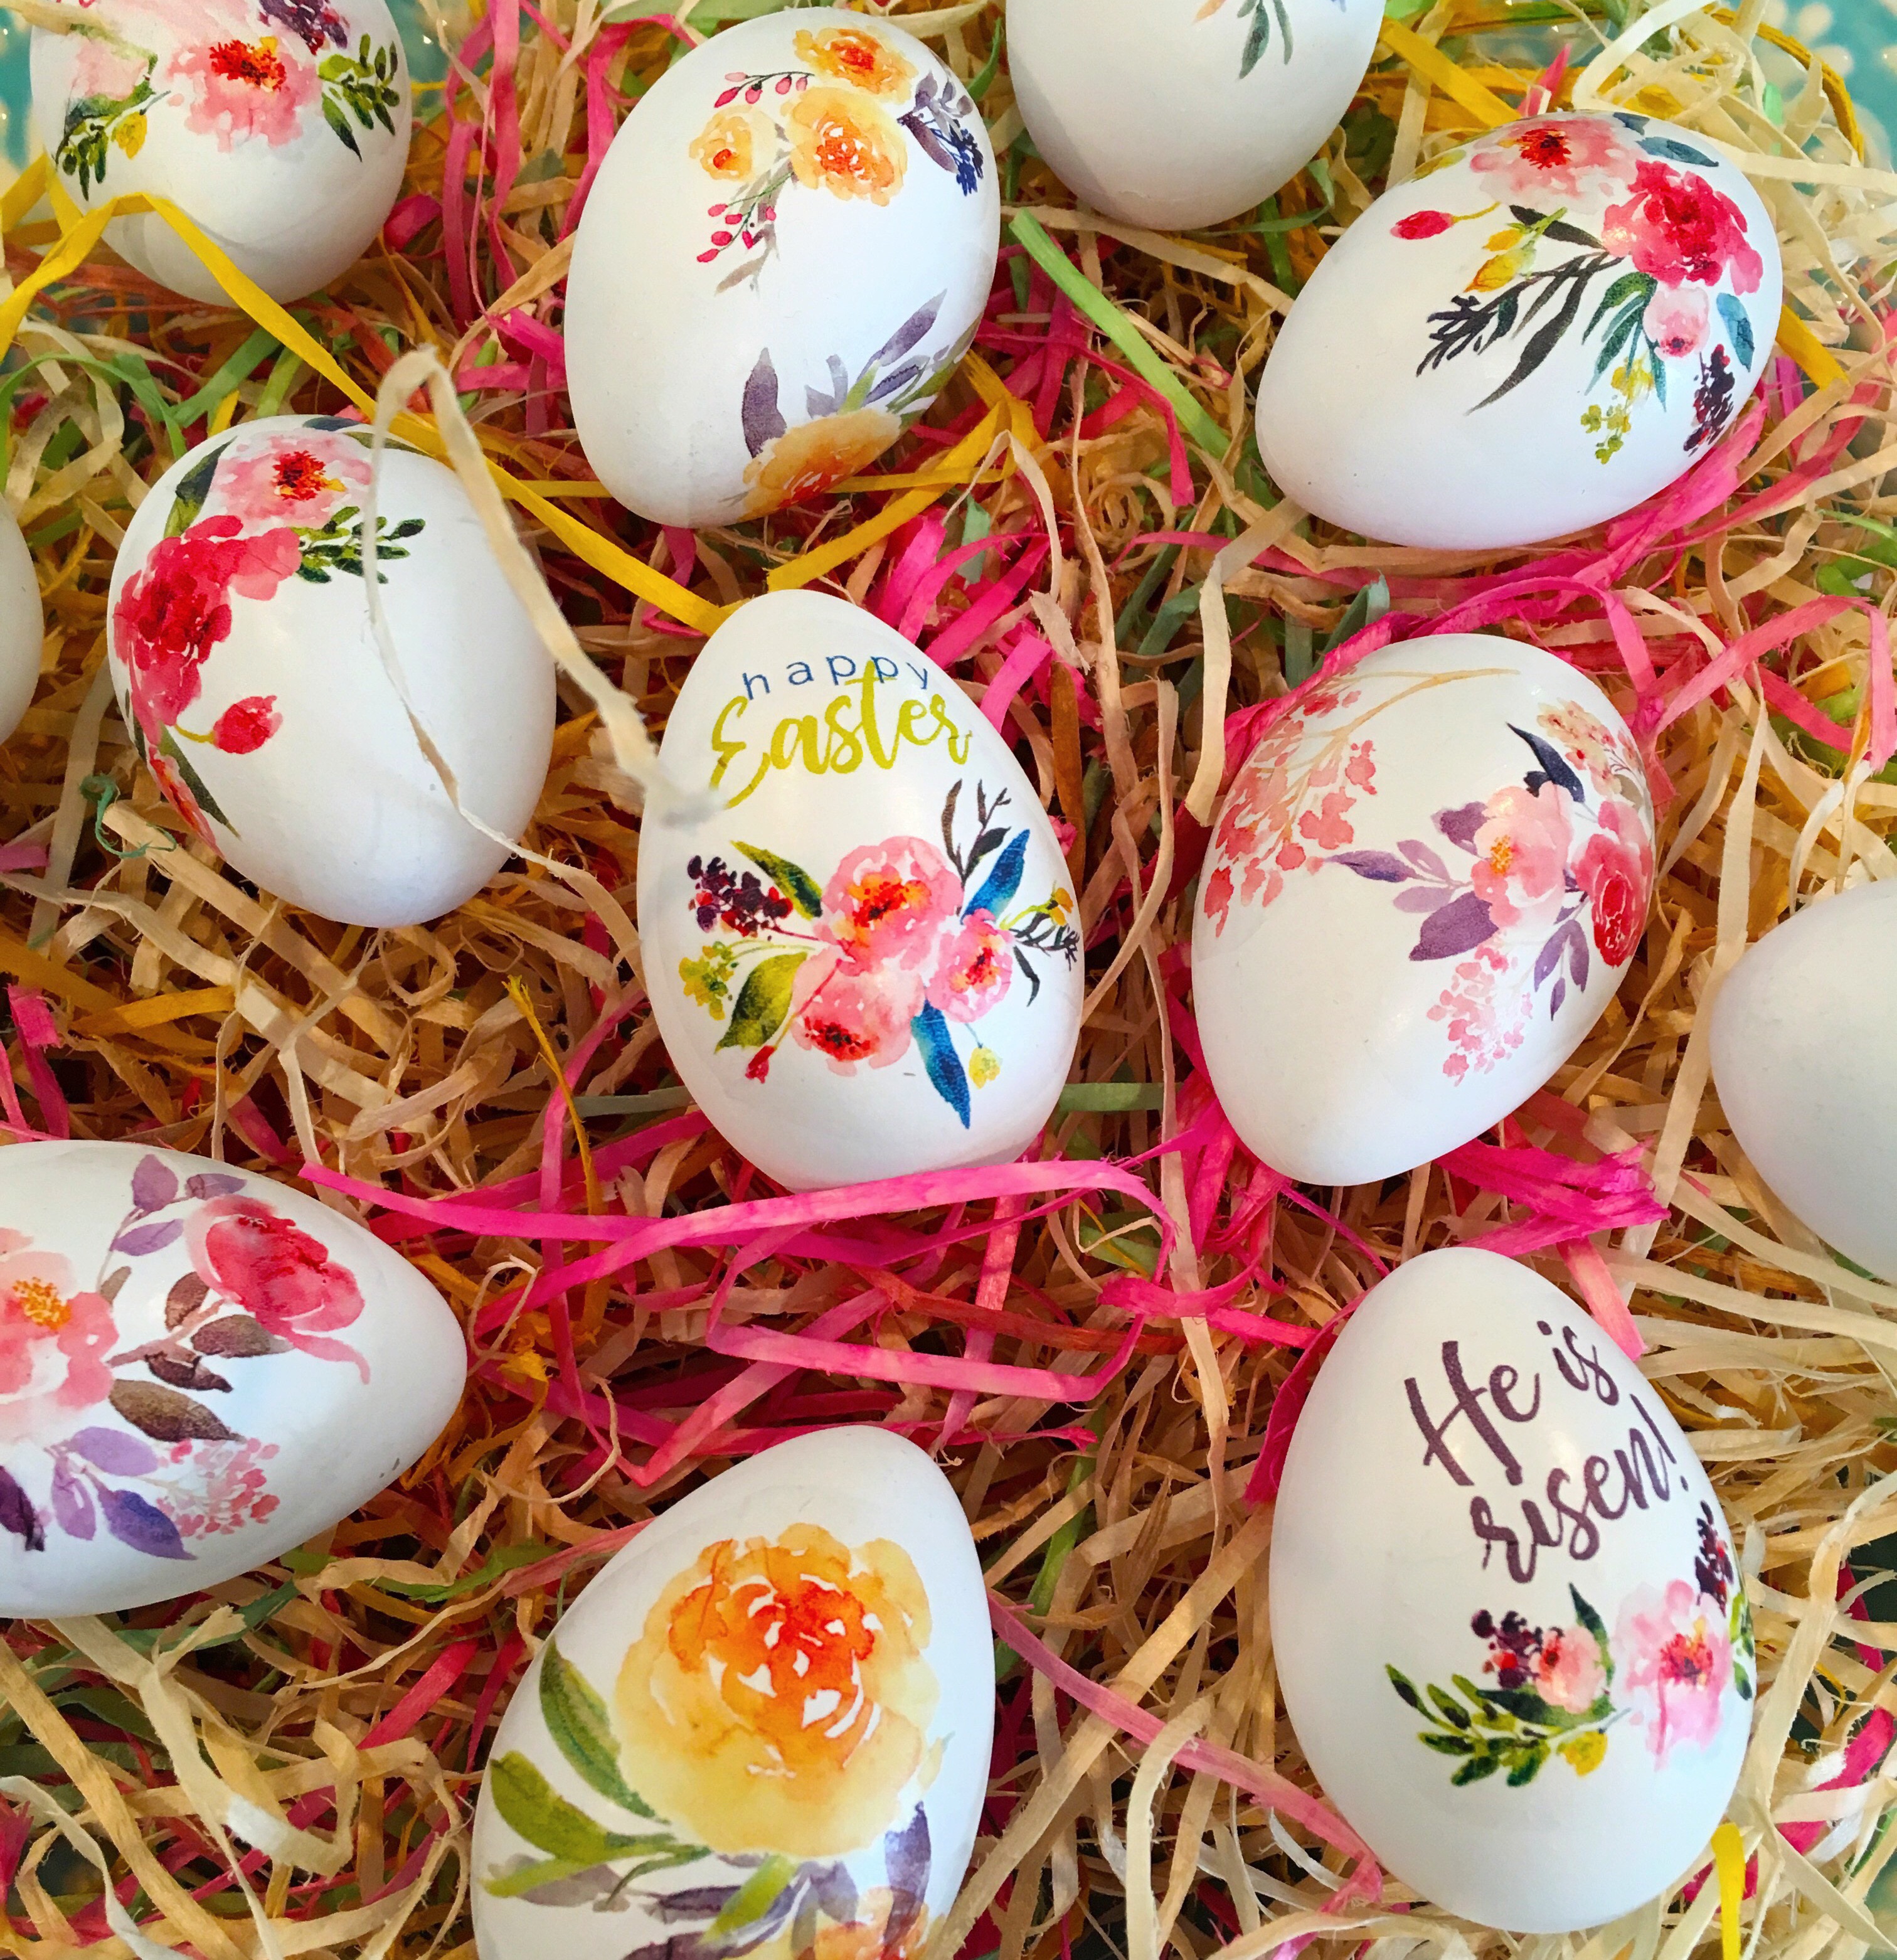
Beautiful Artificial Eggs decorated with tattoos printed at home! A super-fun and easy craft for you to make this Easter.

Last year I found this really cool way to “color” Easter Eggs on Pinterest with Nail Polish! It looked so simple and fun! I ran right down to our local dollar store, bought bright neon nail polish colors, and began the swirly-twirly process of coloring my hard-boiled eggs. They were AWESOME! One little glitch…I nearly killed off the entire family! How was I to know that the nail polish would seep through the porous egg-shell into the egg? (I’m still impressed the young college student at poison control held it together so well!)
After last year’s near-fatal attempt, I was banned from Egg decorating pins. (Honestly, the people at this Nest are so touchy about a little case of toxic food poising!) Well… the other day I ran across THIS amazing video from “It’s Always Autumn”, for these Beautiful Floral Easter Eggs. (Hey… It was on Facebook. Plus… Pinterest is my soul mate! Shhhh!) Naturally, I thought they were WAY above my skill level!

I was excited to find out that these beautiful eggs are made using “Printable Tattoo Paper”! (Who knew?!!! Not me. (I didn’t even know there was such a thing as printable tattoo paper.) I will warn you, it’s not cheap…$9.99 for two sheets, and unfortunately you can’t use your 50% off coupon at Joann’s to purchase it because it’s made by Silhouette. Crickett and Silhouette are immune from the 50% coupon! (I wish my thighs belonged to Crickett…maybe then they’d be immune from the calories I consume!)
Supplies:
Silhouette Printable Tattoo Paper
1 carton fake Easter Eggs or a dozen hard-boiled eggs, room temp and dry
Scissors, a credit card or gift card
Cloth and small bowl filled with water
If you go to the link here for “It’s Always Autumn”, there will be another link for the beautiful floral, and a “how to video”. Follow the instructions and print the flowers on your tattoo paper. Be sure to allow the prints time to dry.
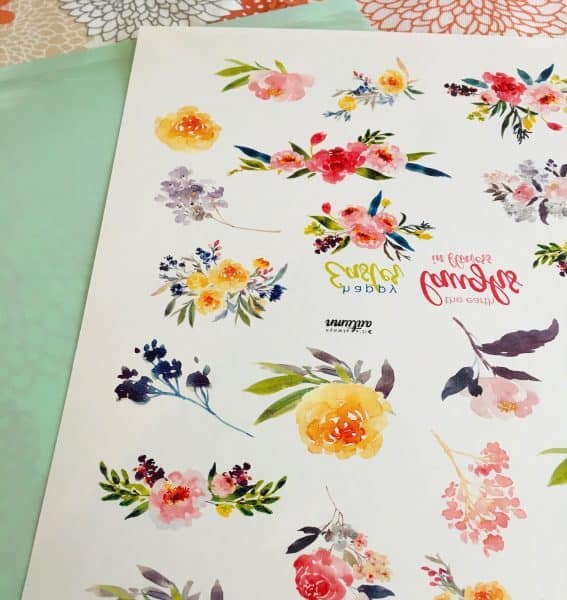

Tip: Don’t panic if the “sticky” side of your paper gets a few wrinkles in it. The flowers will still come out nice and smooth on your eggs.
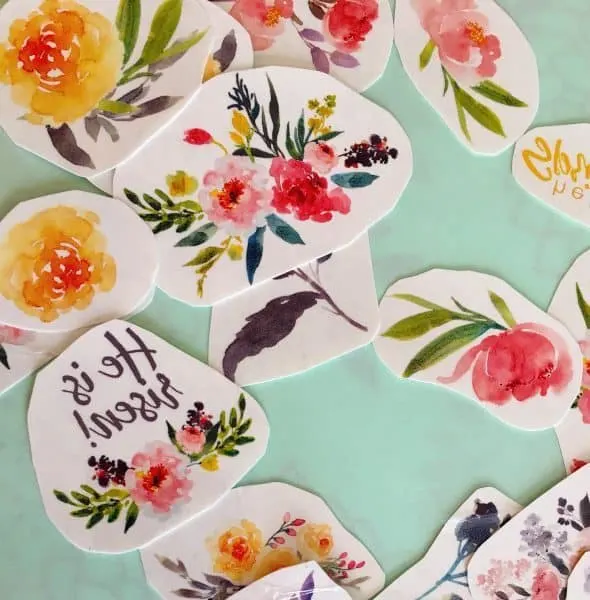
Use a credit card, or your trusty library card…and rub it across the two sheets of paper. I made sure to go over it and work out all the bubbles.


Then cut out all the floral prints. Trim as closely to the flowers and sayings as you can.

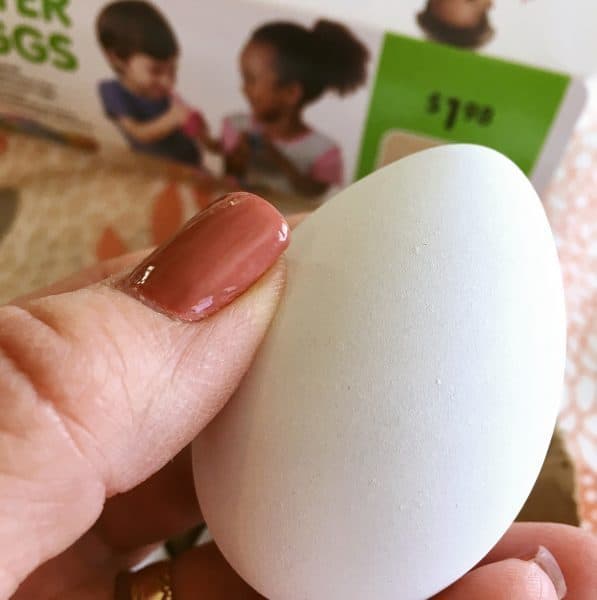
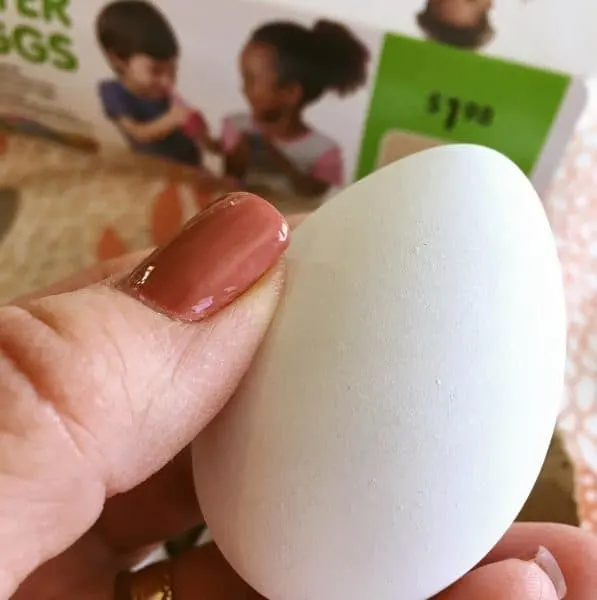
I decided to avoid any possible phone calls to Poison control this year, and a potential lifetime from my crafting soul mate, and I used the “Fake Eggs” you can purchase at Walmart. I really wanted to be able to re-use these for the next few years too.
The “Fake” eggs cost $1.98! 1 sheet of tattoo paper is $5.00. So, for $6.98 you’ll get a dozen beautiful eggs! That’s pretty reasonable for a beautiful centerpiece for your dining table.
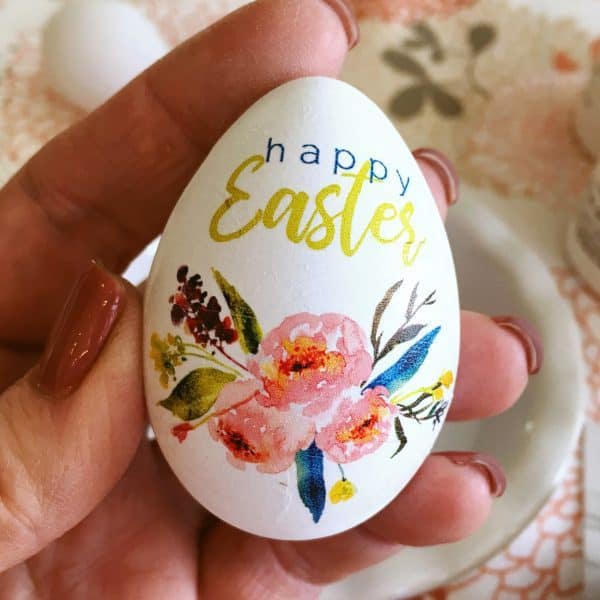
Take one egg and one of the tattoo floral designs. Peel off the clear plastic film. Using a damp washcloth, wet the back of the tattoo paper. Be sure the paper is damp all the way through.
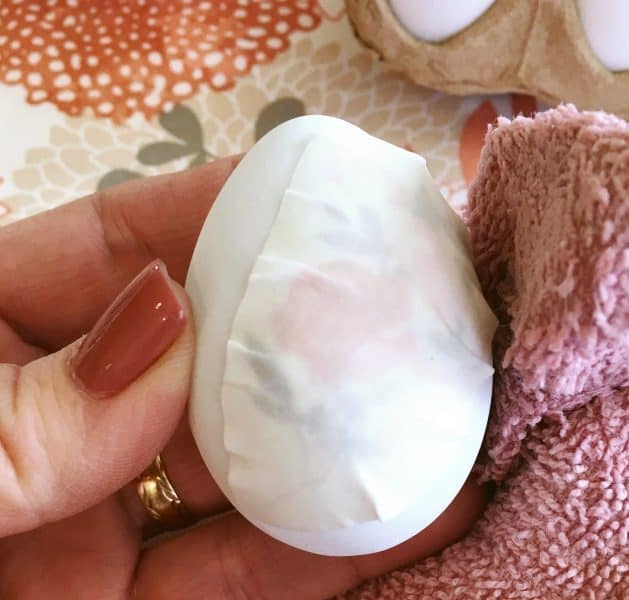

Carefully peel back the wet paper to reveal the tattoo on the egg.
Now, because eggs are not perfectly flat, you may have a few wrinkles on your tattoo edges. That’s okay! Just take your damp wash cloth and gently press down around the edges to smooth out the wrinkles. As the tattoo dries, it will recess into the egg, and you won’t even notice any little wrinkles in the transfer.
Tip: Keep a small bowl of water on the table to dip your washcloth in. Be sure to wring it out in the bowl. You just want it damp.
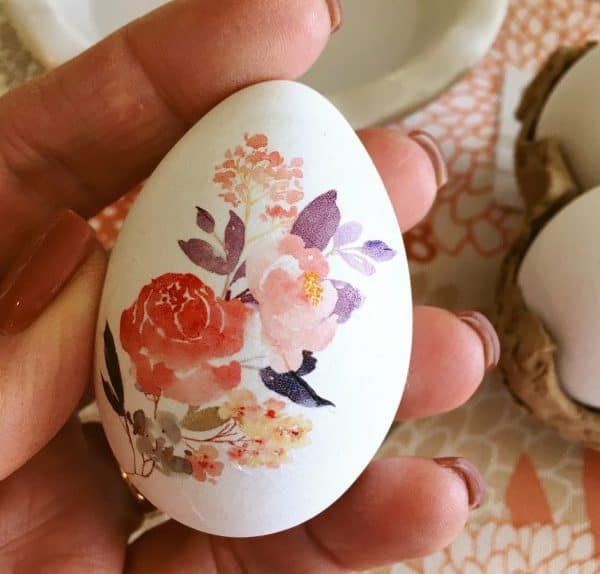

It’s that simple! I am SO in L.O.V.E. with this tattoo paper technique. You can do them on real eggs, if you’re braver than me, but you need to make sure that the eggs are room temperature and not cold or wet because the tattoo won’t stick to them.
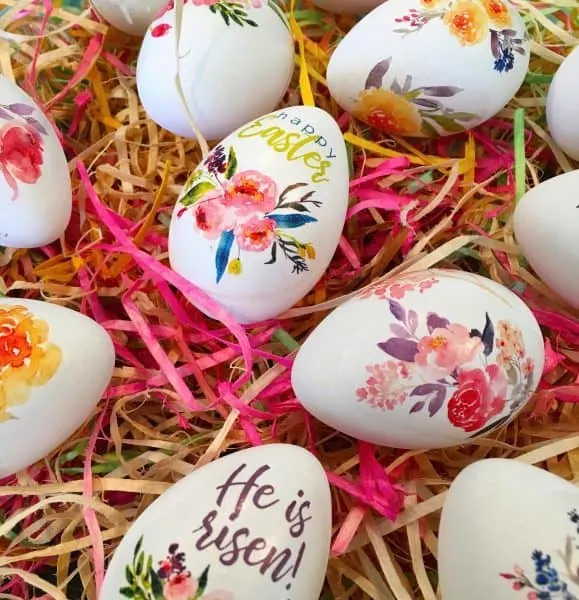
I found a bag of colorful straw at T.J. Maxx and used it to fill the pretty bowl my son gave me for Christmas. Then I nestled the eggs in the straw and set them all on my dining room table.

I’m completely in love with these stunning Easter Eggs! They would make a lovely gift for a friend, neighbor, or family member! You could place them in a Cello bag with some straw and tie it all off with a pretty pastel bow! Hold a craft afternoon with friends and make a few of these pretty eggs. They take no time at all! It took me about 30 minutes to make a dozen. That’s my kind of craft!
Thanks for stopping by “My Nest” and checking out these stunning eggs! Have a Fantastic Day!

Jennifer
Friday 18th of April 2025
😞 I can’t find the link for the tattoo printables 😳 please help me!!!
[email protected]
Thursday 24th of April 2025
Oh Jennifer! I'm SO sorry! I didn't realize when my tech people updated somethings on my site they removed the link! I've replaced it and it's there now. I feel horrible. Norine
Laurel
Friday 18th of April 2025
Hello Norine! Beautiful eggs and loves your story - so funny- glad no one died! I couldn't find the link for the Always Autumn. Is it gone? Thanks for sharing a beautiful craft!
[email protected]
Thursday 24th of April 2025
Hi Laurel! I'm so sorry! I recently had some updates done to my website and the link got erased inadvertently! Ugh! I've added it back into the post. I feel bad. Hope you'll come back again and visit me. Norine
Charles Mathis
Monday 16th of March 2020
These are so beautiful!
[email protected]
Tuesday 17th of March 2020
Thank you so much. One of my favorite Easter crafts of all time! I love that I can use them year after year. Thanks for stopping by and I hope you're having a good week. Happy Nesting, Norine
Amy
Sunday 10th of March 2019
These are so fun! I love them!
Julia's Simply Southern
Saturday 3rd of March 2018
These are so beautiful!
[email protected]
Thursday 8th of March 2018
Hi Julia! Thanks so much for stopping by my friend. Now you know how far behind on everything I am...when it takes me 5 days to respond. (ugh!) These are so fun to make. You have got to try it. It's so easy!! (In your spare time...lol) Thanks sweetie for stopping by and visiting with me. Hugs! ~Norine