

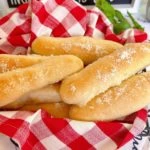
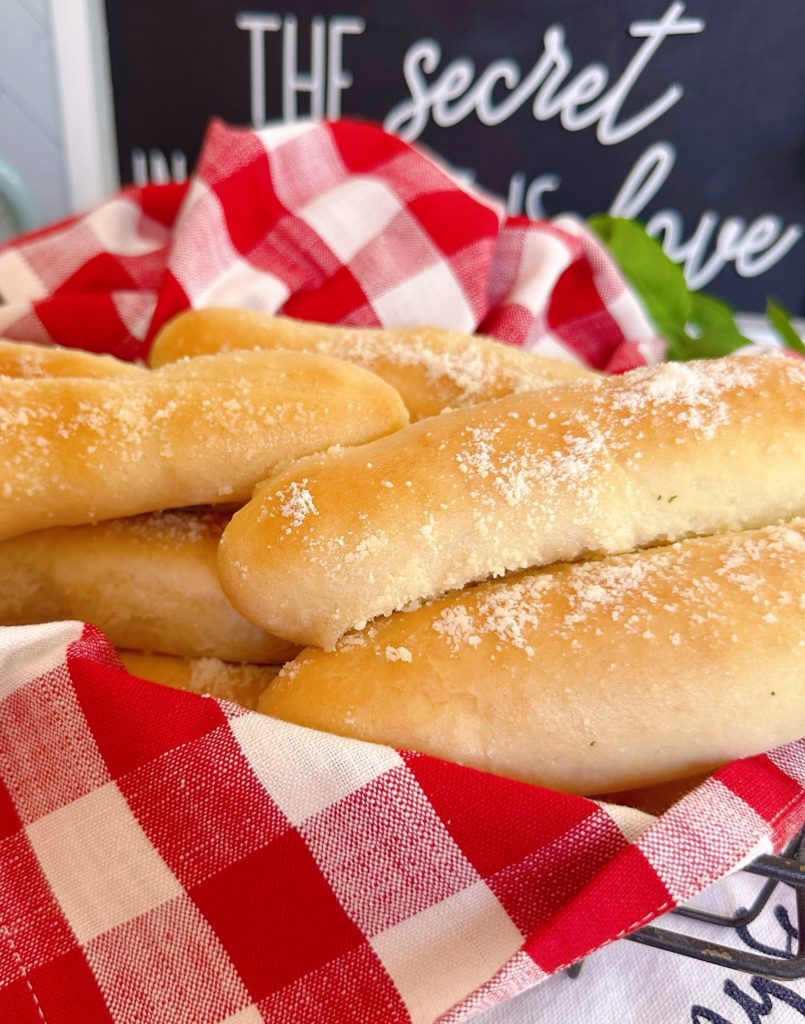
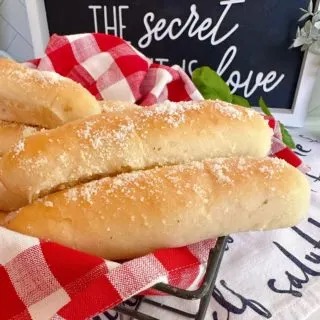
Made with simple pantry ingredients, these breadsticks are soft, fluffy, and brushed with a savory garlic butter that makes them downright irresistible.

I’m the self-nominated president of the “Carb Lovers of the World” Club. As such, I’m nominating these breadsticks as this year’s “must-make” recipe! Seriously friends, these breadsticks rise up golden and tender, perfect for soaking up sauces or serving alongside your favorite pasta dish. Each bite is bursting with warm, buttery flavor and just the right touch of garlic—just like the kind you crave from your favorite Italian restaurant, only better because they’re homemade!
My son recently asked me if I could make him breadsticks for his birthday dinner. Never having made them before, I was slightly intimidated, but I’m always up for a challenge. Thank goodness I didn’t back down from this one! They are SO good, and SO easy to make!
If you’re new to making homemade bread, you’ll love this simple breadstick recipe. Perfect for beginners and experts alike. Follow my step-by-step instructions, for great results every time!
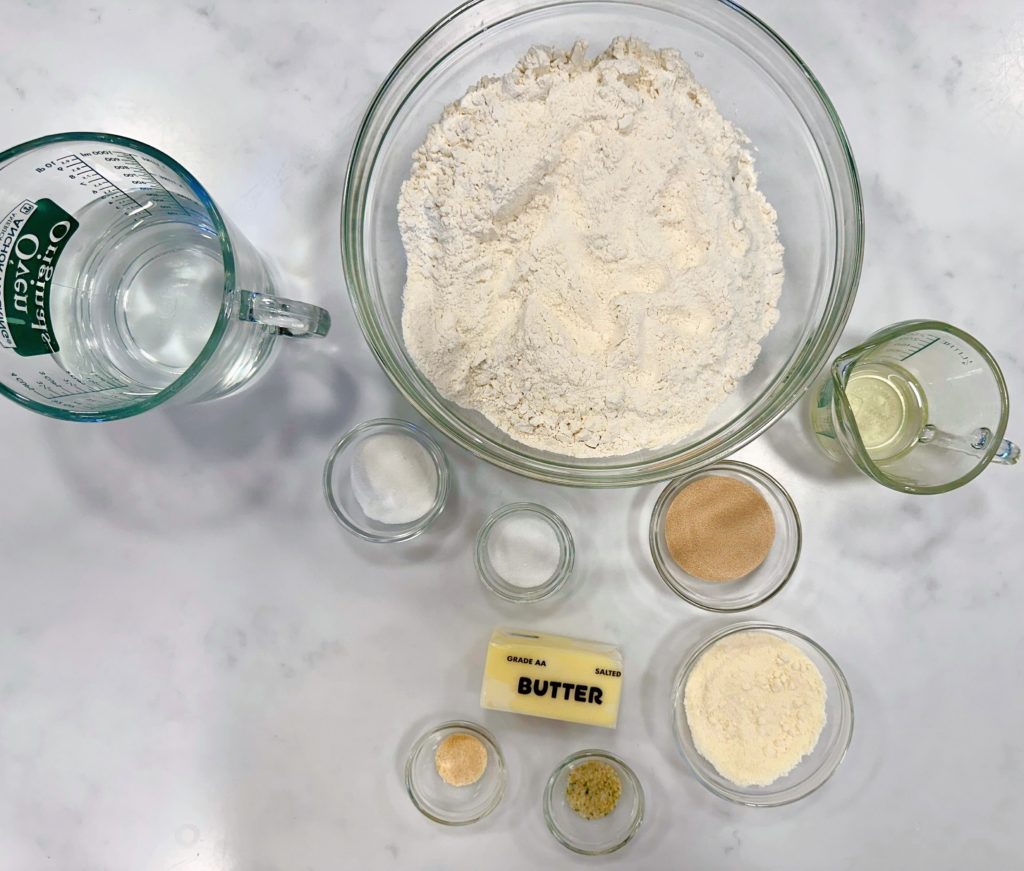
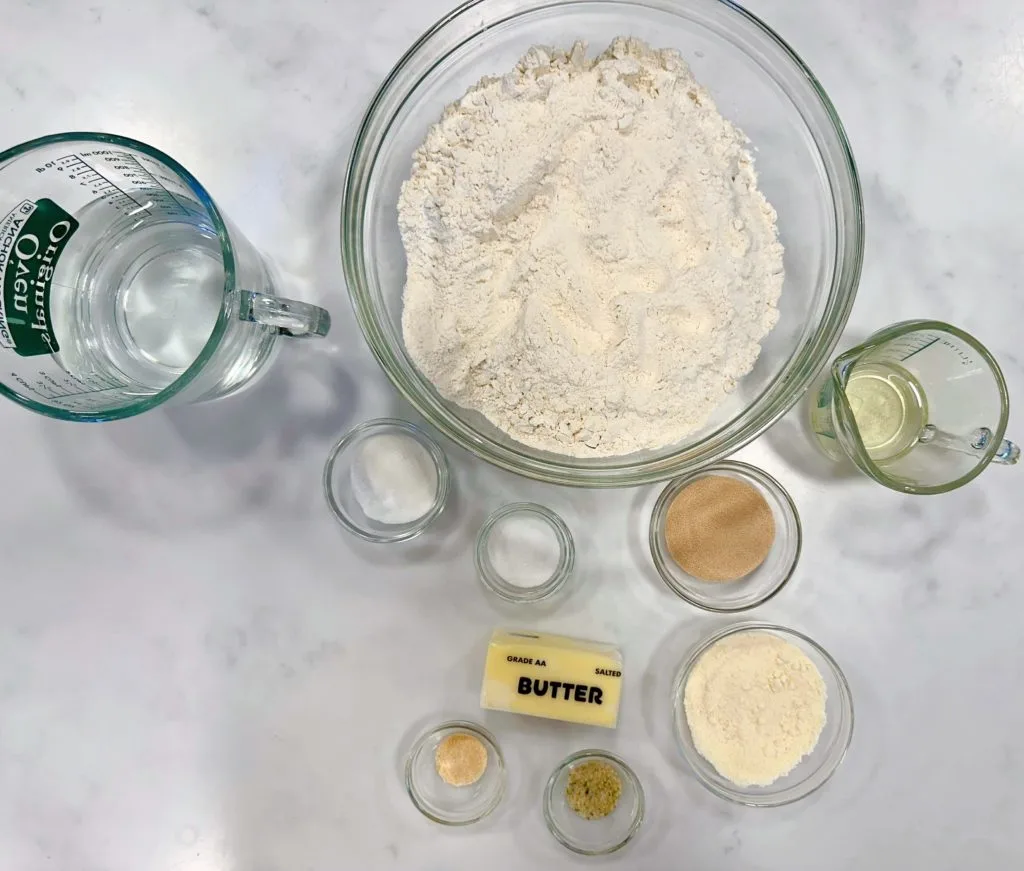
Ingredients List
- 2½ cups very warm water, just hot enough to touch.
- 2 Tablespoons active-dry yeast
- 2 Tablespoons sugar
- 1 Tablespoon salt
- 1/8 cup vegetable oil
- 6–7 cups all-purpose flour
- ½ cup salted butter, melted
- ½ teaspoon garlic powder
- ½ teaspoon garlic salt
- Grated Parmesan Cheese for topping
How to Make Basic French Bread Dough
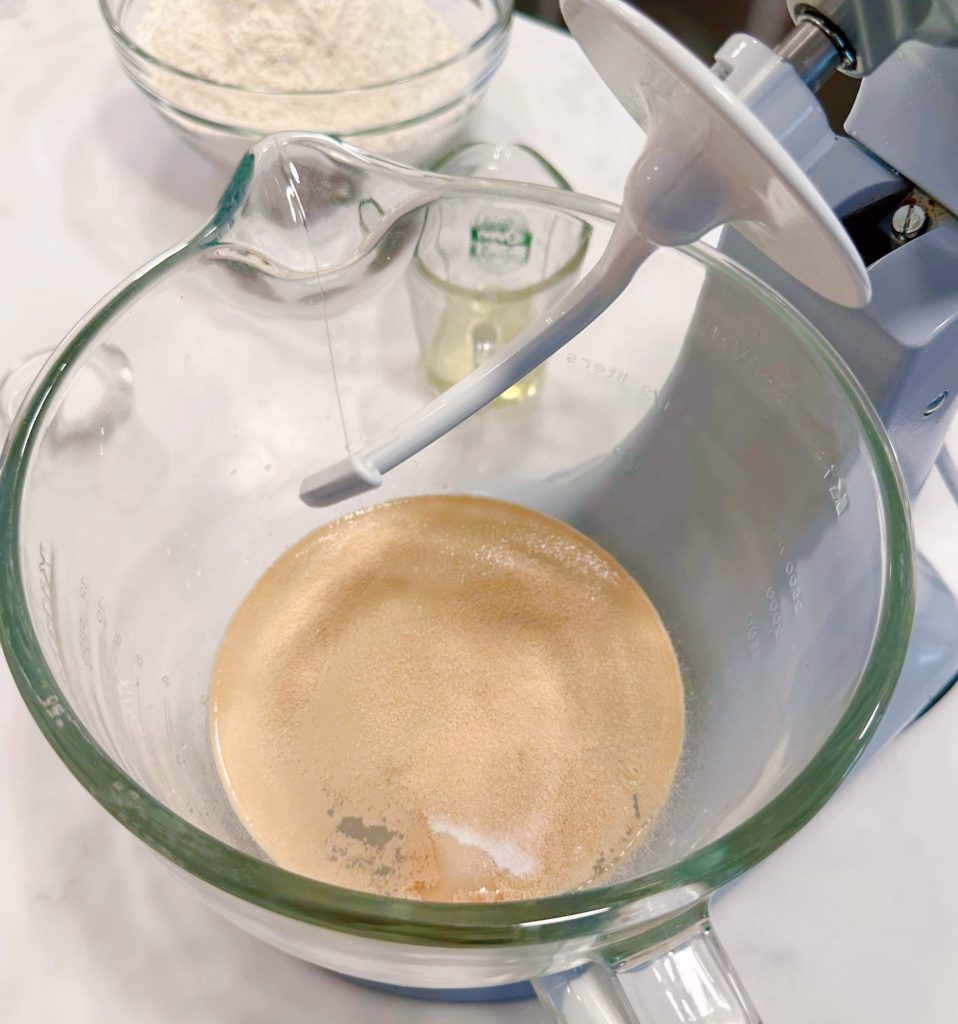
Step 1 – Yeast Preparation
In the bowl of your stand mixer, add hot water, yeast, and sugar. The water should be between 105°(F) and 115°(F). The water needs to be warm enough to activate the yeast and allow it to multiply. However, if it is too hot (above 130°) it will “kill” your yeast. If it is too cold, it will not activate it at all.
The rule I live by is, if it is warm enough for “baby bath” water, then you are good to go. THE ONLY exception to this is if you freeze your yeast to preserve it. If so, and it’s still frozen, the water should be a tad warmer.
Q&A: Why do yeast bread recipes call for sugar to be added when the yeast is added? Yeast feeds off sugar! The sugar helps the yeast become big and fluffy. Strange! Sugar has the same effect on me!

Pro-Tip: Use a wire whisk to mix yeast into the sugar and water. It will assist in activating the yeast sooner. I know most yeast bread recipes call for you to “sprinkle” the yeast on top of the water, but I have found it activates better when gently mixed into the warm water and sugar.

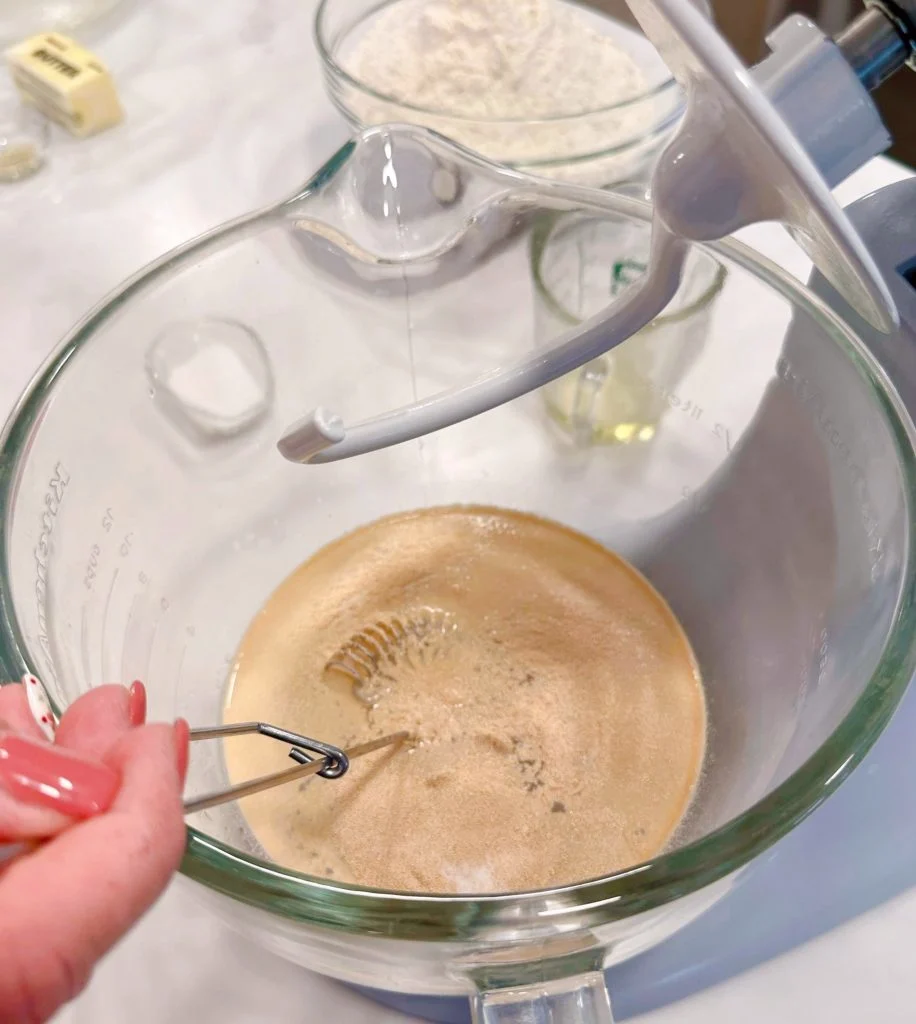
Let the yeast sit until activated. This is my nice way of saying “WALK AWAY”! No seriously…walk away and let that yeast get foamy and bubbly! Go fold that basket of laundry, wash a few dishes. You have about 10 minutes! Ticktock…
Okay, we’re back!

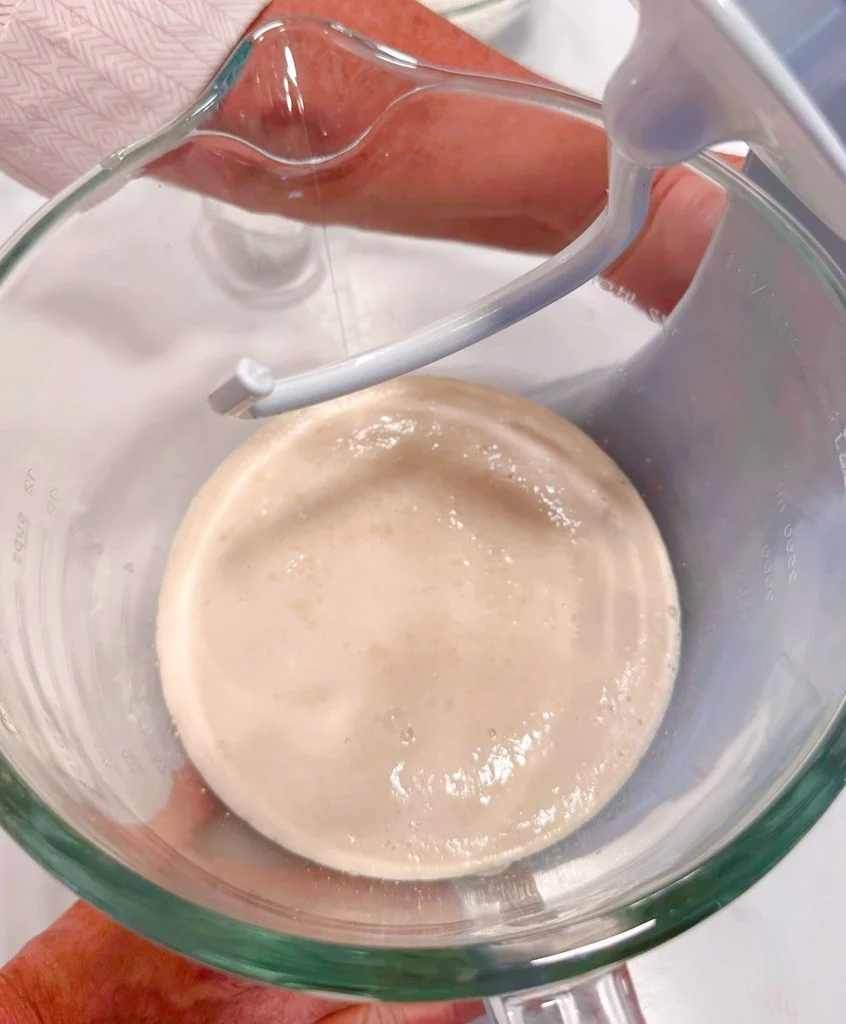
Step 2 – Mixing Dough
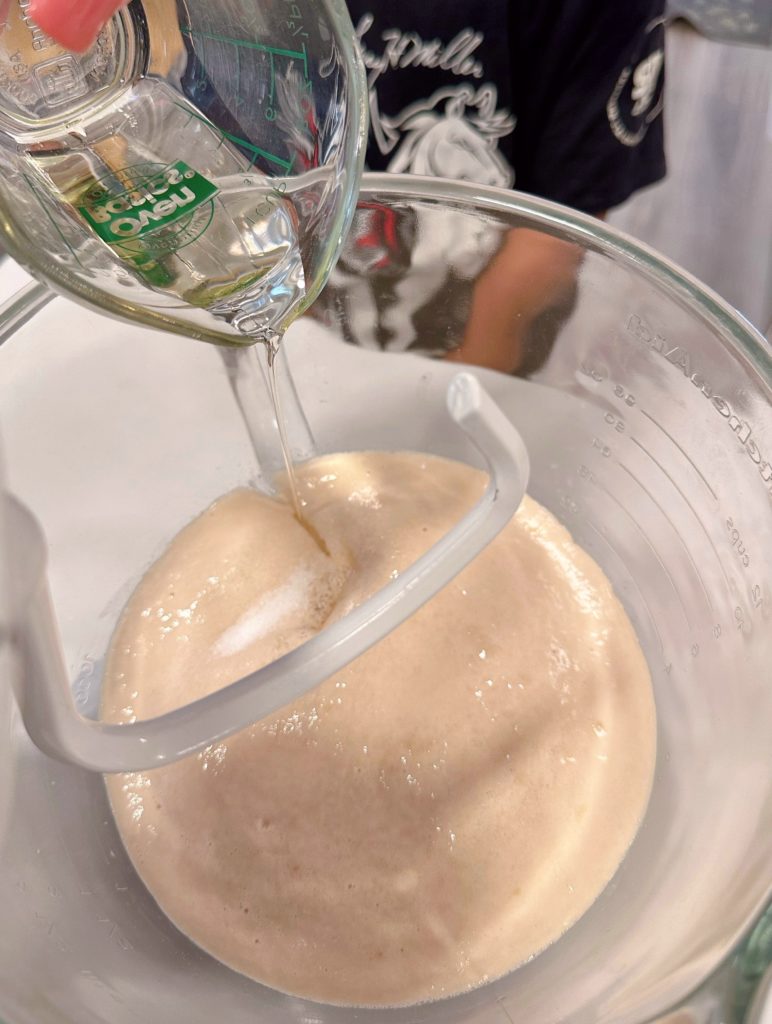
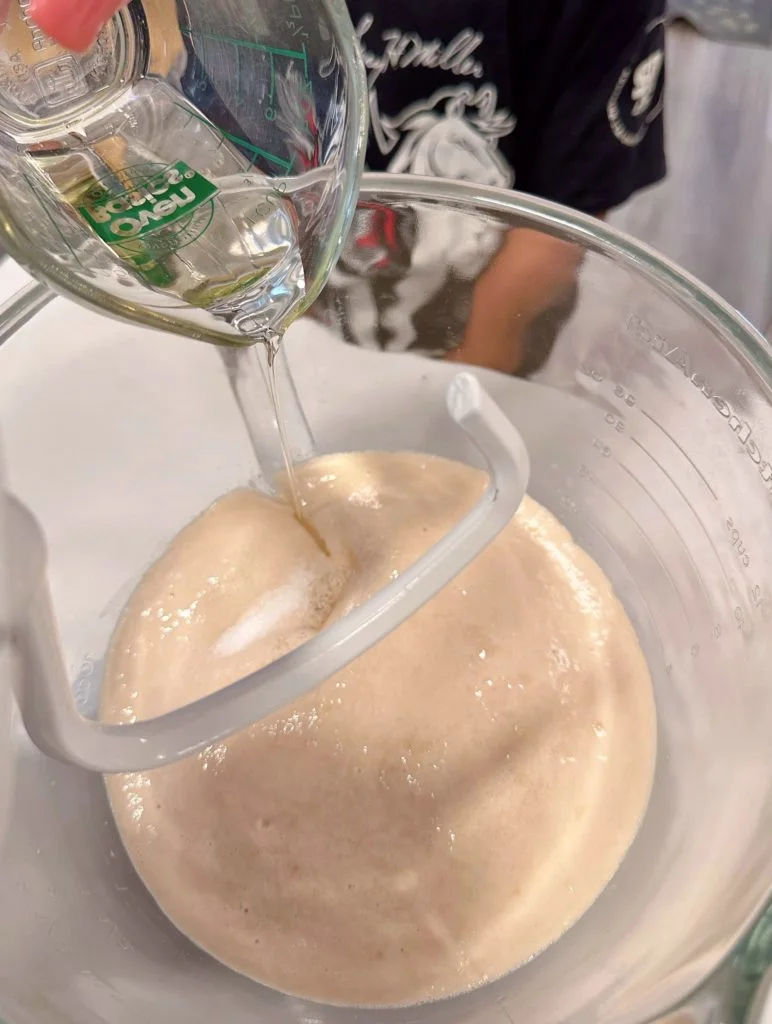
To the yeast mixture, add salt and oil. Mix together using the dough hook of your mixer.
TIP: You do not need a stand mixer for this recipe. However, if you don’t have one, you will need the strength of Hercules to mix this dough and knead it! Today’s mixers with dough hooks really provide an easier method of making bread.
Add 3 cups of flour, one cup at a time. Turn the mixer on low and begin mixing to combine ingredients. This is the beginning of the bread dough, and it will be very wet in the beginning.
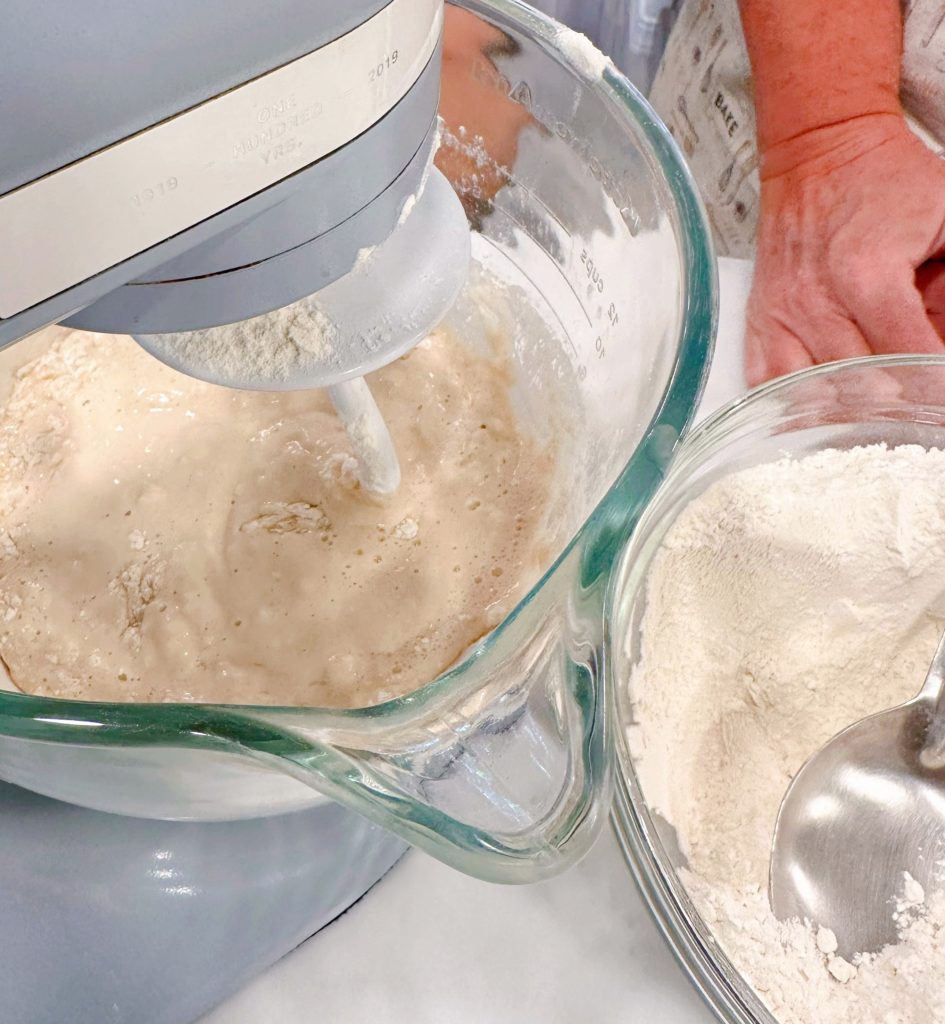

Once the first three cups of flour are incorporated with the “wet ingredients”, carefully add three more cups of flour, one cup at a time, until the dough begins to cling to the dough hook and dough begins to pull away from the sides of the bowl.
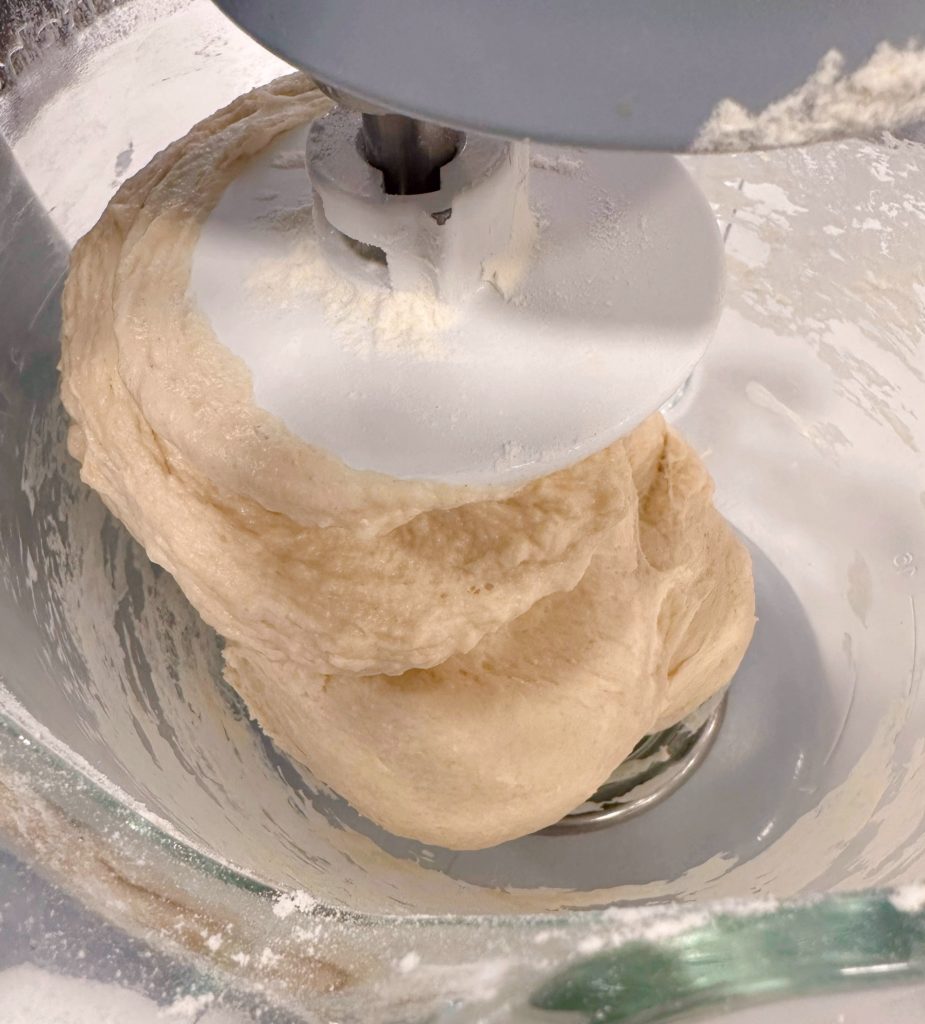
We’re not done yet…the dough really needs to hug onto that dough hook for dear life!

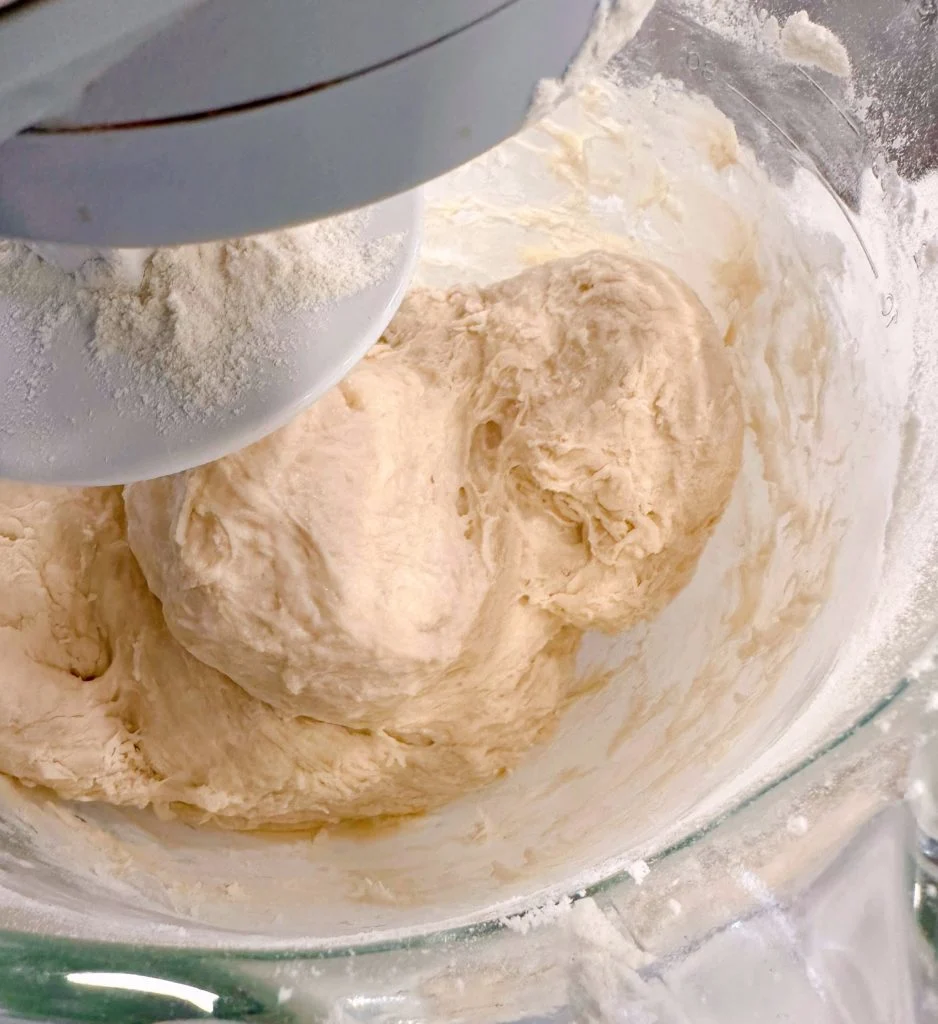
Add another ½ cup to ¾ cup of flour and continue to mix until the dough cleans the sides of the bowl and attaches to the dough hook.

Step 3 – First Rise
The dough will still be slightly sticky. Place the dough on a lightly floured surface. Knead 5–8 times till the outside of the dough is smooth. Form the dough into a ball.
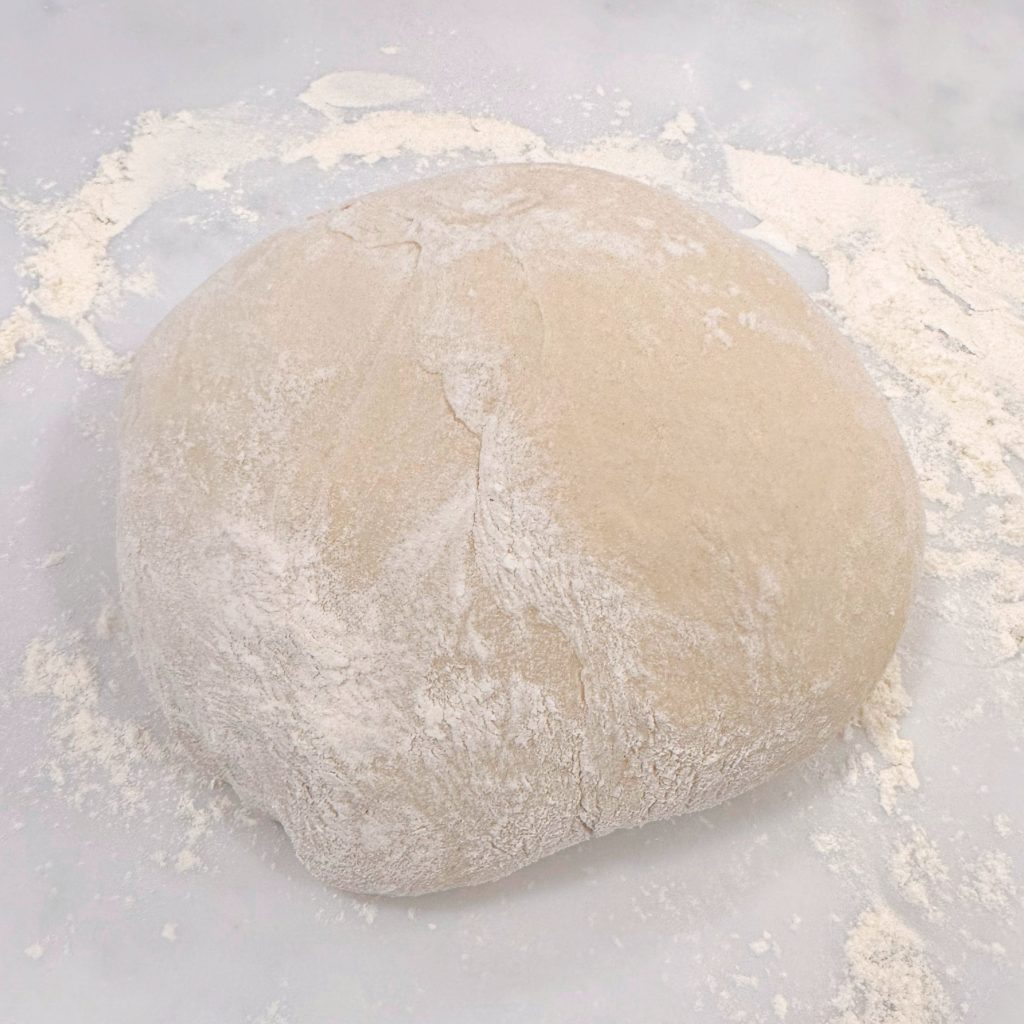

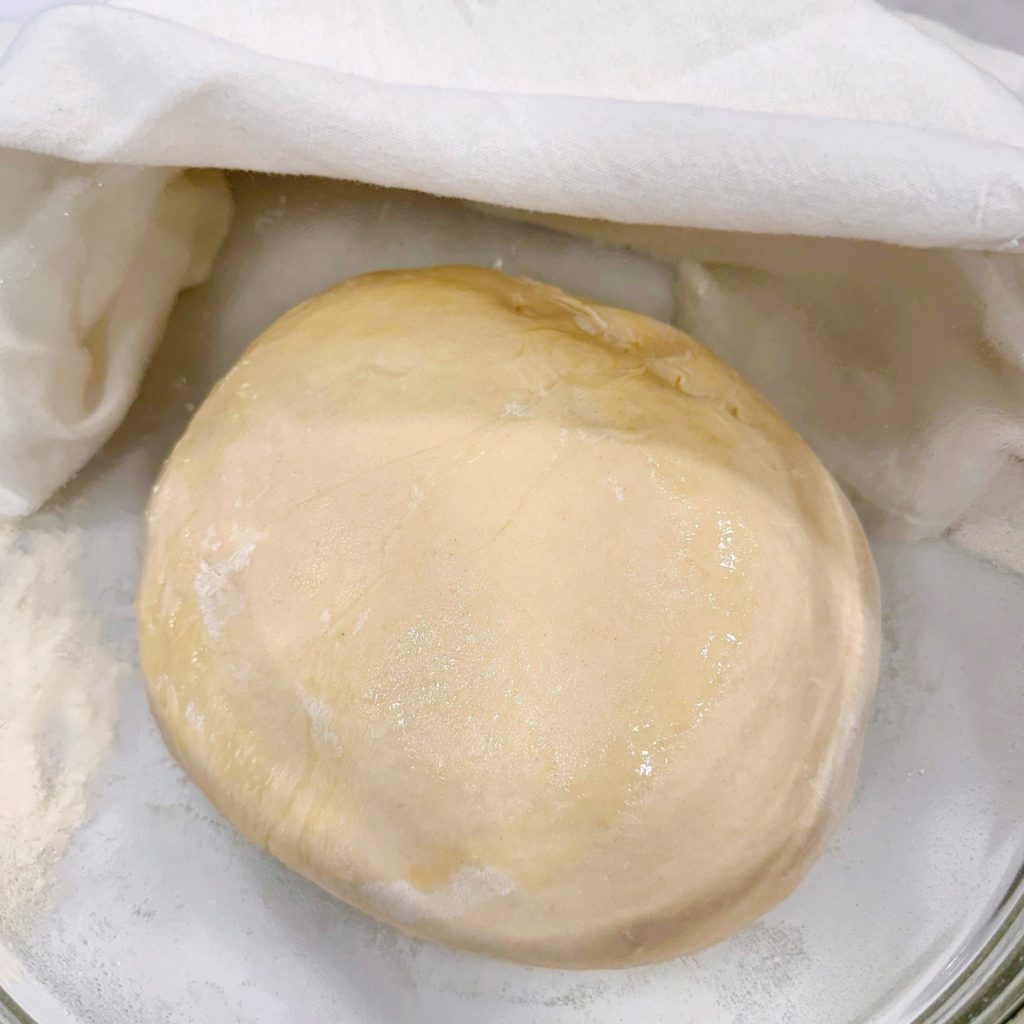
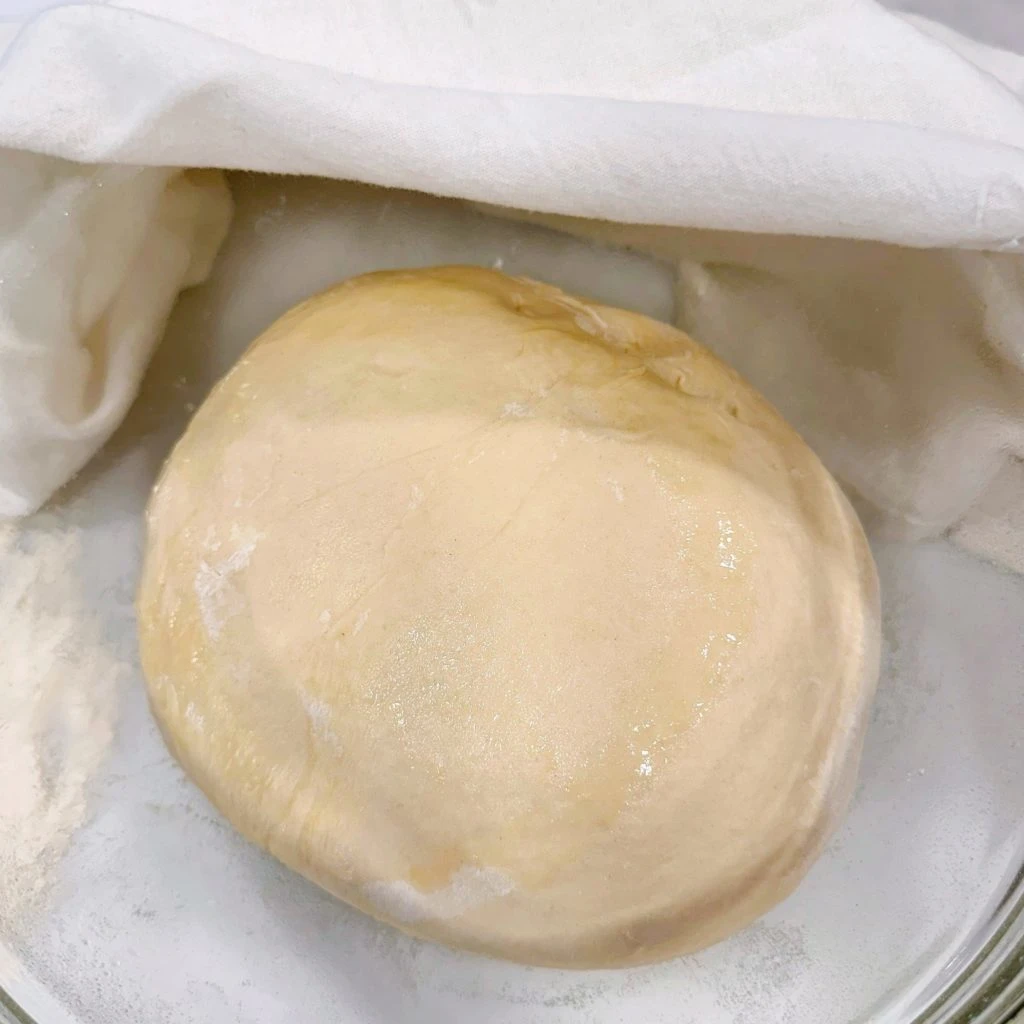
Place in a glass or plastic bowl, coated well with non-stick baking spray. Turn the dough oiled side up.
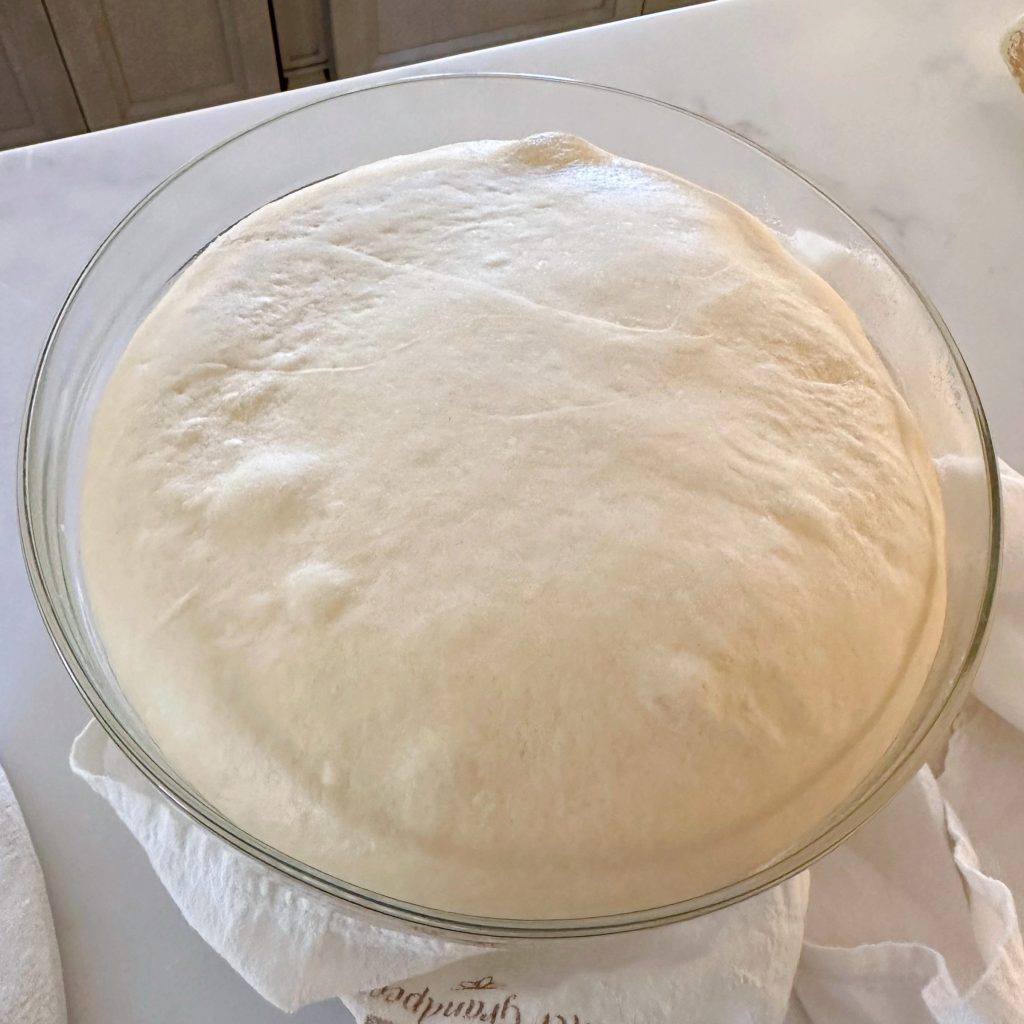
Cover the dough with a clean cloth, place in a warm corner on your kitchen counter, and allow the dough to rise until it doubles in size. About 30 minutes.
Step 4 – Forming Bread Sticks
Once the bread has doubled in size, punch it down! That’s right. Give it a good ol’ punch right in the middle of the dough. It’s so satisfying!
Place the dough on a lightly floured surface. Cut the dough in half. Place one half aside for a moment. Stretch the other half into a long log and cut into 12 smaller sections.
TIP: Use a pizza cutter to cut the dough into smaller sections. It helps make this step easy.

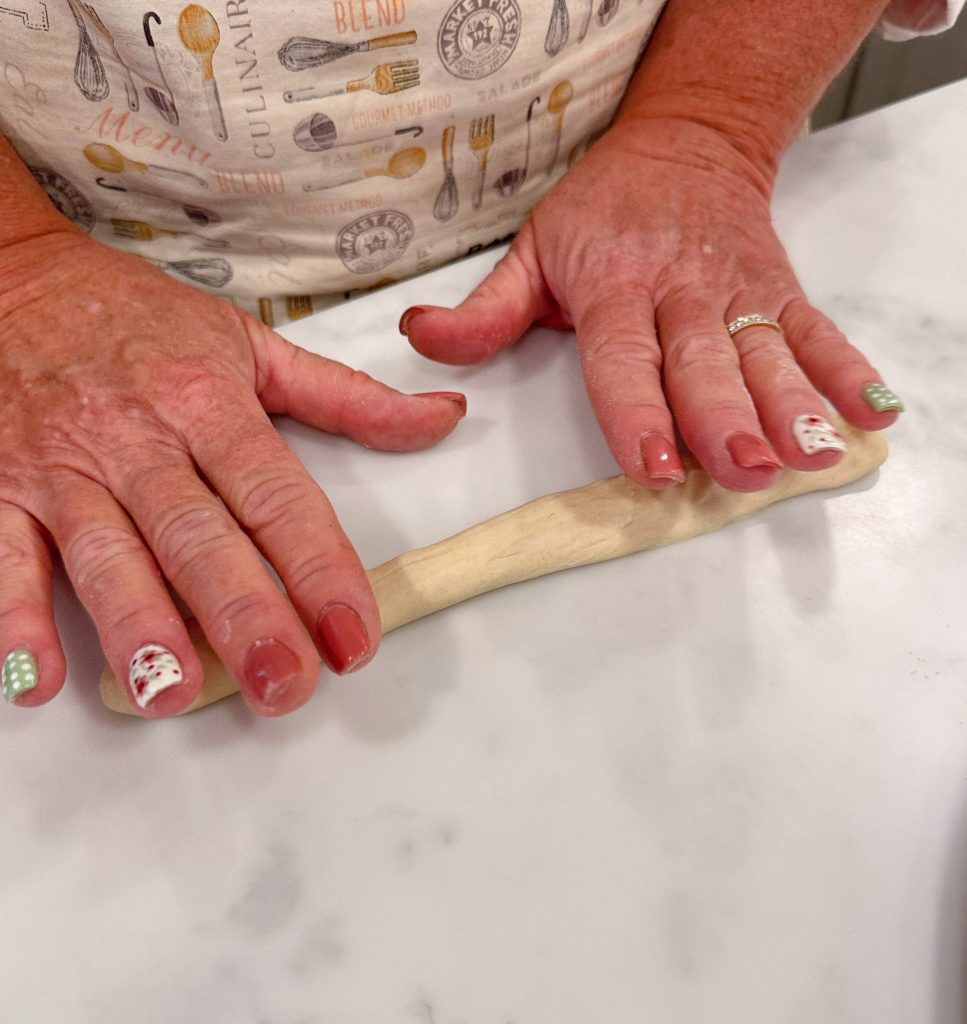
Roll each section into a ball. Place the ball on the table and bust out your kindergarten play dough skills! Roll each ball into a “snake”…also known as a breadstick!
Begin by pressing down in the center and working to the outside. Just like in kindergarten. Each breadstick should be about ½ inch thick.
Step 5 – 2nd rise and baking instructions
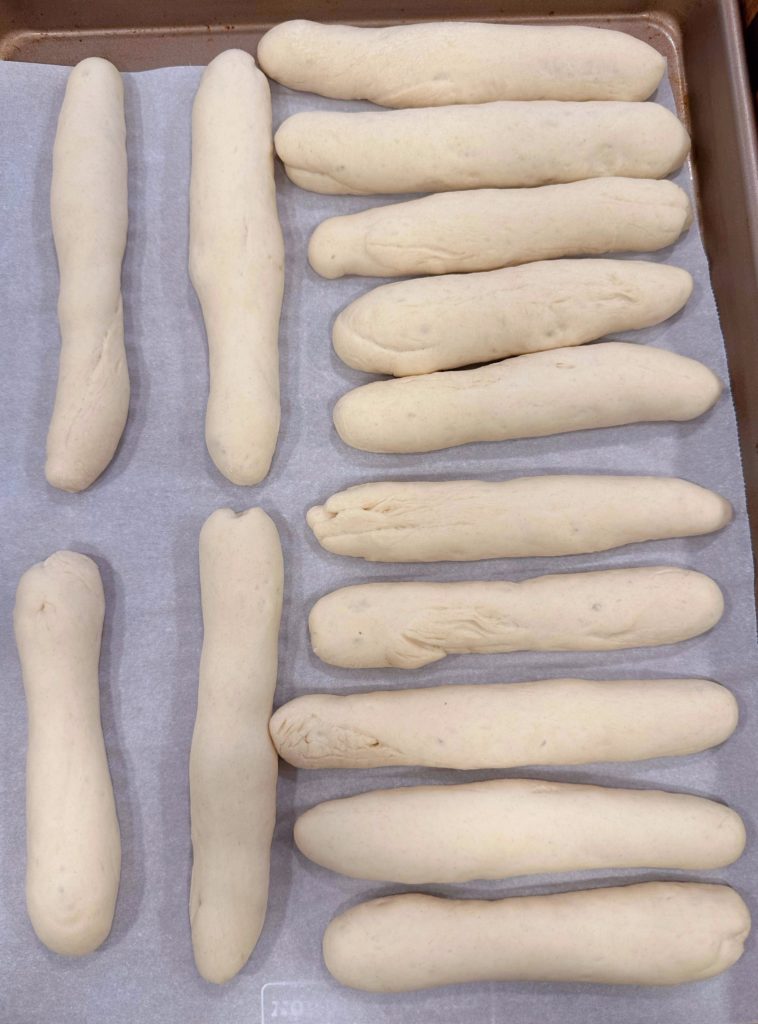
Place each breadstick on a parchment-lined large baking sheet. Notice that the breadsticks are not perfectly smooth or shaped. The most important thing is length and width for even baking.
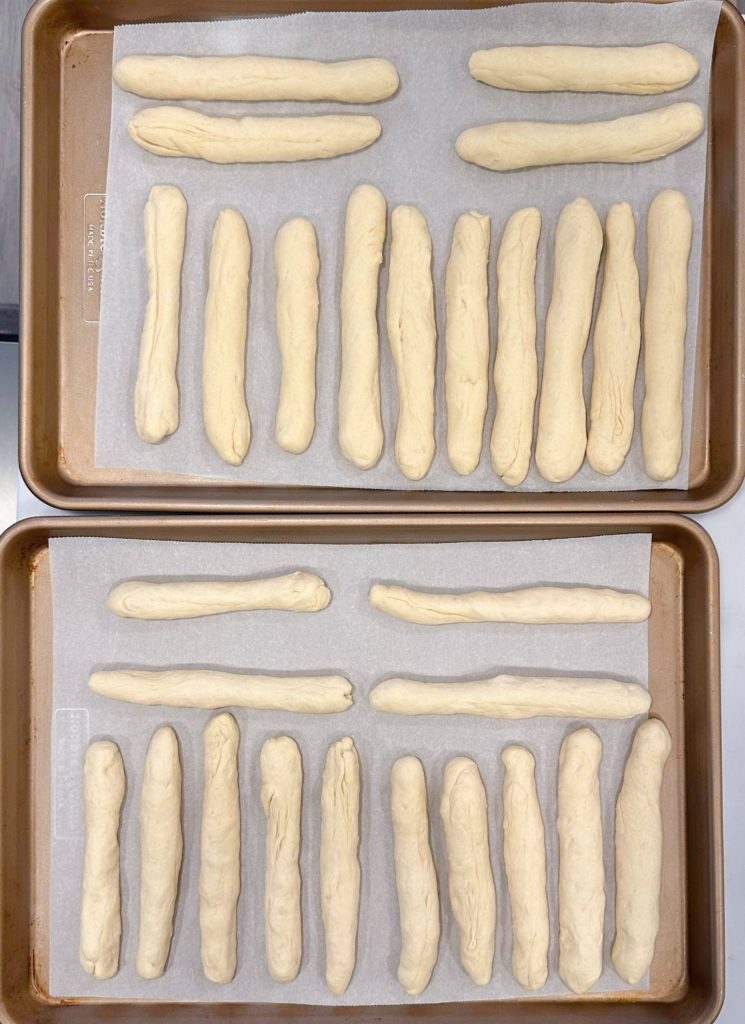
Cover the breadsticks and allow them to rise for 20 minutes.
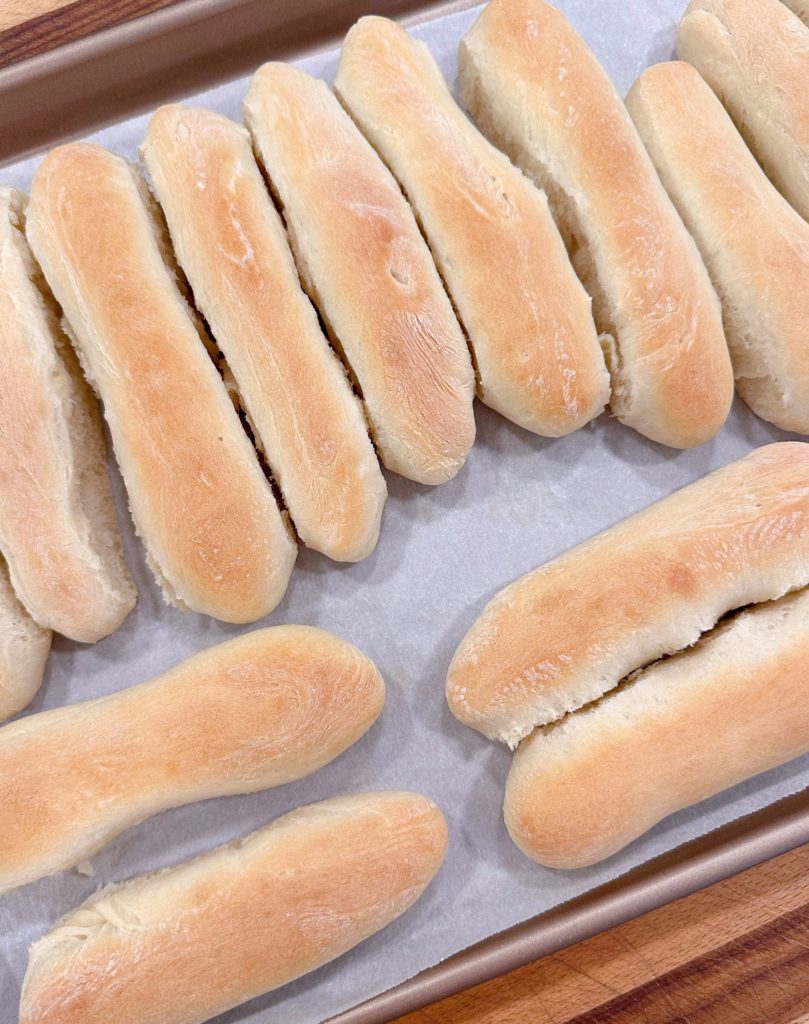
Pre-heat oven to 400°(F). Place one sheet of breadsticks in the preheated oven and bake for 7–10 minutes until golden brown and crusty on top. Bake the sheets of breadsticks separately. One at a time to achieve an even bake.
The breadsticks will bump up against each other during baking. Gently pull them apart with tongs or a spatula, being careful not to burn yourself.
Step 6 – Finishing Breadsticks
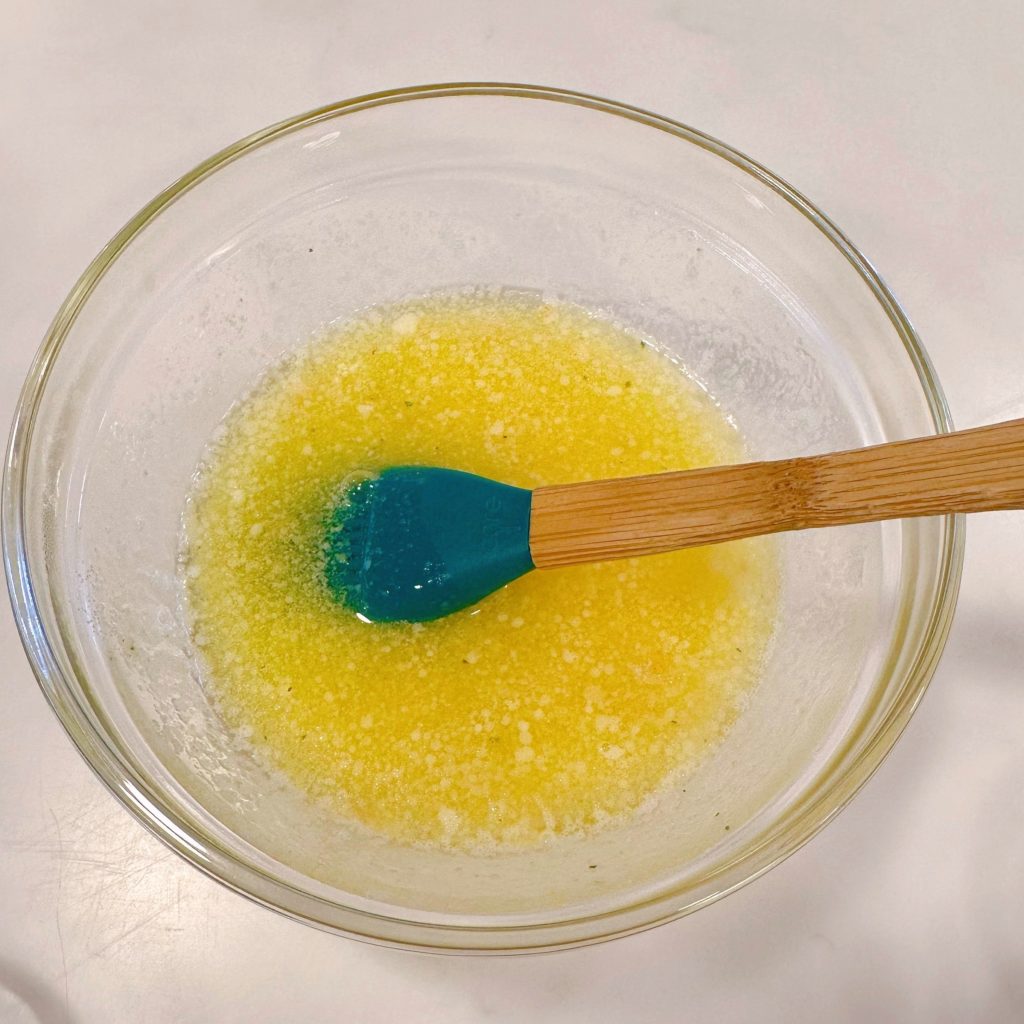
In a small bowl, melt 1/2 cup butter. Add garlic salt and garlic powder. Mix well.
Using a pastry brush, brush the top of each warm breadstick with the garlic butter. I like to make sure that luscious garlic butter runs down the sides.
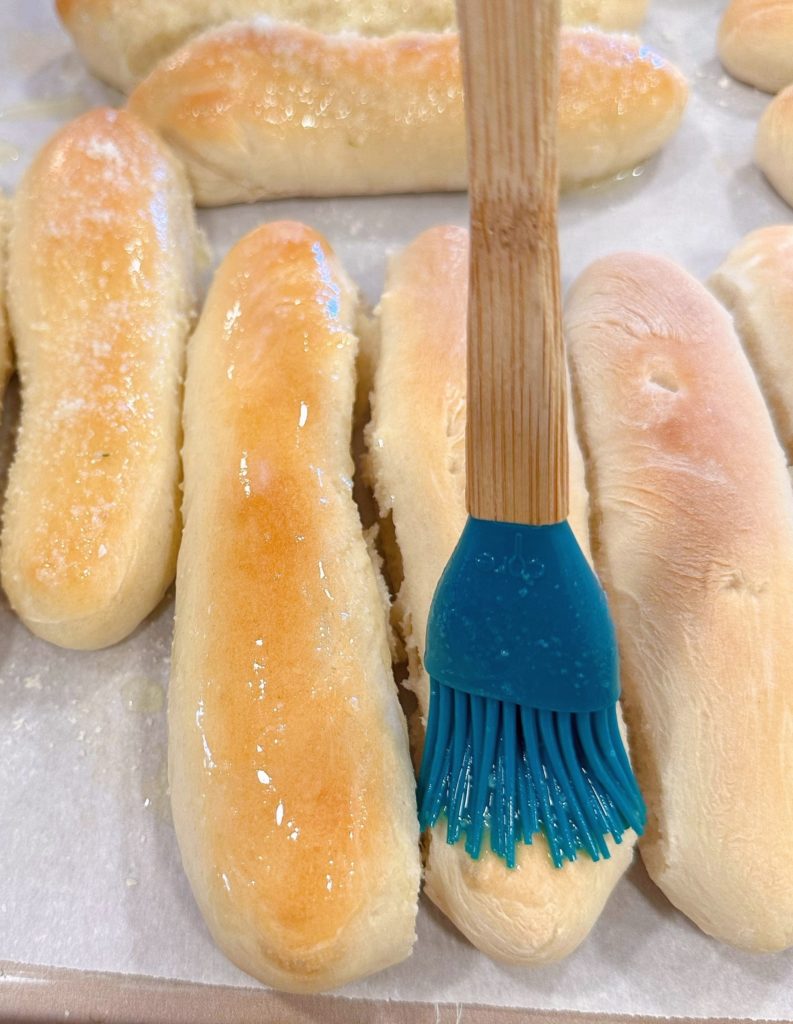
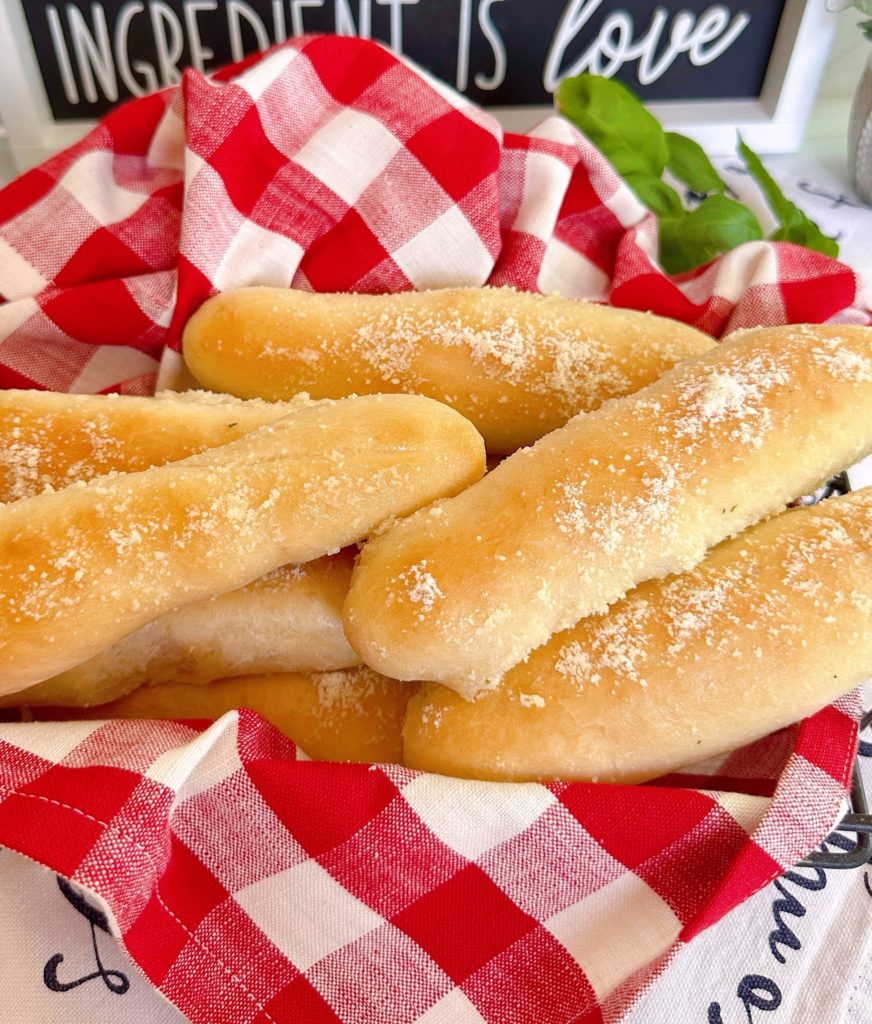
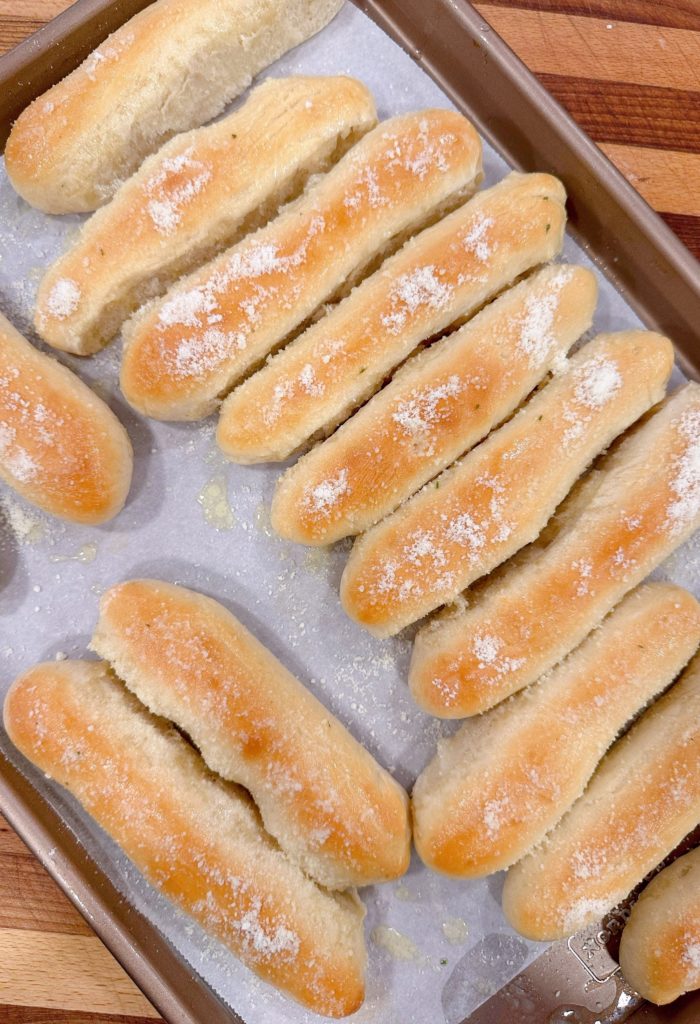
Sprinkle the top of each buttered breadstick with grated Parmesan Cheese. I know I rarely say this…but you want the Green Shaker stuff for these breadsticks. It works best!
Recipe Wrap-Up
Each breadstick is soft, fluffy, and brushed with a savory garlic butter that makes them downright irresistible. I can say this with complete conviction because we polished off every single one of these beauties at a recent family dinner party!

I love to make a batch of my Alfredo Sauce from my Chicken Alfredo Recipe and serve it warm on the side for dunking! It’s truly decadent.
There’s nothing that pairs better with homemade soft breadsticks, unless it’s fresh marinara sauce. Actually, they pair beautifully with just about everything…salad, pastas, and your favorite main dishes.
Other Favorite Bread Recipes
- Homemade Pan Dinner Rolls
- Best Three Cheese Garlic Bread
- Traditional Irish Soda Bread
- Cake Mix Cinnamon Rolls
- No-Knead Artisan Bread Recipe
- Light Oat Bread from All-Recipes.com
These Easy Homemade Garlic Breadsticks are the perfect finishing touch to any meal, made with love from your own kitchen. They’re sure to disappear fast. Warm, buttery, and full of garlicky goodness—what’s not to love?
Thanks for stopping by today! Find a full video tutorial on my Instagram Highlights. Have a great day and, as always,
Happy Nesting!


Printable Recipe

Easy Homemade Garlic Breadsticks
Ingredients
- 2½ cups Hot Water (105°F)
- 2 Tablespoons yeast active-dry
- 2 Tablespoons sugar, granulated
- 1 Tablespoons salt
- ⅛ cup vegetable oil
- 7 cups all-purpose flour
- ½ cup butter, melted
- ½ teaspoon garlic powder
- ½ teaspoon garlic salt
- ½ cup Parmesan cheese, grated, shaker style
Instructions
- In the bowl of a stand mixer, add hot water, yeast, and sugar. Gently stir with a wire whisk. Allow to sit until yeast is activated and bubbly.
- Add salt and oil. Mix together on low, using the dough hook of your mixer. Add 3 cups of flour, one cup at a time, and mix on low until mixture begins to combine. Dough will be extremely wet and sticky.
- Add 3 additional cups of flour, one cup at a time, on low, until dough begins to cling to the dough hook and the dough pulls away slightly from the sides of the bowl.
- Add another ½-¾ cup of flour to the bread dough and continue to mix until the dough forms a ball, and completely clings to the dough hook and the sides of the bowl are relatively clean.
- The dough will still be slightly sticky. Place the dough on a lightly floured surface using the remaining flour. Knead 5–8 times, until the outside of the dough is smooth. Place in a well-oiled bowl, and turn oil side up. Cover with a clean cloth and allow the dough to rise until it doubles in size. About 30 minutes.
- Punch the dough down and cut in half. Set one half aside. Roll the other half into a long log about 22 inches long. Using a knife, or pizza cutter, cut the log into 2-3-inch-long pieces and roll each section into a ball. Roll each ball into a 5-6 inch long log about a ½ inch thick. Place on a parchment lined baking sheet. (You will need to baking sheets). Repeat with other section of dough.
- Cover the breadsticks with a cloth, and allow them to rise for an additional 20 minutes. Preheat oven to 400°(F).
- Once the breadsticks have doubled in size, place one baking sheet in the preheated oven and bake for 7-10 minutes until golden brown and crispy on top.
- Remove from the oven and place the second sheet in the oven and bake.
- In a microwave-safe bowl, melt butter. Add garlic salt and garlic powder. Using a pastry brush, brush the top of each warm breadstick with melted garlic butter. Sprinkle with grated Parmesan Cheese. Serve warm. Breadsticks can be reheated in the microwave for 30 seconds on high.
Nutrition
About Author
Meet The Author


Hi! I'm Norine, the cook, baker, and recipe creator behind Norine's Nest. I love sharing and creating recipes that invite family, friends, and neighbors to gather around the dinner table. Sharing good food and creating memories with those we love brings me happiness. Thanks for stopping by my Nest!