No Knead Artisan Bread
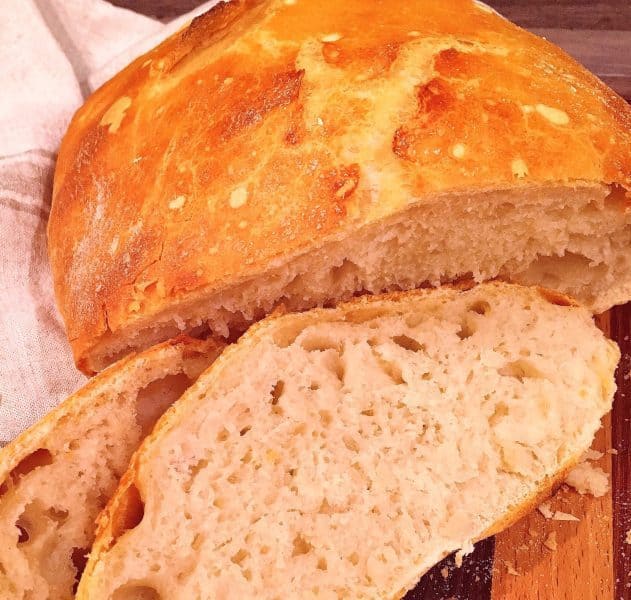
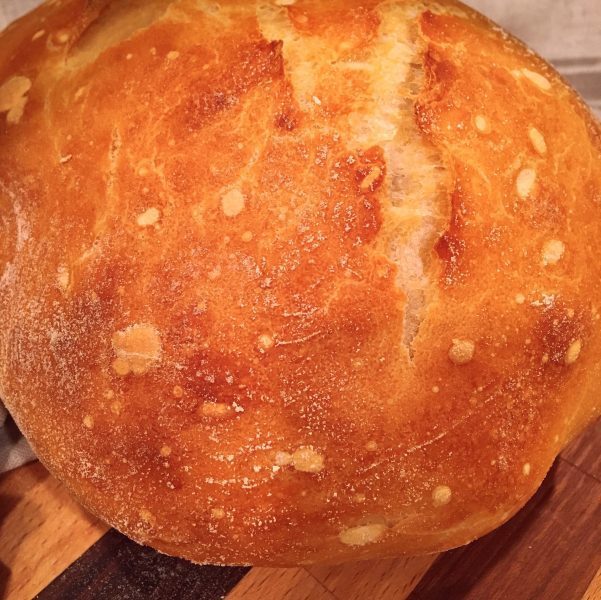
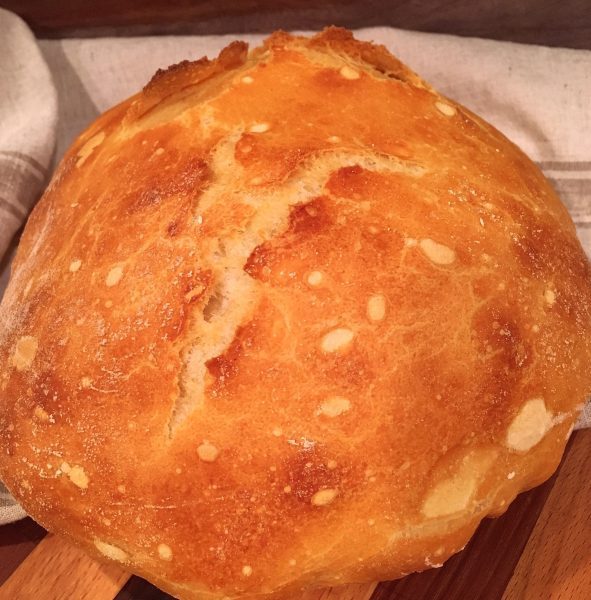
No Knead Artisan Bread, fresh out of the oven, with a crispy, crusty, golden outside and a tender, chewy inside… I’m swooning! I don’t even need butter. Just bring me the bread and no one gets hurt!
If someone were to ask me what my Number One Food weakness is…easy, hands-down…BREAD!
Bread making can be a bit of a pain in the fanny. There’s all that rising, and kneading, and rising, and kneading. (Bread is SO “Kneady”! Yep…it be needing me to eat it! Lol)
Anywho… I digress…bread making can be a process! While I love making bread…sometimes I don’t want to “work” so hard.
When I found this recipe a few years ago for “Crusty Bread” that called for just 4 ingredients, and touted “no kneading”... I jumped on the bandwagon!
I know this recipe is ALL over the internet… So I won’t take any credit for this recipe. (Also… I won’t take any credit for your addiction to this bread once you make it!)
How To Make No-Knead Artisan Bread
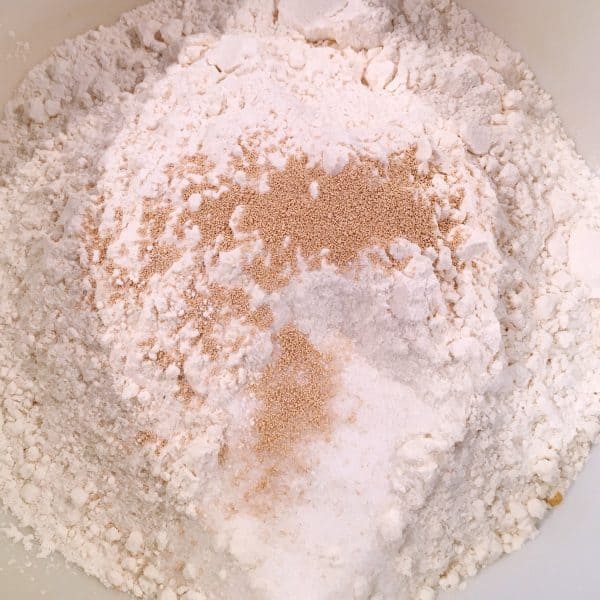
In a large mixing bowl, whisk together flour, salt, and yeast!
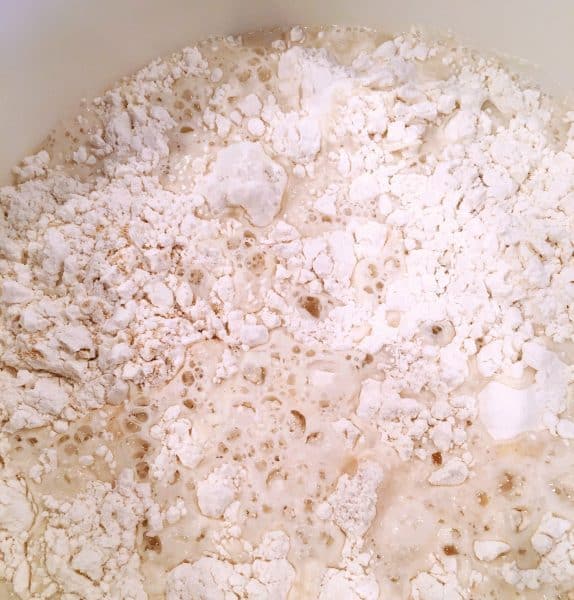
Add water and mix until a wet foamy mixture forms.
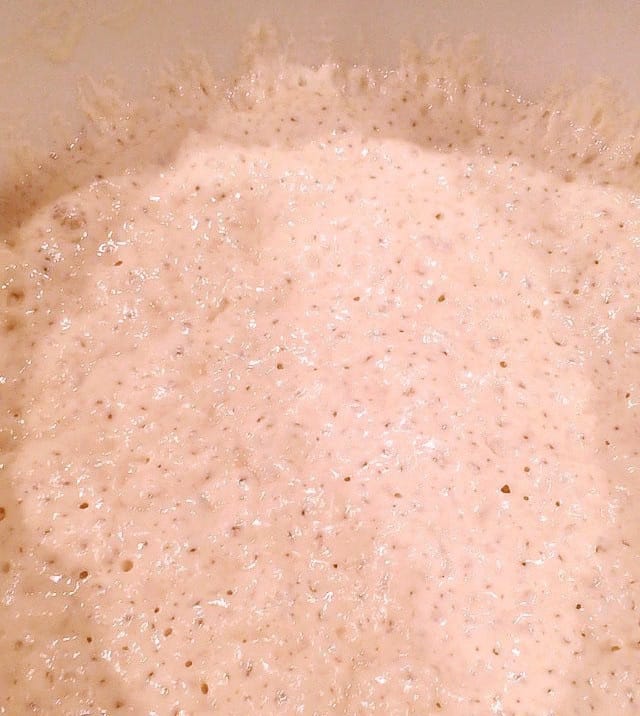
It will begin to bubble right away. This is GOOD! It’s exactly what we want.
Cover the bowl with plastic wrap and set aside for 12–18 hours! (You might have time to do a little laundry? But only if you hurry!)
I like to make this in the evening right before I go to bed. That way I know it’s had plenty of time to do it’s “thang”! Plus…fresh bread in the morning…when everyone is gone! Score one for team MOM!
Heat oven to 450 degrees! YIKES!!! THAT IS HOT my friends!
Open the oven door…burn face off! Wowza! Be careful my friends.
After you recover from your mascara melting and singeing your eyebrows off…place a cast iron pot with a lid in the oven and heat the pot for 30 minutes.
TIP: If you don’t own a big cast iron pot no worries. You can use a large deep Corning Ware Baking dish with a lid. It works just as well as the cast iron pot. I’ve done it both ways.
Meanwhile, pour dough onto a heavily floured surface… I can’t stress the “heavily” enough. This is a very sticky, wet dough!

Shape the dough into a ball by pulling the corners up and tucking them under. Remember we are not “kneading” this bread!
TIP: You can change things up with this No Knead Artisan Bread by adding grated cheddar and Jalapeño rings…or Orange zest and dried cranberries! Loads of options! All of them delicious.
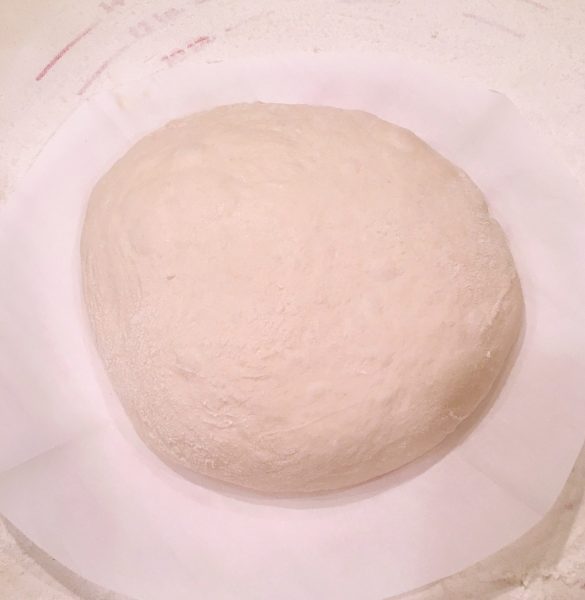
I set the dough on a piece of parchment paper that I’ve cut into a circle. This helps when transferring the dough into your, eye searing, hot preheated pot.
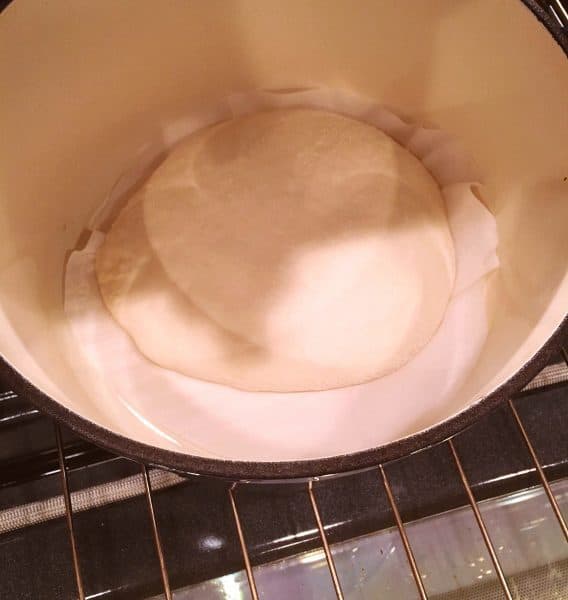
Remove hot-pot from the oven and carefully drop the dough into the pot. Cover and return to the oven for 30 minutes. (Sorry, not sorry, for the poor photo. The scorching heat kept me back a bit!)
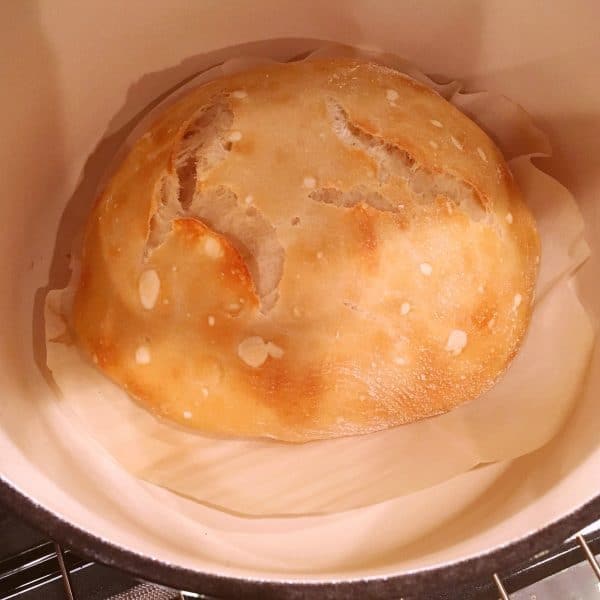
After 30 minutes remove the lid and bake an additional 15 minutes. This insures that the top gets that deep dark golden brown crispy crust.
Notice how the top of my bread has cracked? I love that. However, some like to make deep 2 inch cuts in the top of the bread before baking so that the bread will rise higher. I love the natural cracks and I think the bread rises sufficiently.
Remove the bread from the oven and set on a cooling rack to cool.
One of the things I love about this bread…it crackles when it comes out of the oven. I love to sit and listen to it pop and crack. It’s talking to me!
It’s saying “I’m over here tempting you!”
Most of the time I don’t have the patience to wait for it too cool… so that I can cut into it and slather it with butter…(Before you even say it… I said I don’t need butter… I didn’t say I don’t want Buttah!)
This bread is amazing my friends. The crust is…well…in a word “Crusty”! Isn’t this how crust should be? Crispy and golden. It’s moist, chewy, and tender.
My little “B” was over when this came out of the oven. I thought she might like a bite. Oh my goodness…that tiny little thing ate the entire piece and wanted another one! She ate TWO whole slices of this deliciousness!
When a two-year-old eats two slices…ya know it’s good!
This is a great bread recipe for a first time bread maker. It’s easy to whip up, with a very forgiving nature. It would be really hard to mess this one up.
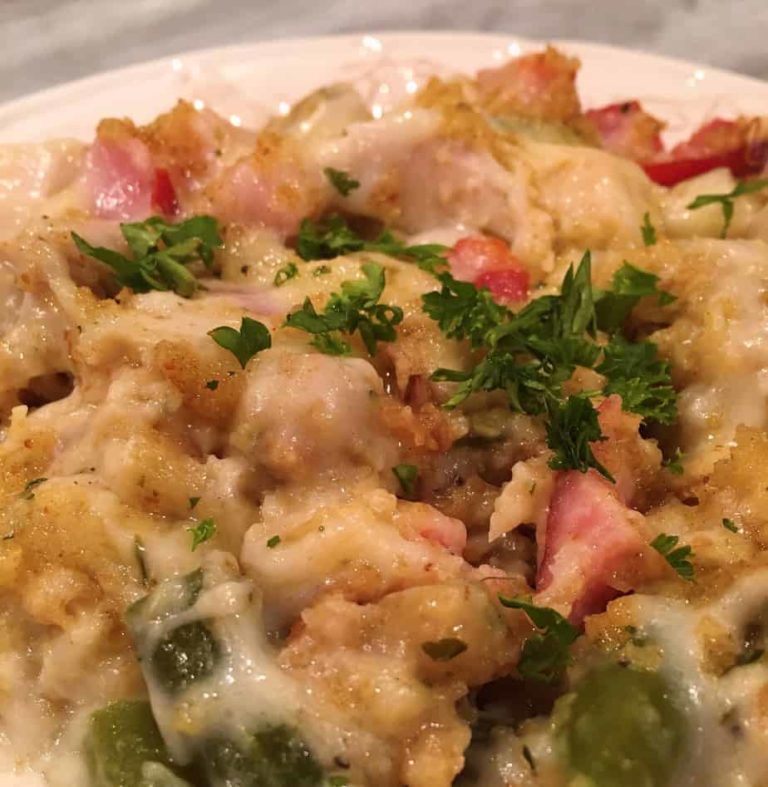
This bread makes great sandwiches, and is the perfect bread to go with any soup or pasta dish. It’s the perfect “sop-up” bread! (If y’all don’t know what that is…we need to talk. Cause you’re missing out on one of the finer things in this life. Lol)
If you like this bread recipe, you may also enjoy these other Bread Recipes
- Homemade Soft French Bread
- Buttery Sweet Corn Bread
- Lion House Dinner Rolls
- Cranberry Orange Bread
- Sour Cream Banana Nut Bread
- Sprouted Wheat Bread from A Red Spatula
The printable recipe is below ready for you to add your collection of yummy Norine’s Nest recipes.
Thanks so much for stopping by today. I hope you have a GREAT week at your Nest. I sure appreciate your support!
No Knead Artisan Bread
Ingredients
- 3 cups all-purpose flour
- 1 3/4 teaspoons salt
- 1/2 teaspoon yeast
- 1 1/2 cups water may need to add 2 additional Tablespoons for higher altitudes
Instructions
- In a large mixing bowl, whisk together flour, salt, and yeast. Add water and mix until a foamy wet mixture forms.
- Cover bowl with plastic wrap and set aside for 12-18 hours. Overnight works best.
- Heat oven to 450 degrees.
- When oven has reached 450 degrees place a cast iron pot with a lid in the oven and heat the pot for 30 minutes.
- Meanwhile, pour dough onto heavily floured surface and shape into a ball. Set on top of parchment paper circle.
- Cover with plastic wrap and let set while the pot is heating.
- Remove hot pot from the oven and carefully drop in the dough with the parchment paper.
- Cover and return to oven for 30 minutes. After 30 minutes, remove the lid, and bake an additional 15 minutes.
- Remove bread from oven and place on a cooling rack to cool.
Nutrition

Meet the Author
Hi! I’m Norine, the cook, baker, and recipe creator behind Norine’s Nest. I love sharing and creating recipes that invite family, friends, and neighbors to gather around the dinner table. Sharing good food and creating memories with those we love brings me happiness. Thanks for stopping by my Nest!


What size pot, and does it have to be cast iron? I want to try this recipe, but have always been afraid to use yeast, are there different kinds, and what about water temperature?
Hope you can help!
Hi Susan!
You need at least a 6 quart dutch oven. It doesn’t have to be cast iron but it does need to be a pot that can withstand oven temps that high. I started out using a deep dish Pyrex baking dish with a lid. As far as the yeast, I recommend using active dry yeast, not rapid rise yeast. Water temperature should be between 110° and 115° so as to not kill the yeast. Hope this helps. My only recommendation is to BE VERY Careful with the hot dish! It’s extremely HOT! It works well and this is a super easy recipe!
Happy Nesting!
Norine
Hello !
What beautiful bread !!!
I’ve followed the directions and my bread comes out delicious, but it doesn’t develop that lovely deep crevice in th he too that yours has. Any advice about how encourage that?
Thanks !!!!!
Liz
Hi Liz!
I think you’re talking about the big cracks in the top of the bread? There are two things you can do. One take a knife right before cooking and cut a 1/4 inch cut along the top. I also make sure I take off the lid the last 15 minutes of cooking. The direct heat on the bread causes the the hard crust and it will crack open.
I hope this helps in some small way! I’m craving this bread now…so I know what I’m making tomorrow. lol Thanks so much for stopping by and visiting with me. Let me know if I can offer any other help.
Happy Nesting!
Norine
I love your recipes and site but I can’t get your recipes to print out .I don’t have problems with other site. Do others have this problem?
Hi Linda!
I’m so sorry you are having issues printing off my recipe cards. I’m not sure why you are having issues. I have had one other person complain about this issue and I had my techs look into it and they told me it wasn’t on our end. I am not a “tech” savvy person at ALL. I’m so sorry. It could be a setting you have on your computer? I really don’t know. I’m more than happy to copy and paste the recipes in an email to you if you’d like to send me your email address. You can reach me at [email protected] I am sincerely happy to help you any way I can.
Thanks so much for stopping by!
Sorry I couldn’t be more help.
Norine