Buttermilk Bar Doughnut Recipe
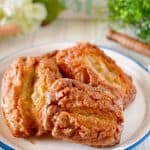
Buttermilk Bars are a vanilla-infused classic craggy Old Fashioned Cake Donut minus the hole…so you get to eat the whole delicious donut!
Last week a friend, who is from California, just like me…posted a photo on Facebook of a “Buttermilk Bar” donut that her sister brought back for her! If driving from California to Utah with a donut on your lap is not sisterly love… I don’t know what is! (Like seriously…is that not true love!)
That photo filled my mind with happy memories! Memories of early morning donut runs before school at the local donut stop! (It was actually called “The Donut Stop”…go figure!) My favorite was the Buttermilk Bar. A vanilla-infused classic old-fashioned doughnut without the hole…just one big glorious bar of Yum! (Big enough to share…but I’m not that good at sharing! Not when it comes to my carbs!)
Suddenly I had an absurd craving for a buttermilk bar doughnut! (That’s how I roll…see a carb…want a carb! I’m every advertiser’s dream!) There was only one problem… I’ve never found an old-fashioned cake donut recipe I liked. Somehow I just couldn’t find that perfect recipe. One that fried up with that glorious craggy cake donut top in the donut shop!
I’m not one to give up, so I did a lot of research and came up with the most amazing Buttermilk Bar Recipe! Let’s discuss a few tips before you begin.
Tips for making the Perfect Buttermilk Bar Donuts
- Frying: You can use regular vegetable oil, but for the perfect Buttermilk Donuts, I recommend using melted Crisco Shortening. The donuts absorb less oil from Crisco than vegetable oil. They will also stay fresher longer. So, if possible use Shortening in place of vegetable oil. It’s a little more costly, but well worth it. Oil temperature is EVERYTHING when frying donuts! Too hot they’ll burn on the outside and remain doughy on the inside. Too cold and they become oil soaked. So make sure you have a thermometer and constantly check the temperature during frying. A temp of 330°-350° is the sweet spot for frying donuts.
- Dough: This dough is very “sticky”! Chilling the dough 30 – 60 minutes is imperative to the success of this recipe. Do not over handle the dough. Over handling the dough will result in a tough donut rather than a light tender donut.
- After Frying Donuts: The donuts will be soft after frying until they cool slightly. Regardless of their golden color coming out of the fryer, they will need to be handled with care until they have cooled. I was actually really surprised by this. They’re extremely soft coming out of the fryer, however, once cooled they are easier to handle and work with. The outside with become firm and crispy.
- Vanilla Bean Paste: The recipe calls for Vanilla Bean Paste, but regular vanilla extract can be substituted in its place. Vanilla bean paste is a blend of concentrated vanilla extract and vanilla bean powder, creating a paste much like maple syrup, with a more intense vanilla flavor and flecks of vanilla bean pod. If you can find it…I highly recommend using it in this recipe.
Now….let’s get baking!
How To Make Buttermilk Bar Donuts with Vanilla Bean Glaze
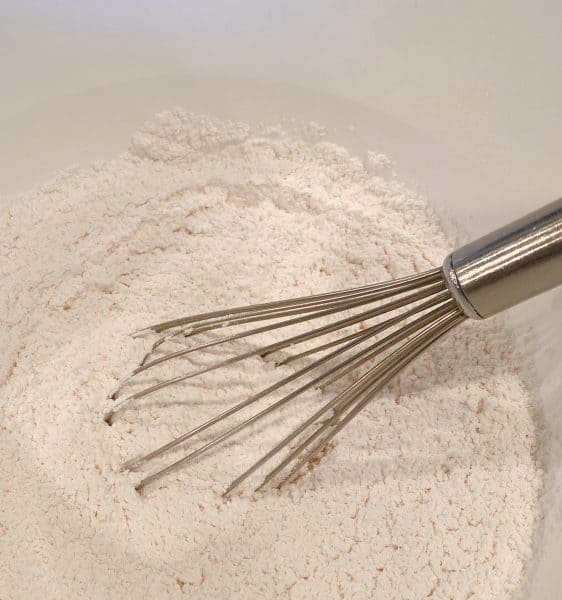
In a large bowl sift together 3 1/2 cups cake flour, 2 3/4 teaspoons baking powder, 1/4 teaspoon baking soda, 1 1/2 teaspoons salt.
TIP: If you don’t own a sifter, or want to simplify things, use a wire whisk to combine the dry ingredients. It replicates “sifting”. Using Cake Flour will make a lighter donut than all-purpose flour, because of the gluten content. However, you can substitute all-purpose flour for the cake flour.
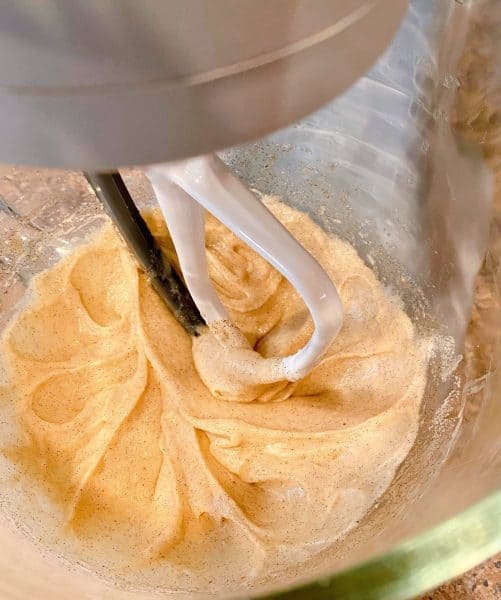
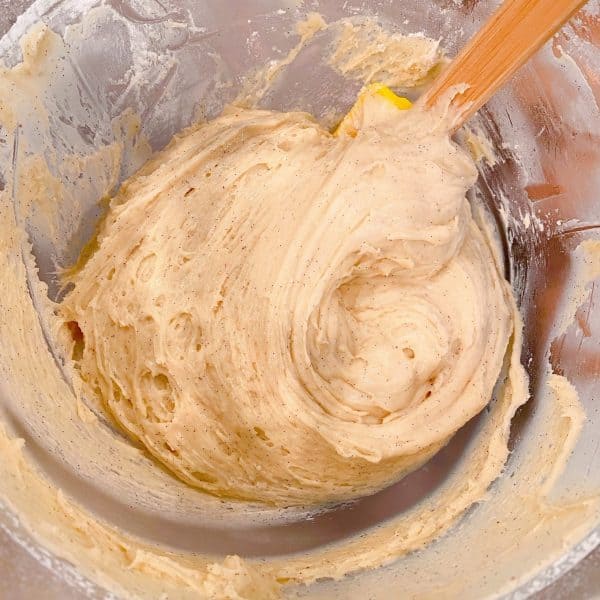
In the bowl of a stand mixer, fitted with the paddle attachment, add 1 cup granulated sugar, 2 Tablespoons Vanilla bean paste or extract, 2 Tablespoons shortening, and 2 Tablespoons melted butter. Mix on medium speed until fluffy. Scrape down the sides of the bowl with a rubber spatula.
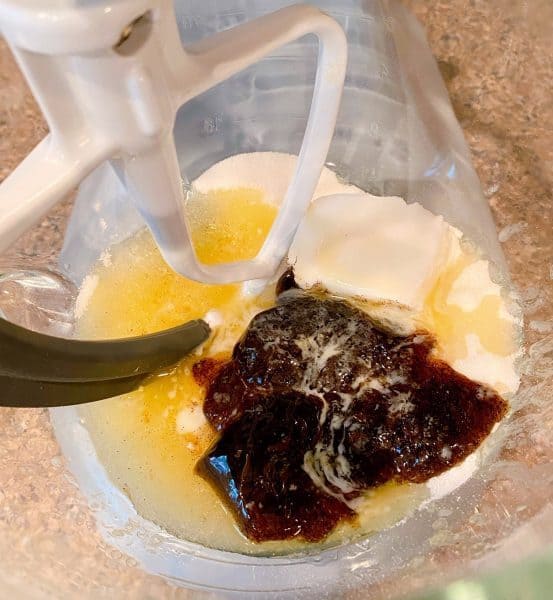
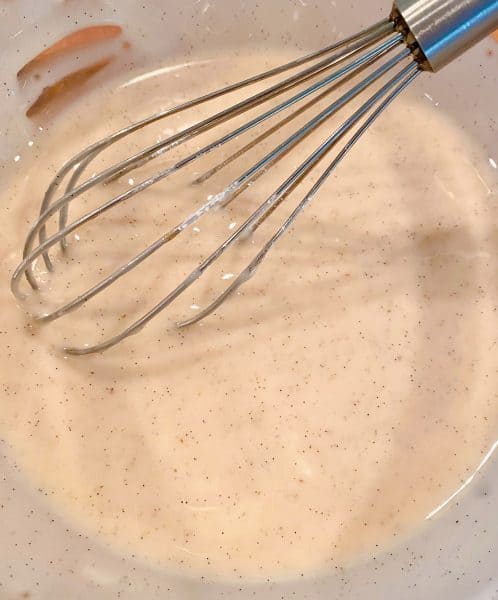
You’ll have this beautiful creamy batter. See all those amazing flecks of vanilla bean from the vanilla bean paste. It’s amazing!
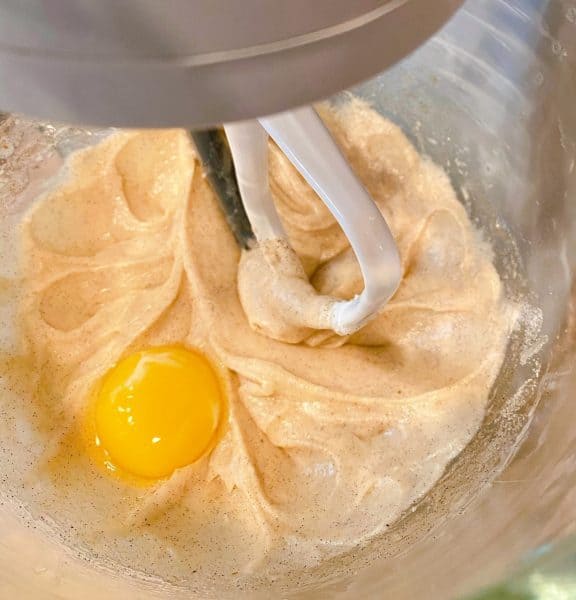
With the mixer on low, add 4 room temperature egg yolks, one at a time. Mix until well blended. Please note that only the egg yolks are used in this batter, not the entire egg.
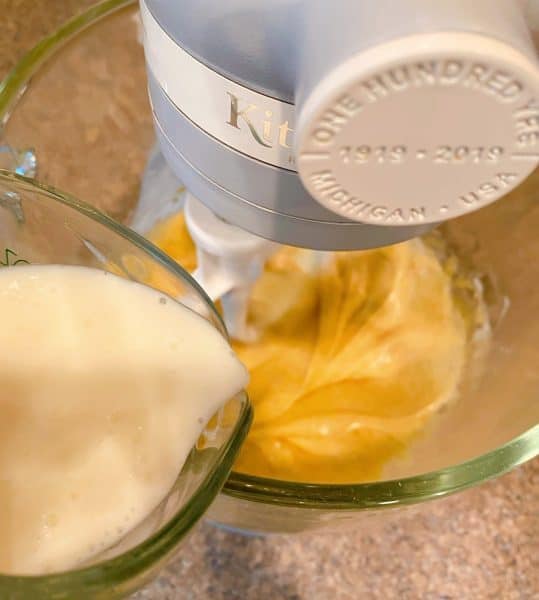
Add 3/4 cup room temperature buttermilk. Continue mixing until well combined!
Okay confession time. I’m generally not a stickler for “room temperature” ingredients. However, for this recipe it makes a huge difference in the outcome, so I strongly advise making sure the eggs and buttermilk are at room temperature.
With the mixer on low, add the dry ingredients all at once, into the wet ingredients. Mix until combined. Make sure the mixer is on LOW! (If you don’t have that mixer on low…you best have a cleaning team on stand-by cause you’re gonna need it!)
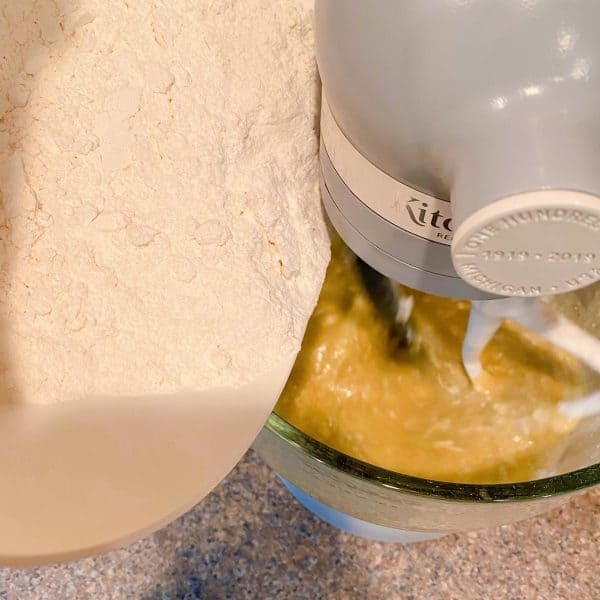
Using a rubber spatula, scrape down the bowl making sure all the ingredients are incorporated.
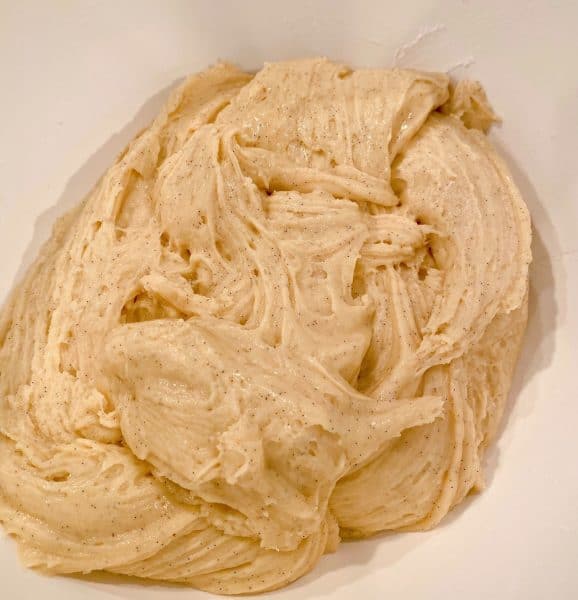
TIP: The dough will be very sticky, somewhere between a cookie dough and a thick cake batter.
Place the sticky dough into a clean bowl, cover and refrigerate for at least 30 minutes.
TIP: I recommend an hour if possible. However, if you’re like me…you just want to get to the eating part, so at least a half hour in the chiller!
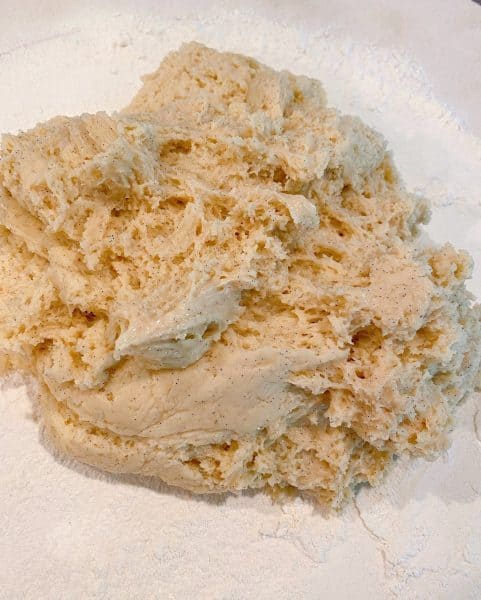
Heavily flour a work surface and your hands. Remove the dough from the bowl, and place it on your work surface. I love to use my “dough disc” for all my dough recipes. It works so well. Dough doesn’t stick to the canvas and the canvas holds the dusting of flour really well. It’s perfect for bread doughs, pie crust, etc.!
This isn’t a sponsored post… I’m just sharing the kitchen tools I like to use in the kitchen. There’s a link in my recipe card. I am an amazon affiliate, so I make a small commission if you purchase one through my link. Full disclosure. However, I’ve been using a dough disc for 25 years. It’s one of my essential kitchen tools.
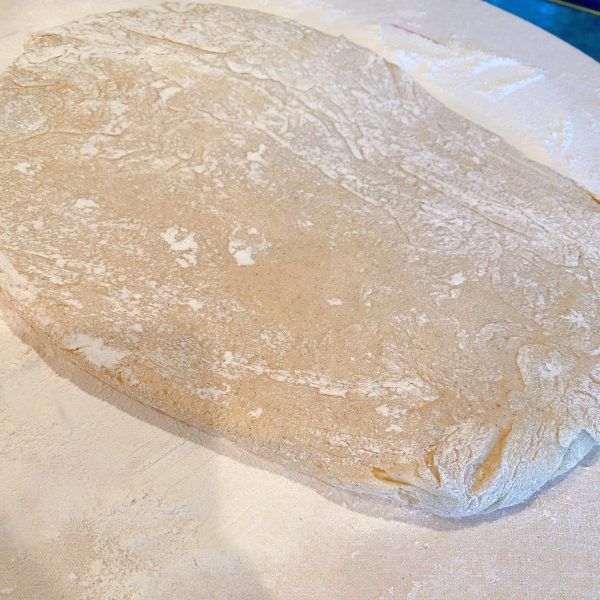
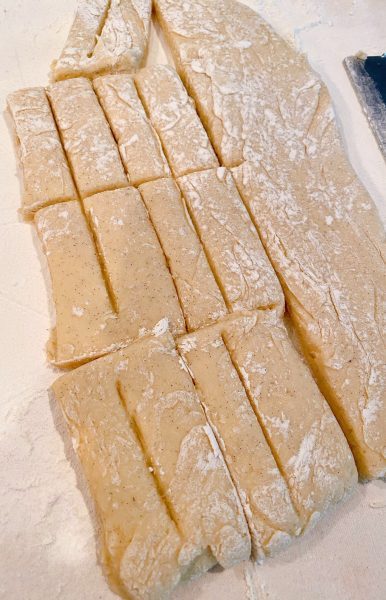
Gently roll the dough around in the flour. Pat the dough into a rectangle about 1/2 inch thick and 3 1/2 inch wide. A short rectangle. The length isn’t really that important. Just make sure it’s at least a 1/2 inch thick. Also don’t be afraid to use extra flour if needed. This is a very sticky dough.
TIP: You can use a rolling pin to gently roll out the dough if that is easier.
Flour a bench scrapper and cut the rectangle into 3 1/2″ by 1 1/2″ by 1/2″ bars. Score the top of each “bar”. (Scoring is not using “pick-up” lines on the dough…it’s an actual cooking term. Just thought I better clarify that!)
How to Score Dough
To score the bars, dip the scrapper into flour, and VERY gently press the bench scraper down the center of each bar, making a light indentation. Be careful not to go too deep, or the bar will split in half during frying.
This will give your doughnut the perfect buttermilk bar craggy look down the center. Using a pastry brush, lightly brush your bars to remove excess flour.
Fill a large, heavy pot with 6 cups of shortening. Once the shortening is melted you should have at least 2 inches of oil, if it’s not at least 2 inches, add more shortening.
TIP: I use a large sauce pan rather that a large heavy pot! Just to make sure I have enough shortening for this recipe. The smaller the pot the less Crisco you’ll have to use. It still took 6 cups. 4 in the beginning, and then I added two more cups towards the end of frying to bring the level back up to 2 inches.
Attach a candy thermometer to the side of the pot and heat the shortening on medium-high heat until the temperature reaches 350 degrees, or a bit above. The temperature will drop when you add your doughnuts, but while frying, you want your temperature to stay right around 330° – 350°. You may have to adjust the heat to keep a steady temperature.
Line a cooling rack with a thick layer of paper towels, about 4 thick, and place it near where you’re cooking. (Not too near where you’re cooking. We aren’t attempting to call to the fire department.)
Once the oil is at the desired temperature, flour a very thin metal spatula, or even a fish spatula, and use it to carefully transfer the bar to the hot oil.
TIP: CAUTION!!! DO NOT DROP THE DONUT INTO THE HOT OIL!! This will cause splatters and potential burns! Please be very careful when working with HOT Oil!
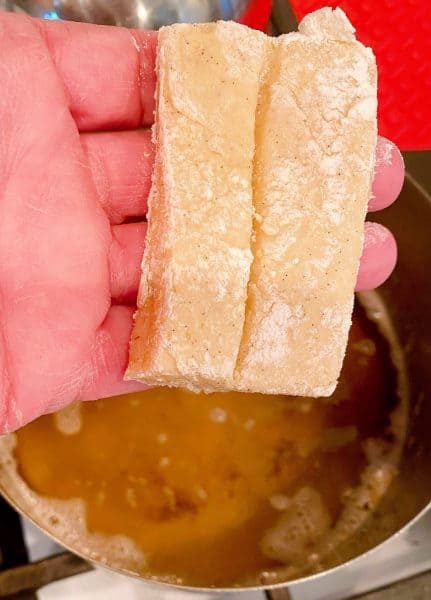
Fry the bottom of the donut first! This allows the top to expand and create the craggy look desired, and specific to the “old-fashioned bar donut”.
Fry 1 to 2 minutes, gently flip the doughnut over and continue to fry for 1 to 2 minutes more.
I was so EXCITED when these were frying! That perfect texture on the outside of the donut had me giddy! Never before had a homemade old-fashioned donut turned out so beautifully! It was awesomely amazing!
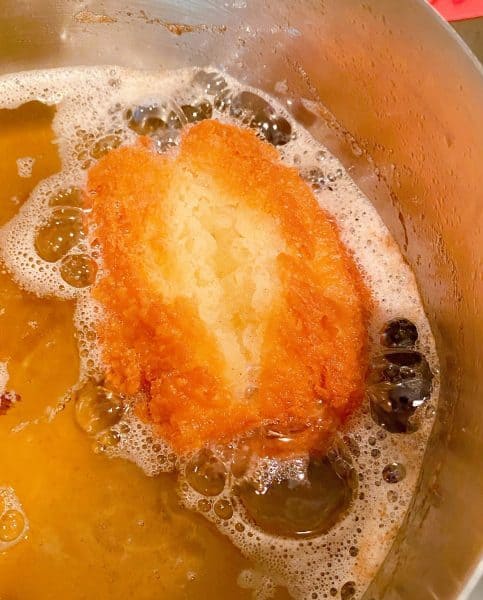
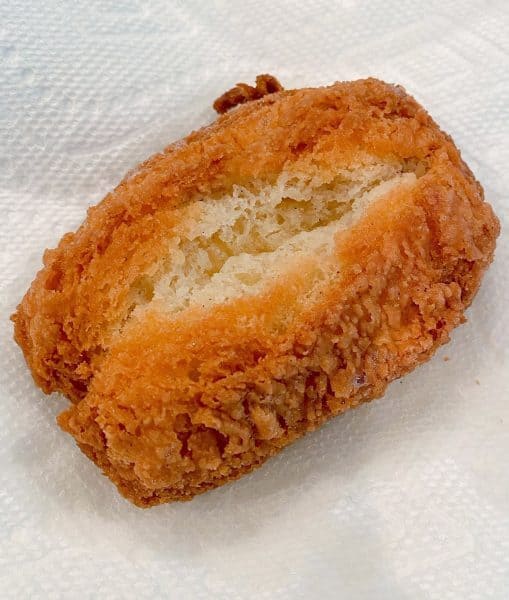
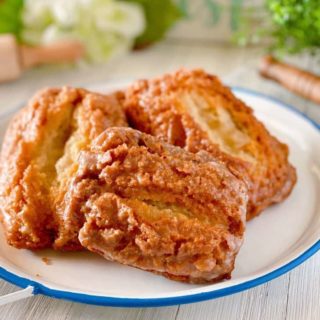
When both sides are done, carefully transfer the doughnut, using the spatula, to the prepared cooling rack. You’re looking for that golden color and the beautiful split on the top! That right there…all those nooks and crannies…that is the Perfect Buttermilk Bar!
Depending on the size of your pot, and how patient y’all are…you may fry more than one bar at a time. I started out frying one at a time…and then I upped my game and did two at a time. If you do this, watch that oil temp…two donuts drops the temperature more than one.
TIP: You may also find during frying that you need to add more Crisco or oil as the level will drop. If you do so, wait for the oil temperature to come back up to 350°.
In a separate bowl combine the ingredients for the Vanilla Bean Glaze. Mix 2 cups confectioner’s sugar, sifted to remove lumps, 2 tablespoons vanilla bean paste, and 1/4 cup very hot water.

Mix until smooth and creamy.
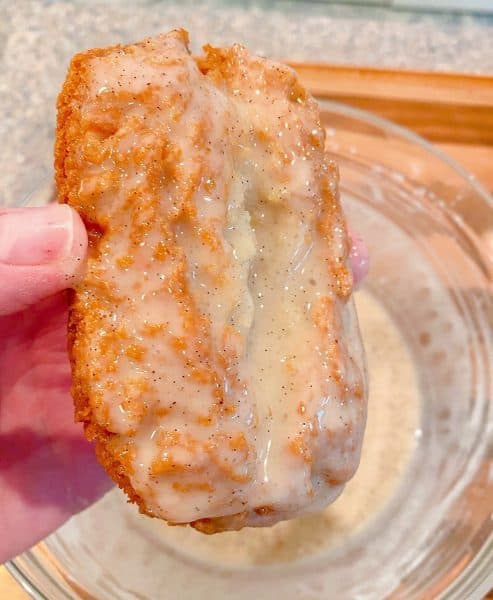
Dunk the slightly cooled buttermilk bar into the Vanilla Bean Glaze.
I just love those specks and flecks of vanilla beans. Traditionally only the tops of the buttermilk bars are dipped in glaze. I find this is the perfect amount of glaze for these delicious bars of delight.
Place the dipped Buttermilk Bars on a rack and allow the glaze to “set”. It will take about 3–5 minutes for the glaze to set.

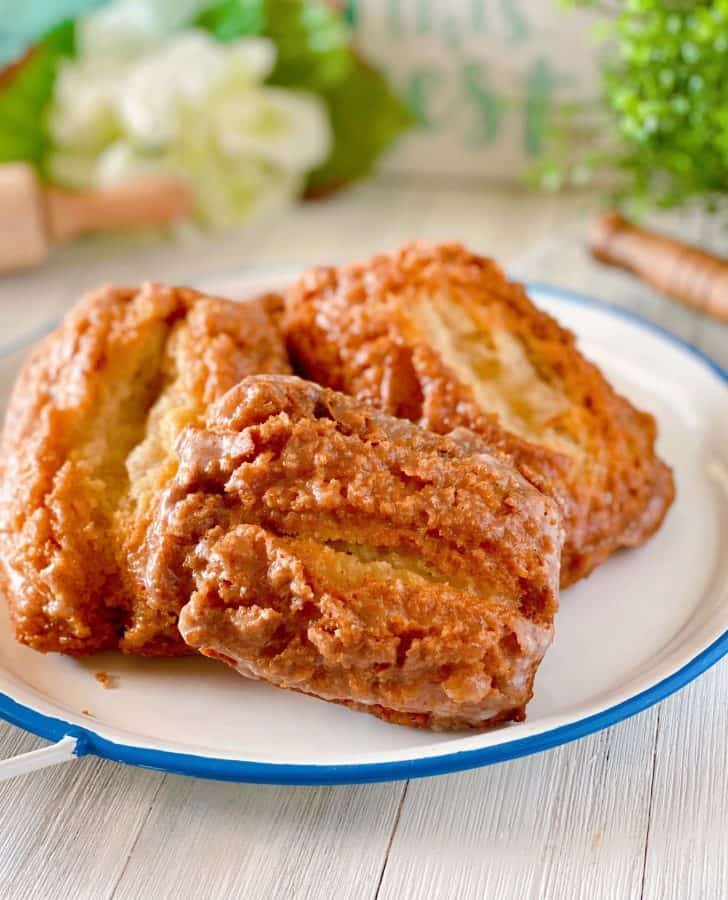
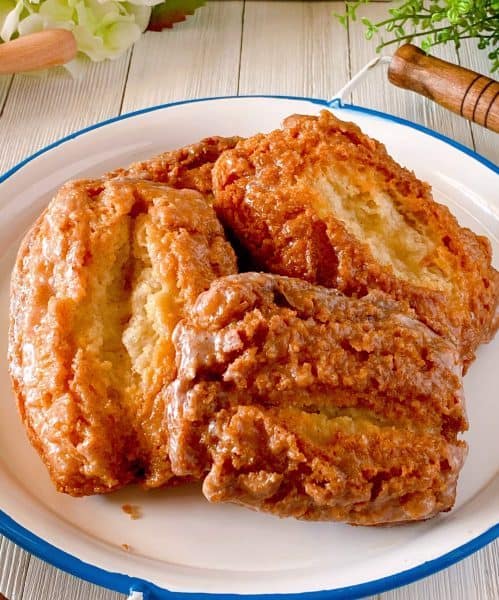
That’s a row of happiness my friends! Now for the fun part! Let’s get to eatin’ one of these Epic Old Fashioned Vanilla Buttermilk Bar Donut! HOORAY!!!
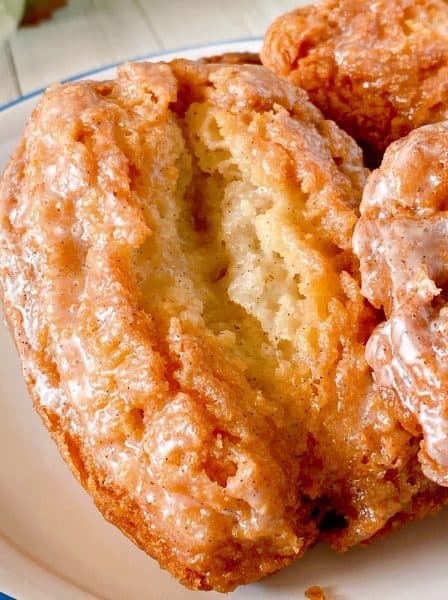
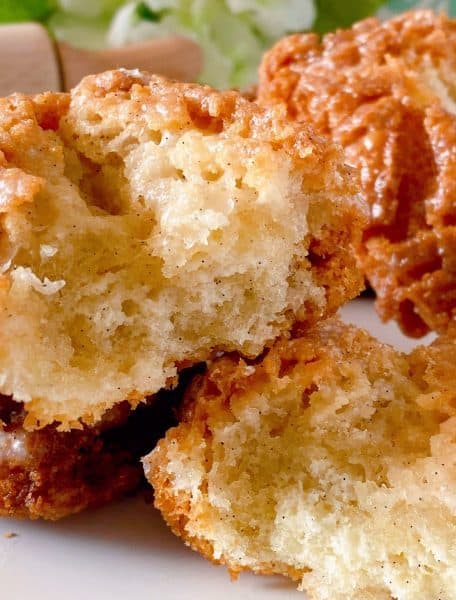
Wanna take a look inside? Ohhhhh….let’s!
They’re not “grease soaked”… just super moist and tender. The flakes of vanilla bean are throughout the donut. The outside is gently crispy and flakey. The glaze isn’t too thick…it’s just right. Goldie Locks would be eating these babies!
You know there’s only one problem with my job. When I write up a post for a recipe…and I know how good it is… I instantly start to crave it.
From the first bite… the warmth of vanilla washed over me like warm sunshine on a summer day. A lot of Old Fashioned donut recipes call for nutmeg. I wouldn’t do it. I love that this one doesn’t. I say “Let that vanilla shine”! It’s truly the star of the show! There’s also the subtle tang of the buttermilk. It’s truly the perfect homemade donut!
These were even better than I had hoped! There’s something special about an old-fashioned cake donut that’s fresh and warm.
You just can’t get find that anywhere else but straight out of your kitchen! I can’t wait to make these again…and again…and again!
If you love this recipe and these spectacular Buttermilk Donuts you might enjoy these other Breakfast Recipes.
Great Breakfast Recipe Idea’s
- Streusel Pecan Mixed Berry Muffins
- Homemade Blueberry Buttermilk Pancakes
- Easy Homemade Belgian Waffles
- Easy Fried Apple Cider Donuts
- Blueberry Lemon Soda Bread Muffins
- Easy Cinnamon Cruffin Recipe
- Old Fashioned Hot Apple Cider
- Fried Pumpkin Spice Donuts
- Raspberry Cream Cheese Puff Pastry Danish
- Croissant French Toast
- Whole Wheat Hot Cross Buns from A Red Spatula
Thanks so much for stopping by! Hope you love this recipe as much as I did! It’s worth the extra effort to whip up a batch of these doughnuts.
I’d love to have you join me on Facebook, Instagram and Pinterest. I’m there under “Norine’s Nest”. The printable recipe is below. Enjoy!
Happy Nesting!
Buttermilk Bar Donuts Recipe
Ingredients
Doughnuts
- 3 1/2 cups cake flour
- 2 3/4 tsp baking powder
- 1/4 tsp baking soda
- 1 1/2 tsp salt
- 1 cup granulated sugar
- 2 tbsp vanilla paste or extract
- 2 tbsp shortening
- 2 tbsp butter melted
- 4 egg yolks room temperature
- 3/4 cup buttermilk room temperature
Vanilla Bean Glaze
- 2 cups confectioners’ sugar sifted
- 2 tbsp vanilla bean paste or extract
- 1/4 cup warm water
Instructions
- Sift, or whisk, the flour, baking powder, baking soda, and salt together in a large bowl.
- In the bowl of a stand mixer fitted with the paddle attachment, combine the sugar, vanilla, shortening, and melted butter, on medium speed until creamy. About 3 minutes. Use a rubber spatula to scrape down the sides of the bowl of the mixer.
- With the mixer on low, add the room temperature yolks, one at a time. Stop to scrape down the bowl as necessary. Add the room temperature buttermilk. Continue to mix until well combined.
- With the mixer on low, add the dry ingredients all at once. Mix until ingredients are just combined. Using a rubber spatula incorporate all the ingredients and any flour that is still stuck to the side of the mixing bowl. Transfer the dough to a clean bowl. The dough will be very sticky. Somewhere between a cookie dough and cake batter. Cover the bowl and refrigerate for 30-60 minutes. Minimum of 30 minutes.
- Heavily flour a work surface and your hands. Remove the dough from the bowl, place it on your work surface and gently roll the dough around to lightly cover it with flour. Pat the dough into a rectangle about 1/2 " thick, and 3 1/2 "wide. Add more flour to work surface if needed. The dough is extremely soft so don’t be afraid to use extra flour. Flour a bench scraper or small spatula, and cut the rectangle into 3 1/2" by 1 1/2" by 1/2" bars. Once you have cut all of your bars, dip the scraper or spatula in flour again, and VERY gently press the bench scraper down the center of each bar, making a light indentation. This will give your doughnut the famous buttermilk bar look. Using a pastry brush, lightly brush your bars to remove any excess flour if necessary.
- Fill a large, heavy pot with 6 cups of shortening. Once melted this should equal about 2" of oil in the pan. If not add more shortening. Attach a candy thermometer to the side of the pot and heat the shortening on medium-high heat until the temperature reaches 350°.
- Line a cooling rack with a thick layer of paper towels, about 4 thick.
- Once the oil is at 350°, flour a very thin metal spatula or fish spatula, use it to carefully transfer a bar to the hot oil. Start frying with the doughnut bottom side down. This will allow the top to puff and achieve the look of a buttermilk bar. Fry the bar for 1 to 2 minutes. Using the metal spatula or a pair of chop sticks, gently and carefully flip the doughnut over and continue to fry for 1 to 2 minutes more. When both sides are done, you will know by the color, carefully transfer the doughnut to the prepared cooling rack with the spatula.
- Let the bars come to room temperature before glazing.
- To make the glaze whisk the powder sugar, vanilla paste or extract with boiling water until shiny and smooth.
- Dunk each bar, top side down into the glaze. Set on a cooling rack until glaze sets. About 4-5 minutes.
Video
Nutrition
Meet the Author
Hi! I’m Norine, the cook, baker, and recipe creator behind Norine’s Nest. I love sharing and creating recipes that invite family, friends, and neighbors to gather around the dinner table. Sharing good food and creating memories with those we love brings me happiness. Thanks for stopping by my Nest!


Is it possible to make these like a regular doughnut like an old-fashioned doughnut using a round cutter?
Hi Dayna,
Absolutely you can! It would work beautifully! Hope this helps? Have a wonderful day and thanks for stopping by.
Norine
I just made these buttermilk bar doughnuts, and they were a huge hit! The texture is perfect, and the flavor is spot on. Thank you for sharing such a delightful recipe! I can’t wait to try different toppings next time!
Thanks so much for stopping by and sharing. I’m so glad you enjoyed this donut recipe. It is one of my favorites.
Have a great day and stop back by again soon.
Norine
I just tried your buttermilk bar doughnut recipe, and they turned out amazing! The texture is perfect, and the flavor is on point. Thank you for sharing such a delightful treat! Can’t wait to make them again!
I made these and they came out excellent! I also made a very similar recipe but used all purpose flour 👎🏼. That cake flour inn yours is the key! I might just add nutmeg to your recipe the next time, it seems to add just a bit of authentic taste😉 Thank you for sharing!!
Hi Cindy!
Thanks so much for stopping by and sharing with us. I’m so glad you liked this recipe. I love the addition of nutmeg! Great idea!
Have a wonderful New Year and please come back again soon.
Norine
Can I make not such a deep cut in the top of the bar to be able to put a filling in them?
Hi Patti,
I have never put a filling in a “cake” doughnut before. Generally fillings are reserved for “yeast risen” doughnuts. I’m afraid I’m not able to help you with this one as I wouldn’t put a filling in this type of donut.
Norine
could you make these in an air fryer?
Hi Michael,
I honestly do not think this recipe would work well in an air fryer. The “craggy” edges and “center puff” come from hitting the hot oil.
Sorry. I know an air fryer would be healthier…but do we really want healthy donuts? Lol
Happy Holidays,
Norine
is it possible to bake these, i tried this recipe before and loved .it. now i am 80 years old and it is not safe for me to fry anything
Hi Ann,
I do understand your concerns with frying. It can be scary at any age. I have never tried baking this particular recipe. I’m wondering if you were to brush them with butter if it would give you a similar result? I need to try that. I wish I had a more firm answer for you, but since I haven’t tried it I don’t want to lead you astray.
I’m sorry. If I do bake them, I’ll let you know my results.
Norine
I’m looking for the link for the dough disc I can’t wait to try the doughnuts!
Hi Gail!
Sorry about that. We had to remove some links when we updated the website. I found mine on Amazon and just searched dough disc. Hope this helps.
Norine
I just tried the Buttermilk Bar Doughnut recipe, and they turned out absolutely amazing! The texture is perfect, and the flavor is so rich. Thanks for sharing such a fantastic recipe, Norine! I can’t wait to make these again!