

An easy Homemade Flaky Pie Crust Recipe and tutorial to help you make the BEST and only pie crust recipe you’ll ever need!
With the Holidays approaching, I decided it was about time the star of my homemade pies finally had its very own post!

This is the ONLY pie crust recipe I use for all my pies. (Did you know pies came to America with the Pilgrims! (Keep that in mind next time you pass a man in a tall hat with a buckle!)
It’s the perfect crust for the beginner pie maker or novice! Join me for my step-by-step instructions and learn how to make your own pie crust this Holiday Season. It’s a lot easier than you think!
Let’s do this!

How To Make Homemade Flaky Pie Crust
Making homemade pies can be intimidating…especially when it comes to the crust! Have no fear…I’m going to share with you some simple tips and information that will help you become an expert in the art of pie crust making. (Move over Julia…there’s a new kid in town!)
This recipe is for a single pie crust…however, you can easily double it for a double crust. (See…your Mom was right about multiplication!)
Let’s start out with the supplies you’ll need before you begin…
- Pastry blender
- American or European tapered rolling pin
- Metal dough scraper (optional in my ever-so humble opinion)
- Kitchen scissors
- 9-inch pie plate or deep dish glass pie plate for fruit pies
- Dough disc
- Pie weights for single baked crust
Special Tips for the art of “Flaky Pastry Dough”.
- The first step is to cut the fat into the dry ingredients with a pastry blender. The goal is to cut the fat, or Crisco, into the dry ingredients, leaving it in separate pieces, some fine and crumb like, others larger, the size of small peas. The reason for this is that you are coating the flour with fat so that when water is added it will hinder the formation of gluten.
- The second step is binding the dough together with water. The trick is to add enough water to make the dough stick together, but not enough to cause gluten to form, which will make the dough chewy like bread.
- The third step…and, in my opinion, the most important…DO NOT OVER HANDLE THE DOUGH! This is pie crust, not bread dough! Big difference.
Now that we have some of the basics about how to create a no- fail flaky Pie Crust… let’s get busy!
How To Make The Perfect Pie Crust
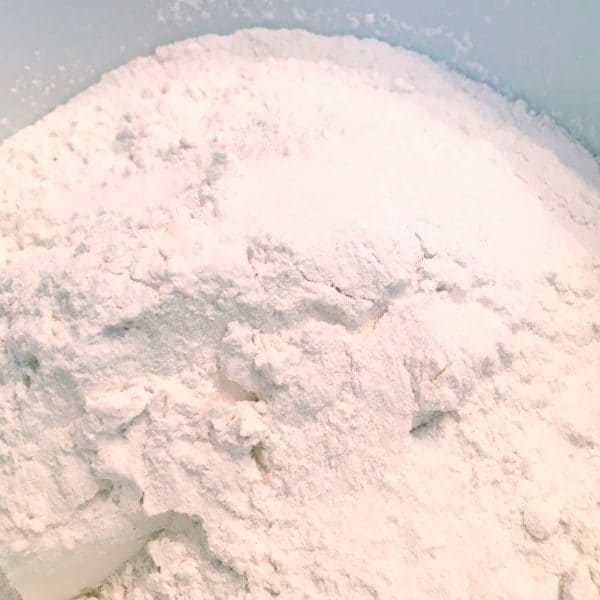
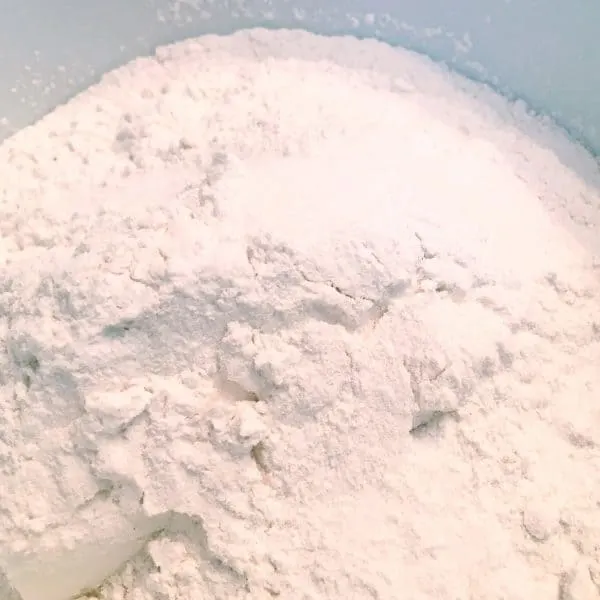
In a medium bowl, add 1 cup of flour, 1/2 teaspoon salt, and 1/3 cup plus 1 Tablespoon shortening! Unlike some recipes that use butter for the crust, shortening does NOT need to be cold when making a pie crust. Room temperature is fine.
I feel the same way about shortening as I do about Best Foods Mayonnaise. There is ONLY one brand to use! Crisco!!! Yes, you can use the buttery flavor, but honestly, just good ol’ Crisco is best!
TIP: Place the shortening in the bottom of the bowl with the dry ingredients on top. I like to use Crisco sticks (you can see them peeking out in the bottom left corner of this photo). It is just easier to use and clean up is a breeze!! With the shortening on the bottom of the bowl, the pastry blender will go through the flour first, coating it.
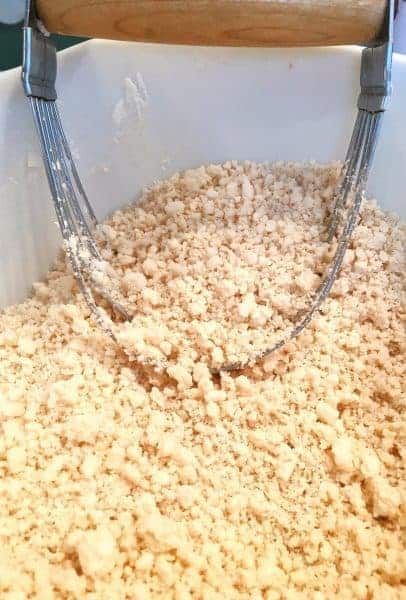
How To Cut the Shortening into Flour
With a pastry blender, cut the Crisco/fat into the dry ingredients, forming that fine crumb as mentioned above. Remember some will be the size of small peas.
TIP: Make sure all the Crisco has been cut into the flour by scraping the pastry blender along the bottom of the bowl.

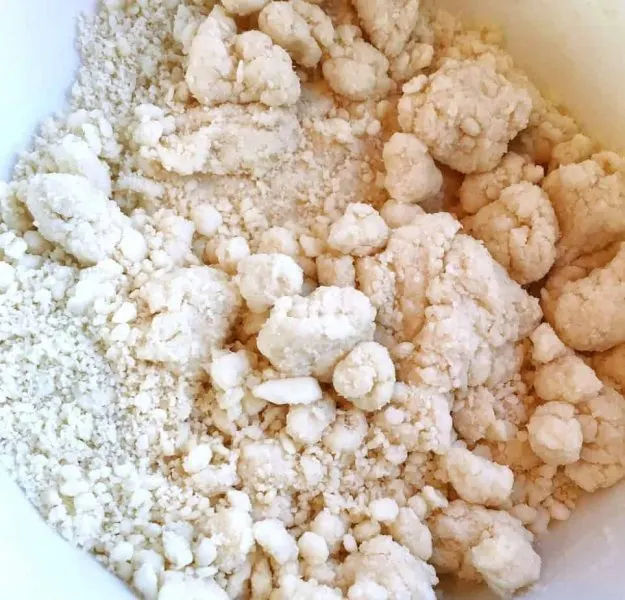
Add 3 tablespoons of ice-cold water into the center of the crumb mixture.
This next step is a “Norine Original”… Gently shake the bowl around until it begins to form larger balls of dough. By shaking the bowl there is less “handling” of the dough. This will help produce a flakier crust.

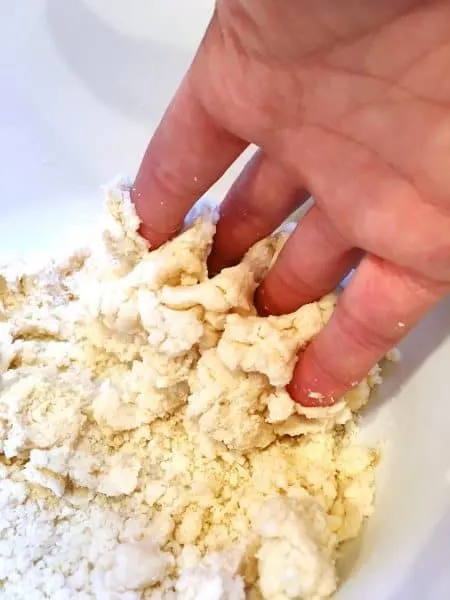
“Raking” the Crust
Next, and again another “original” tip…ya just gotta trust me that this works…
Spread your fingers apart like a “rake” and gently rake the dough into a ball. I bet you thought I was joking. Pie dough is no joking matter, my friends. This is serious business! These little tips I’m sharing with you will create the flakiest crust on earth!!

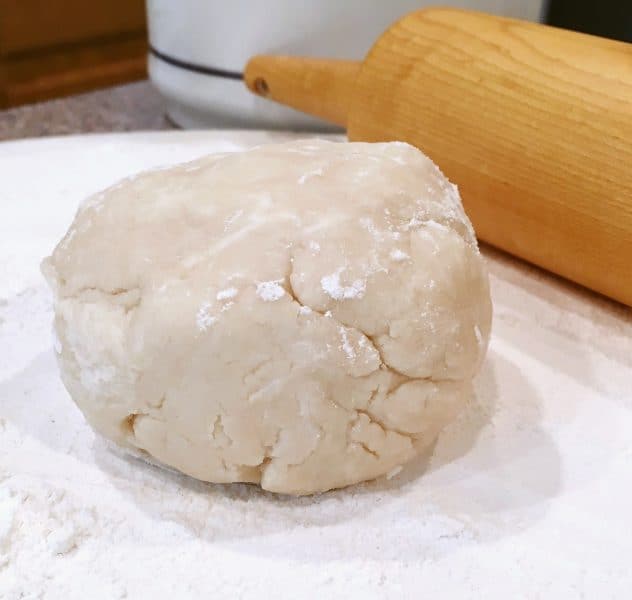
Gather the ball into your hands and press into a ball, making sure you’ve gathered all the crumbs together. The dough does not need to be chilled, but make sure that you do not roll the dough out next to a hot oven or the fat will begin to break down.
Rolling Out Pie Crust
Place the dough on a well-floured surface. Gently press the dough down and flip over, so the flour side is up.
TIP: I use my dough disc to roll out my pie crust. There is a link below on the recipe card, so you can purchase one if you’d like. I love my dough disc because the dough does not stick to the floured cloth surface!

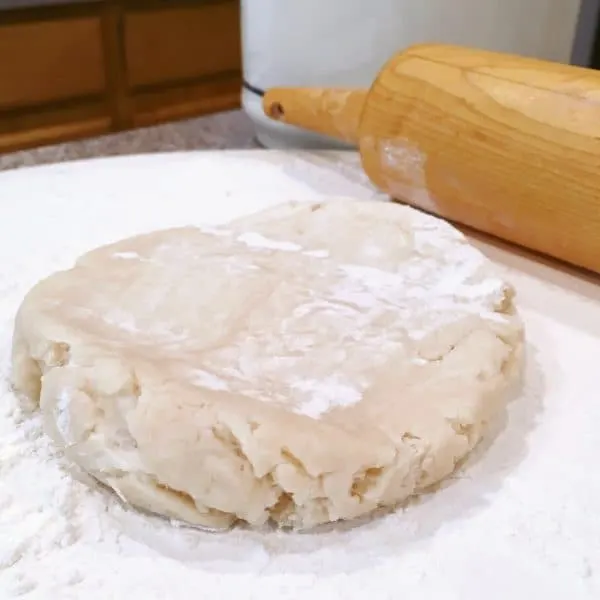
Press the dough down into a small disc and begin rolling the dough out.
The secret to rolling dough is to lean into the pin rather than press down on it. The goal is to enlarge the dough, not press and crush it to death like a two-year-old sleeping with you in bed! (How does something so small manage to do that?!! They’re like mini steam rollers!)
Making sure you flour the rolling pin, roll the dough from the center out in all directions. Rotate the dough around so that you are rolling in the opposite direction as the previous roll. This will help create an even circle. Roll the dough about 3–4 inches larger than your pie plate.

Halfway through rolling the dough out, I flip the dough over. You do not have to do this, I just feel it creates a nice even crust and bonds the dough from both sides. Remember to reflour your rolling pin.
Best Way to Transfer Pie Dough to a Pie Plate
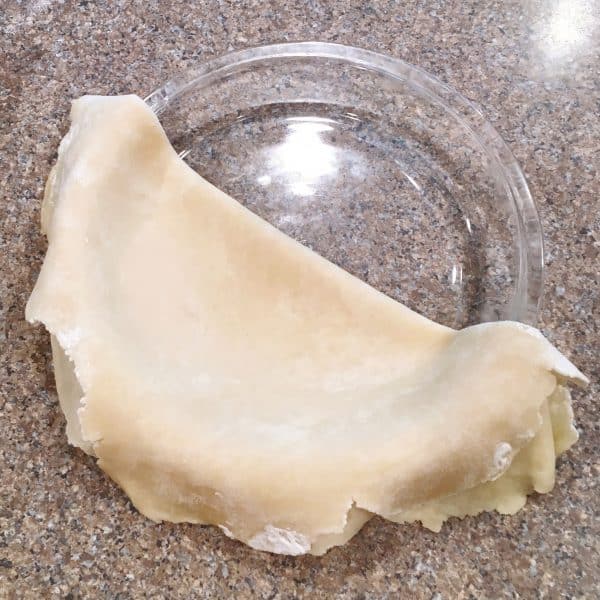
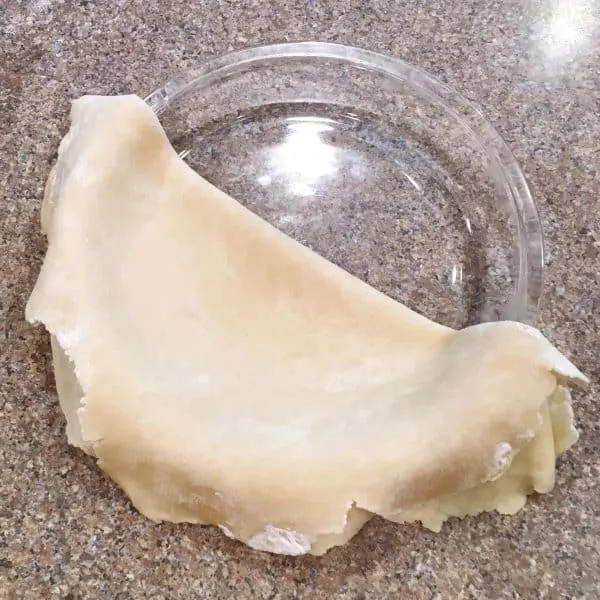
To place the dough into your baking dish, gently and carefully fold the dough in half. I do NOT fold into quarters like most recipes state. I find folding it in half is good enough to make moving the dough easy and gives the perfect idea where to place the dough on the pie plate.
Place the fold of the pie crust in the center of the pie plate and gently lift the other half open and over the other half of the pie plate.
Be sure to push the crust down onto the pie plate. Using clean kitchen scissors, trim the crust about 1/2 inch to 1 inch from the edge of the pie plate.
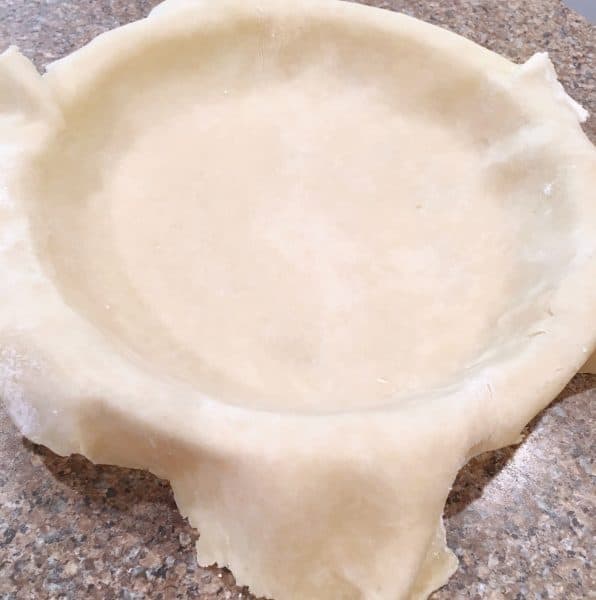
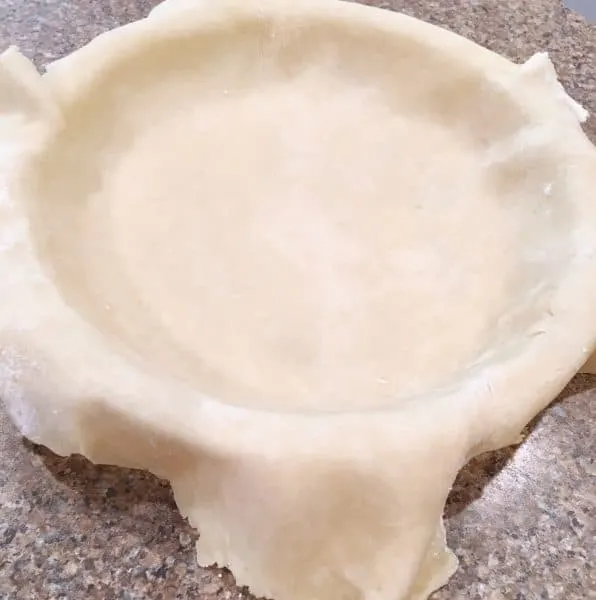
Tuck the over-hanging crust under the top ridge of the crust. This little extra crust will create a beautiful edge to your pie.
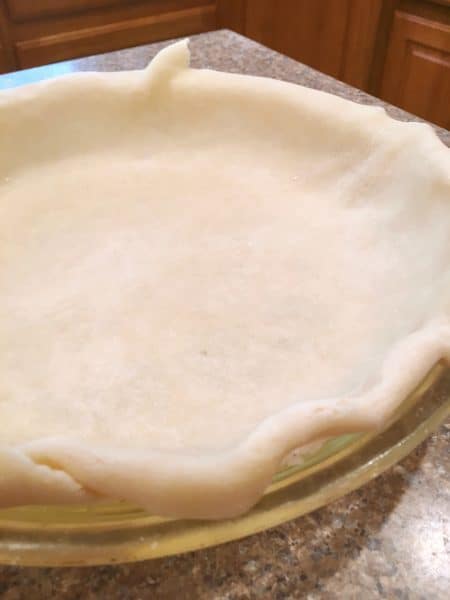
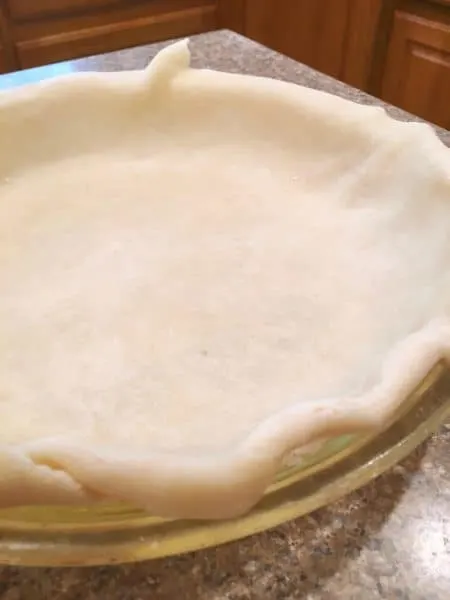
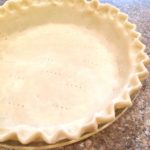
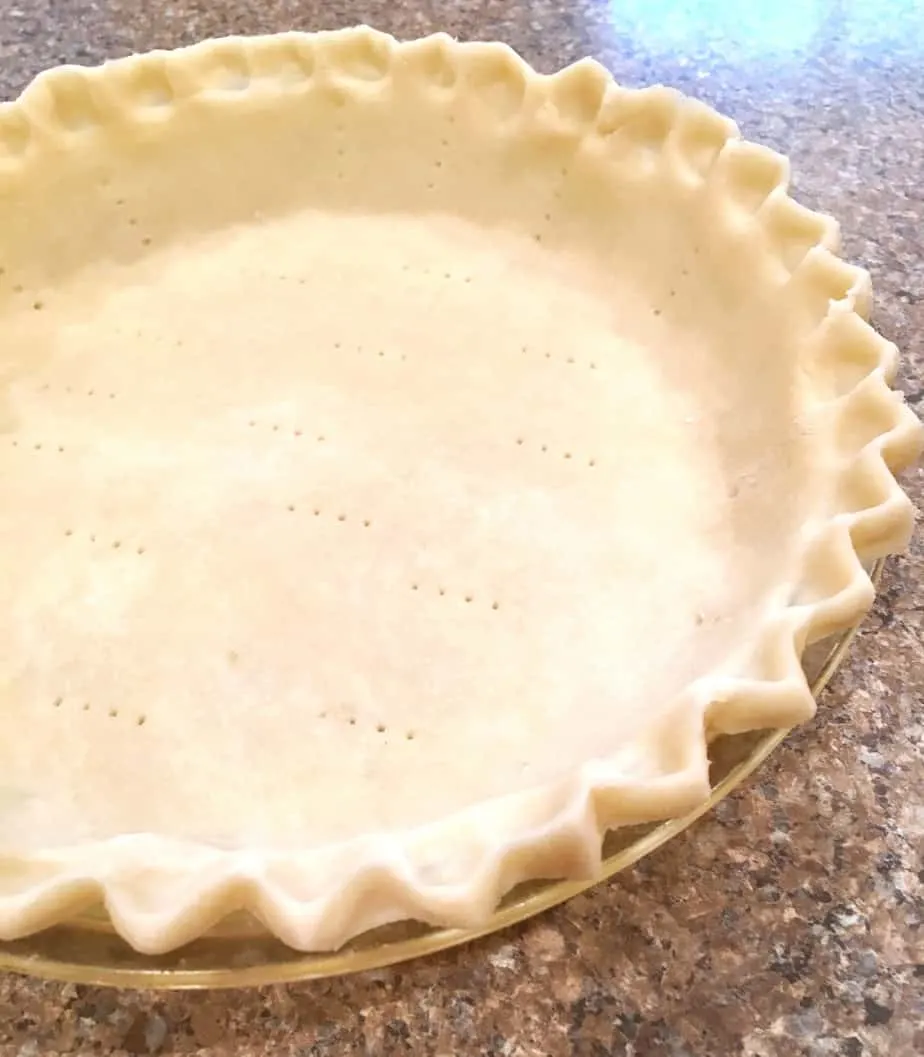
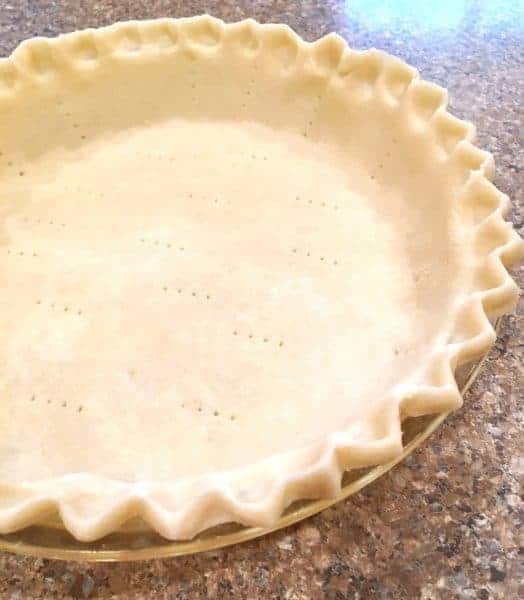
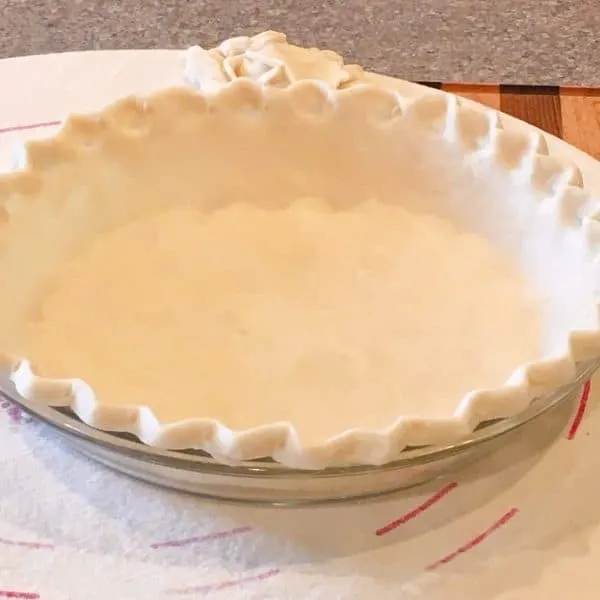
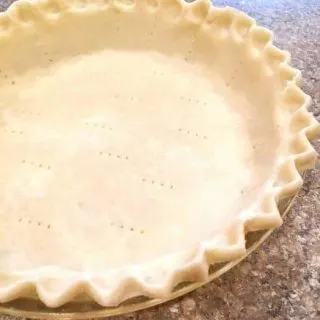
How to “Flute” the Pie Crust Edges
For a fluted crust, like the one in the photo below, press your thumb and index finger, on one hand, held about 1 inch apart, against the outside of the rim, then poke a “dent” through the space from the inside of the pie crust with the index finger (the pointer finger…just in case you’re trying to figure out which is your index finger) on your other hand.

For a “baked” pie crust, the type used for cream pies, be sure to poke the crust with a fork to prevent air bubbles during baking. You can also use “pie weights” to keep the crust in the bottom of the pie plate during baking.
For pumpkin pie, pecan pie, and other pies that will be baked with filling, you should NOT poke the crust. Same for a double-crusted pie.
Double Pie Crust
For a double-crust pie, you will double the above recipe, create two balls of dough. Roll one out for the bottom and fill the pie. Then roll out the top crust and place it over the top of the filling.
Trim the edges, leaving an inch overhang, tuck it under, and flute like a single-edge crust. Brush the crust with milk and sprinkle with sugar to create a beautiful topping for any fruit-filled pie.
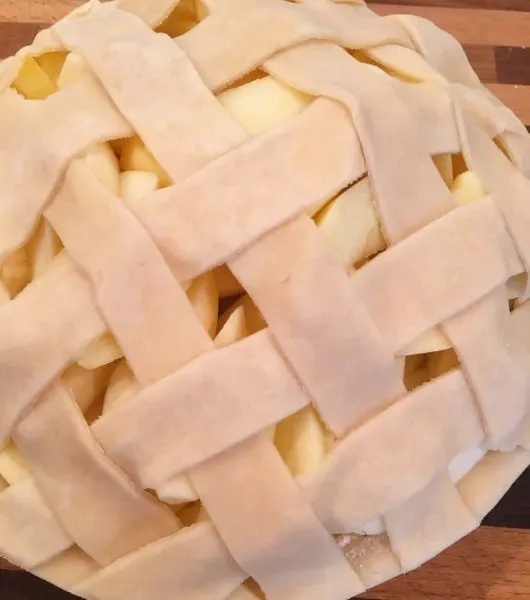
You can also create pretty lattice work crusts by rolling the crust and cutting the dough into strips and weaving the strips over the top of the pie filling.

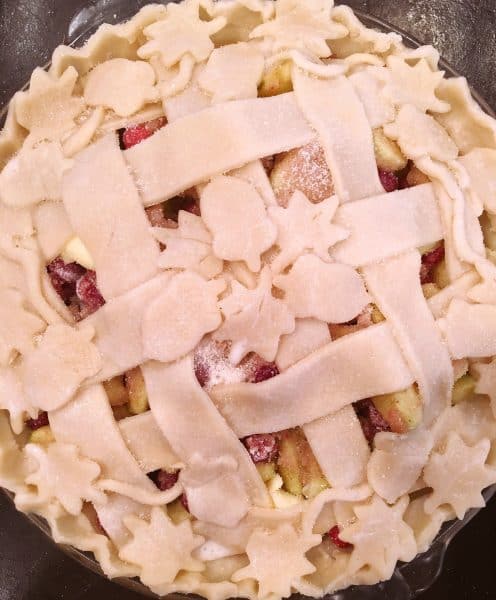
Creating designs with Pie Dough
As you become more familiar with pie dough and feel more confident, you can add details by using the leftover scraps to create various designs.
It’s like play dough for cooks! (There will be no comments about how I like to play with pie dough at my age! Lol)
This is the BEST Pie Crust Recipe. It never disappoints. It turns out perfect every time. The layers of flaky goodness this crust creates are what all other pie crust recipes aspire to!
I know it seems ridiculously easy with just 4 simple ingredients that can be found in your pantry…but it’s all about the technique and using the tips I’ve shared with you to prevent the dough from forming gluten!
Here are some fantastic Pie Recipes you might enjoy with this recipe!
- Spiced Caramel Apple Pie
- Easy Pumpkin Pie Recipe
- Fresh Classic Blueberry Pie
- Cranberry Apple Pie
- Dutch Apple Pie Recipe
- Orange Dreamsicle Chiffon Pie from Julia’s Simply Southern
Thanks so much for stopping by my Nest today and I hope these step-by-step instructions for making pie crust were helpful! The printable recipe card is below.
Happy Baking!


Homemade Flaky Pie Crust Recipe
Ingredients
- 1 cup all-purpose flour
- 1/3 cup plus 1 Tablespoon shortening Crisco
- 1/2 teaspoon salt
- 3 Tablespoons ice cold water
Instructions
- Place flour, salt, and shortening in a medium size bowl. Cut the shortening into the dry ingredients with a pastry blender until mixture is a fine crumb with some pieces the size of small peas.
- Add 3 Tablespoons of ice cold water to center of the crumb mixture. Gently shake the bowl back and forth to form larger balls of dough.
- Spreading your fingers apart, "rake" the dough together, and gather into a ball. Press the dough into a ball and place on a well floured surface. Press dough down into a 1 inch thick disc.
- Flour the rolling pin and roll the dough into a large circle about 3-4 inches larger than your pie plate.
- Fold dough in half and carefully place in your pie plate. Placing the fold in the center of the pie dish. Unfold the dough and gently press down into the pie plate.
- Trim the edge of the crust about 1 inch away from pie plate. Tuck the overhanging edge under itself and rest on the rim of the pie plate. For a fluted rim, press your thumb and index finger, held about 1 inch apart, against the outside of the rim, then poke a dent through the space from the inside of the pie crust with the index finger of your other hand.
- If baking a single pre-baked pie crust, bake in a 350°(F) oven for 10–15 minutes until golden brown. For all other pies, bake according to pie recipe.
Alicia
Wednesday 16th of April 2025
I just recently used your crust again and I thought I should let you know how much I LOVE it!! My Momma was scared to death of homemade crust so naturally so was I. But then I came across your recipe a few years ago and I was amazed how simple it actually is and so delicious. Every time I make it, without fail I get compliments from whomever is eating it on how much they love my crust. There have been times it didn't work out so well but I know that wasn't yours or the recipes fault, more like operator error, I'm sure. Haha! But I never give up and it always turns out. Thank you for sharing this recipe and helping me not be scared of homemade crust. Now on to mastering the edges to look as beautiful as yours. :)
Tammy
Monday 14th of April 2025
Thanks for an amazing pie crust recipe. The crust bakes up so flakes no matter what kind of pies I make.
[email protected]
Thursday 24th of April 2025
Hi Tammy! Thank you so much for this kind review. I love this crust recipe. It's the only one I use and it's been a "no-fail" for me my whole pie baking life. It makes me happy to hear someone else loves it as much as I do. Thanks for stopping by. I hope you'll come back again soon. Norine
Stacy
Monday 14th of April 2025
Love this recipe. It reminds me of my Mom’s pie crust. Great recipe with easy to follow instructions. Thank you
[email protected]
Thursday 24th of April 2025
Hi Stacy! I don't think I could ask for a better compliment than being compared to your Mom's pie crust recipe. That's such an honor! Thank you. I appreciate you stopping by and sharing with me and for your kind comments. Hope you had a beautiful Easter and will come back again soon. Norine
Tracy
Monday 14th of April 2025
I hated making pies until I found this recipe!! The video showing the different steps was so helpful. I never could manage rolling out the dough and getting it in the pie plate. This recipe makes baking a pie so easy! Thanks for making my pies so yummy!!!!!
Brice
Monday 14th of April 2025
Amazing recipe for a beginner baker like me. I usually use the store bought crust and wanted to try a homemade crust. The detailed instructions and photos really helped me and this will be my new go-to recipe whenever I make pies.
[email protected]
Thursday 24th of April 2025
Hi Brice! Thanks so much for this glowing review! I love when a recipe I share makes it easier for a beginner. It's why I do what I do. I appreciate you stopping by and sharing with us and for the 5 star review! Thank you and come back soon! Norine