
Chili Relleno Casserole





A comforting twist on a classic Mexican favorite, Chili Relleno Casserole layers roasted peppers, melted cheese, and a light fluffy batter, to create a flavorful meal the whole family will love.
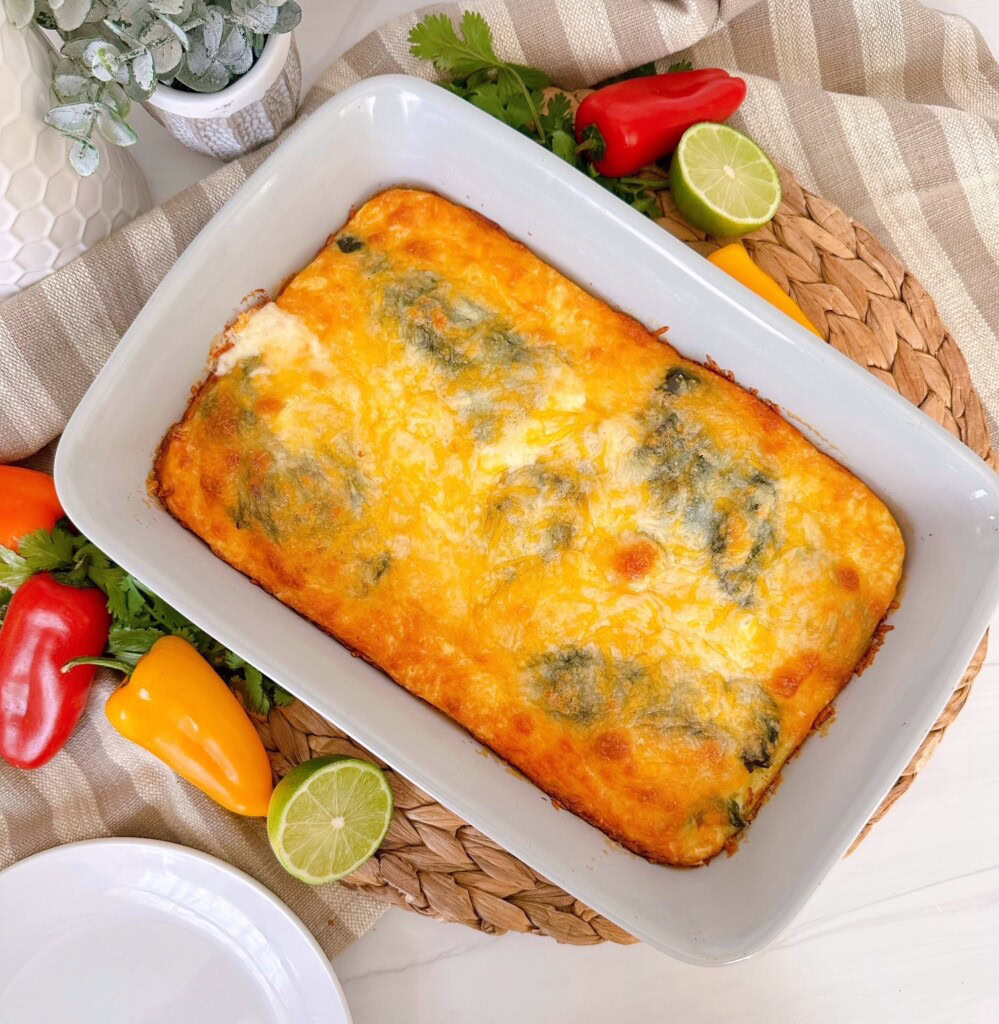
What Makes This Chili Relleno Casserole Special?
If you love the bold, cheesy goodness of a traditional chili relleno but don’t have the time (or patience!) for stuffing and frying peppers, this Chili Relleno Casserole is going to be your new best friend.
It brings together tender roasted green chilies, plenty of melty cheese, and a light, fluffy egg batter topping in one easy-to-make dish that bakes up beautifully in the oven. All the flavor you crave, without the extra steps!
This is one of those recipes I turn to when I want something hearty and satisfying that doesn’t require a lot of fuss. It’s simple enough for a weeknight dinner, but still feels a little special when it hits the table. Pair it with a crisp salad or a side of rice, and you’ve got a meal that’s sure to bring everyone running to the kitchen.
Ingredients Needed
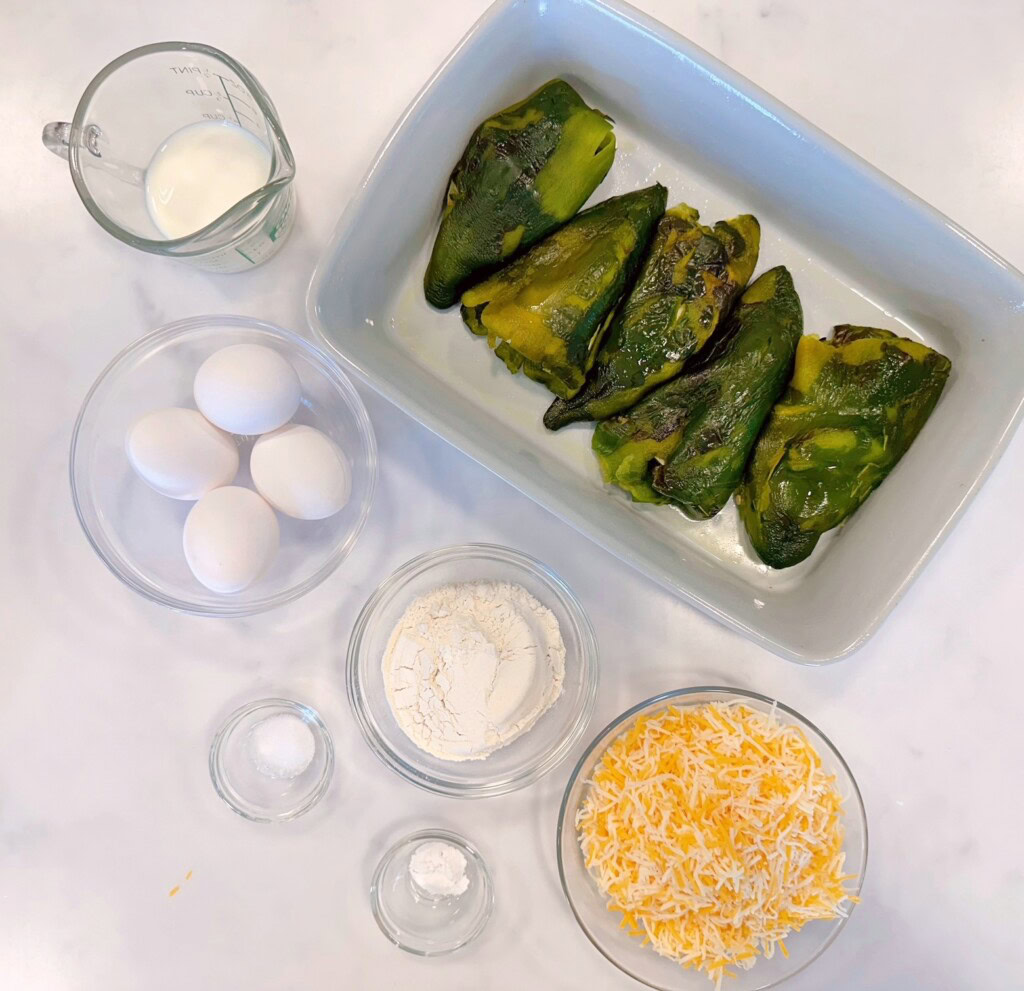
- 6 Fresh Roasted Poblano Peppers, or 1 large (12 oz.) can of whole green chili peppers
- 6 ounces Monterey Jack Cheese, cut into 1/2 inch slices or Pepper Jack cheese.
- 4 large eggs, beaten
- 1/3 cup whole milk
- 1/2 cup all-purpose flour
- 1/2 tsp. Baking powder
- 1/2 tsp. Salt
- 1 cup shredded cheese
Step-by-Step Instructions
This recipe begins with the peppers! I prefer to use fresh poblano peppers, but you can also use Anaheim peppers, or roasted Ortega peppers (basically the same thing). Let’s go over how to roast peppers in the event you’d like to roast them yourself.
Step 1 — Preparing The Roasted Peppers
Preparing the roasted peppers is one of those simple steps that really brings this casserole to life, and I promise it’s easier than you might think!
If you’re starting with fresh Poblano peppers, you’ll want to roast them until the skins are blistered and slightly charred. You can do this right over a gas burner, under the broiler, or even on a hot grill. I generally do mine on a cookie sheet in the oven on a high broil. Just be sure to watch them carefully and turn them every so many minutes.
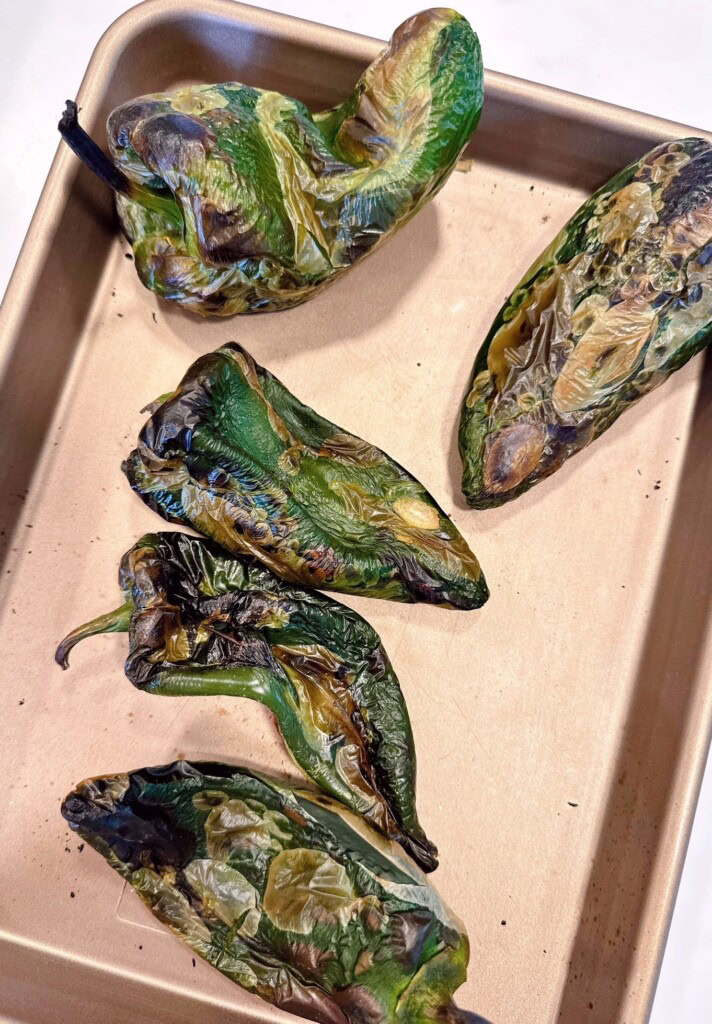
Once they’re nicely blackened, place them in a bowl with water, and cover with plastic wrap or a lid. Let them steam for about 10–15 minutes—this makes the skin peel right off without any fuss.
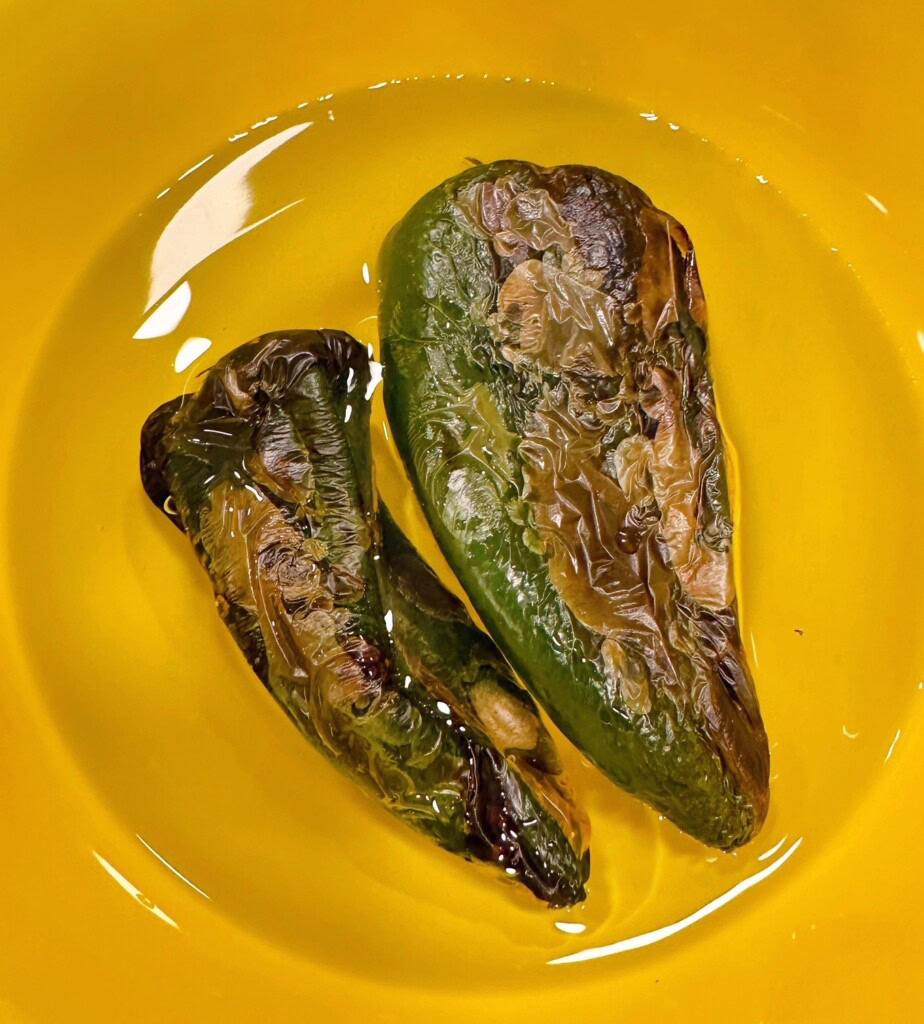
After they’ve cooled enough to handle, gently peel away the skins, then slice the peppers open and remove the seeds and membranes. Don’t worry if they tear a little—this is a casserole, so rustic is just perfect! Remember, a lot of the heat is in the seeds of the peppers! Fewer seeds, less heat!
TIP: If you are sensitive to the oils in peppers, be sure to wear gloves when handling fresh peppers to prevent burns.
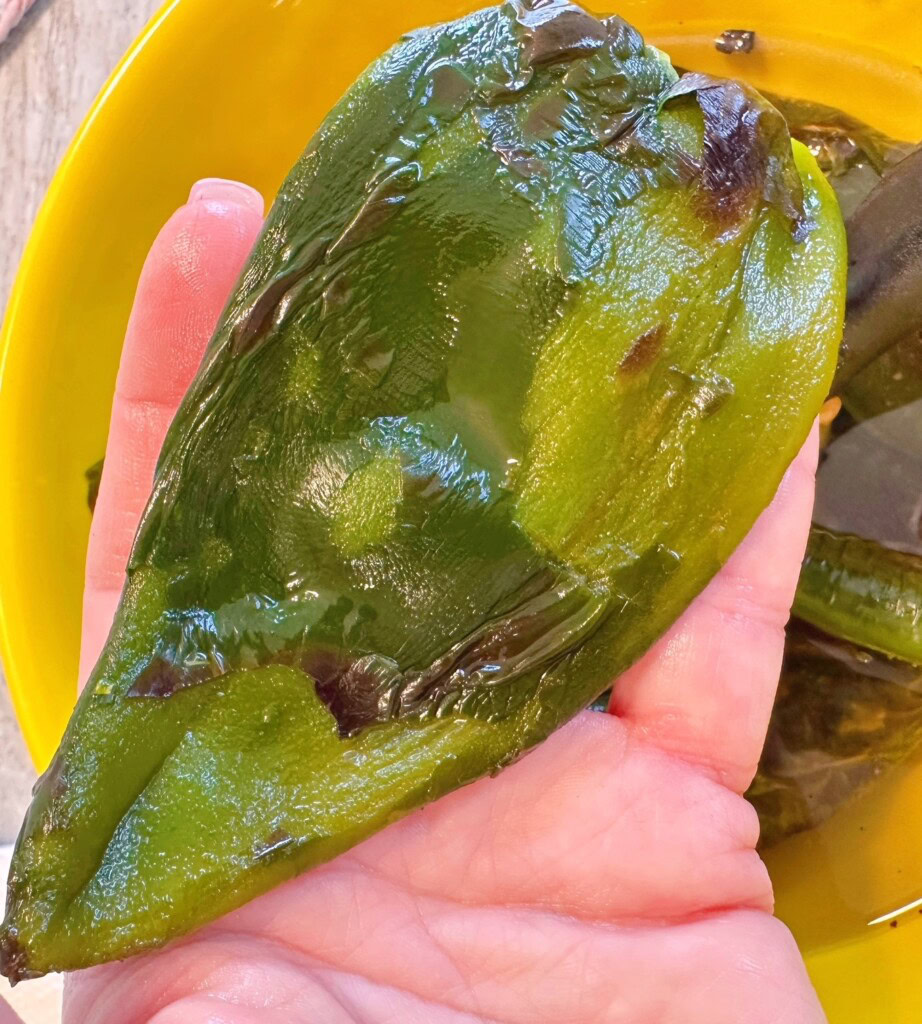
From there, you can cut them into strips or leave them in larger pieces, depending on how you like your bites. And if you’re short on time, canned whole green chiles are a perfectly good shortcut—no judgment here, just good food on the table!
Tip: The heat comes from those pesky little seeds! Don’t want all that heat…get rid of those little burning bits! (However, if your “heat” is coming from menopause…you’re on your own sister! I’ve got enough of that myself! Lol)
Step 2 — Choosing And Preparing the cheese filling
Preheat the oven to 350°(F). Spray a 10×6-2 inch baking dish with cooking spray.
Once the peppers are prepared, stuff each pepper with the thickly sliced cheese.
When it comes to the cheese for this Chili Relleno Casserole, this is where all that rich, melty goodness really shines. Traditionally, chili rellenos are filled with a mild, creamy cheese that melts beautifully.
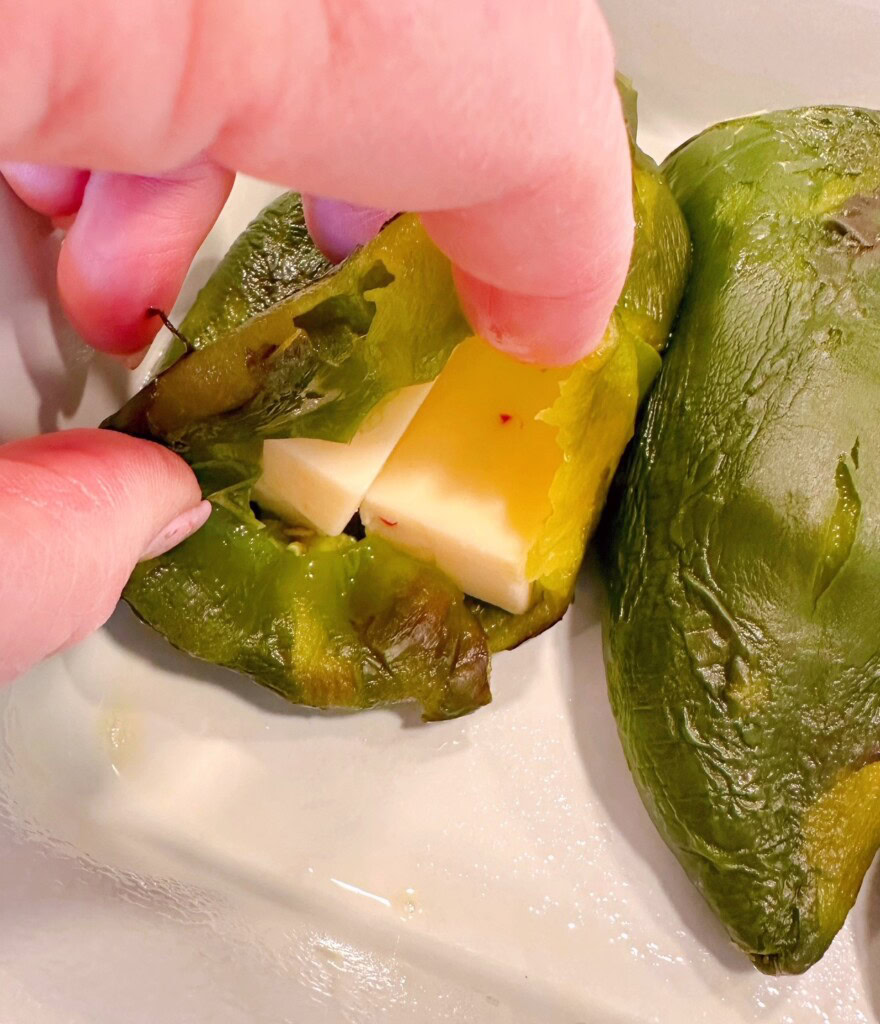
For this casserole, I like to stick with that same idea. A good Monterey Jack is always a winner. It melts smoothly and lets the flavor of those roasted green chilies come through without overpowering them. If you want to add just a little more depth, using a Pepper Jack can really kick things up and is my personal favorite.
Step 3 — Creating the Egg Batter
In a medium bowl, combine beaten eggs and milk. Whisk together until well combined.
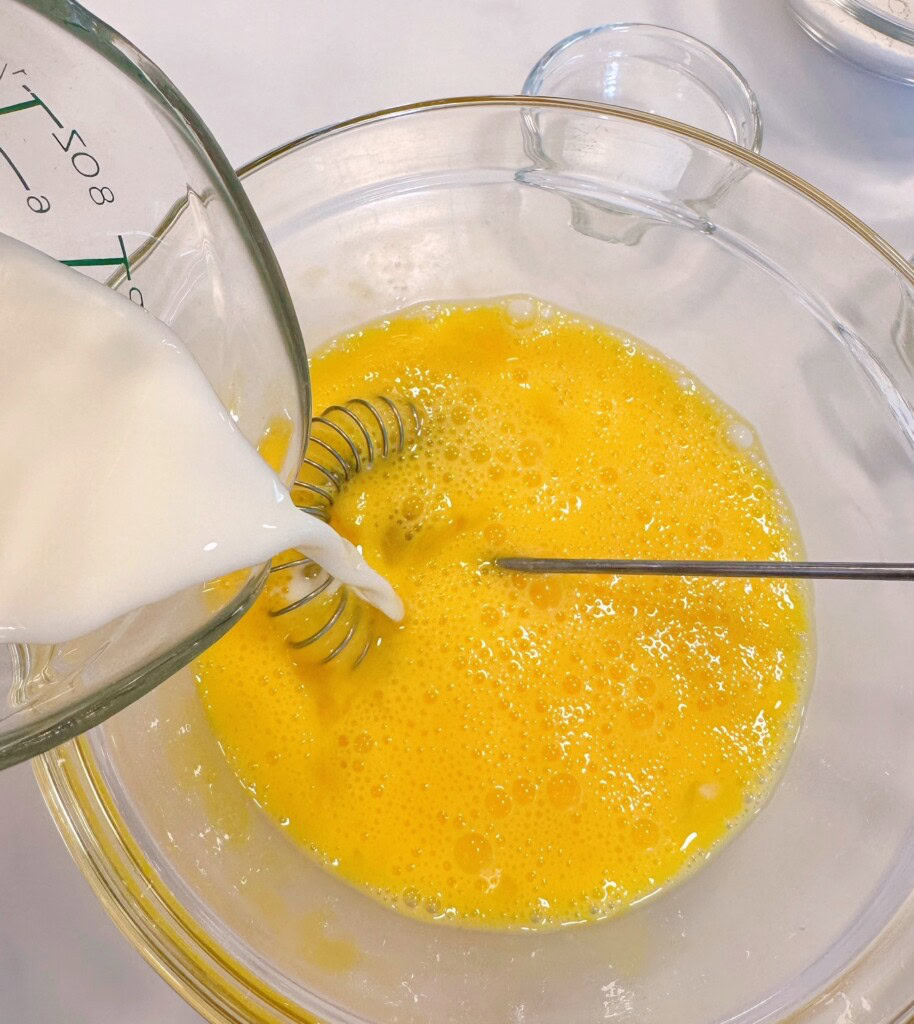
Add flour, baking powder, and salt.
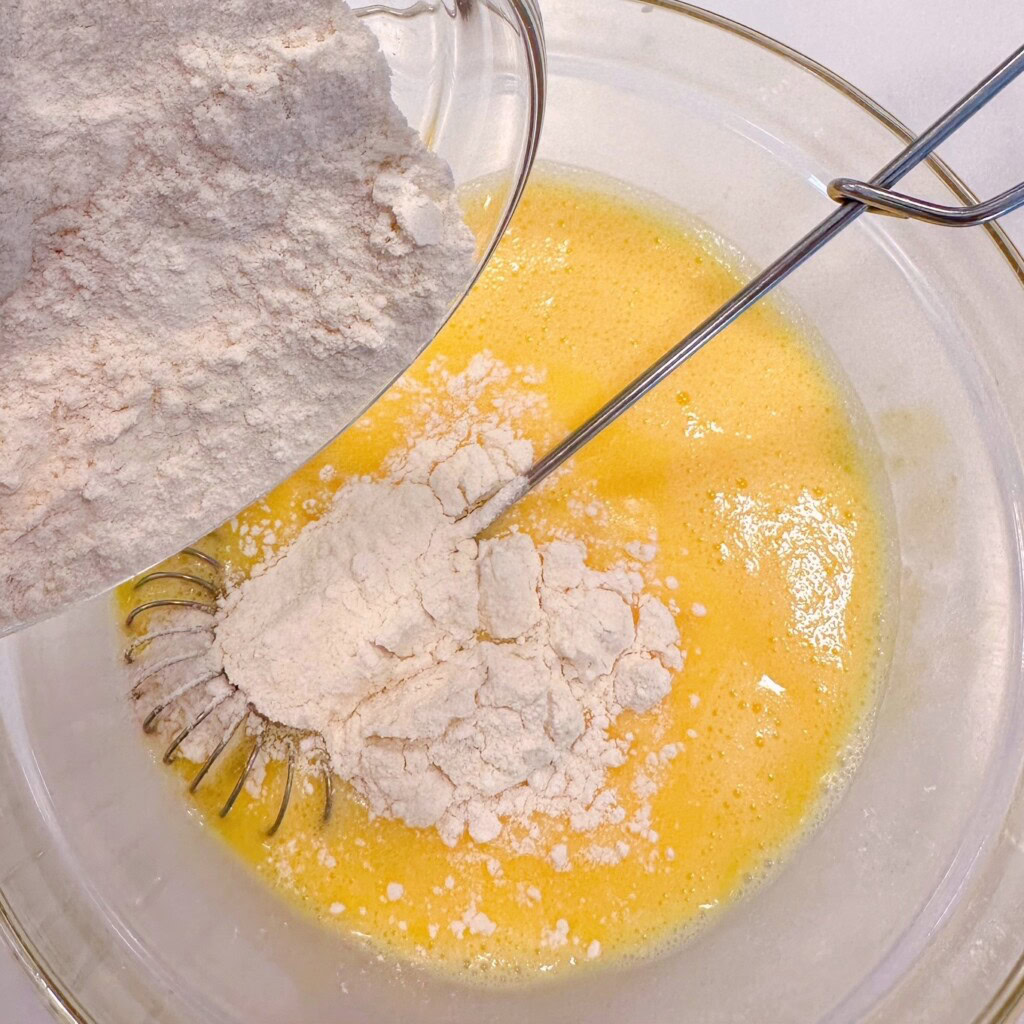
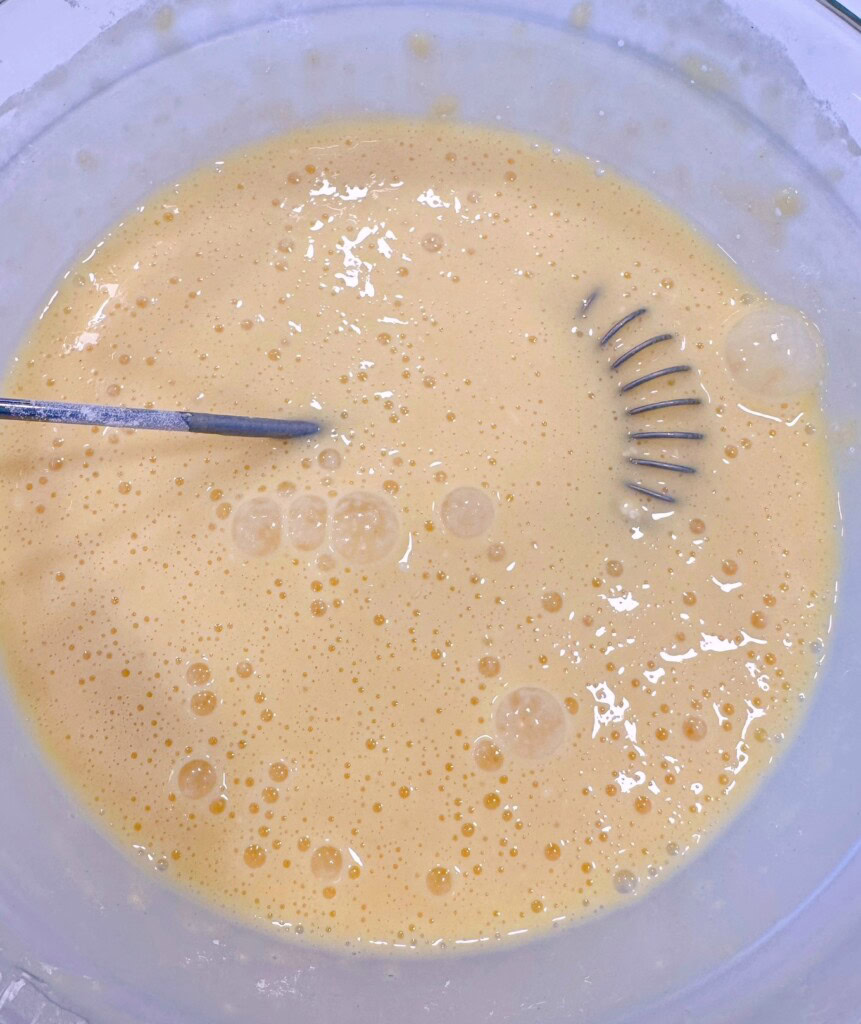
Mix until smooth. A few small lumps may remain, and that is okay. The point is to get as many large lumps out as possible. Whisk away friends!
Step 4 — Assembling the Casserole Layers
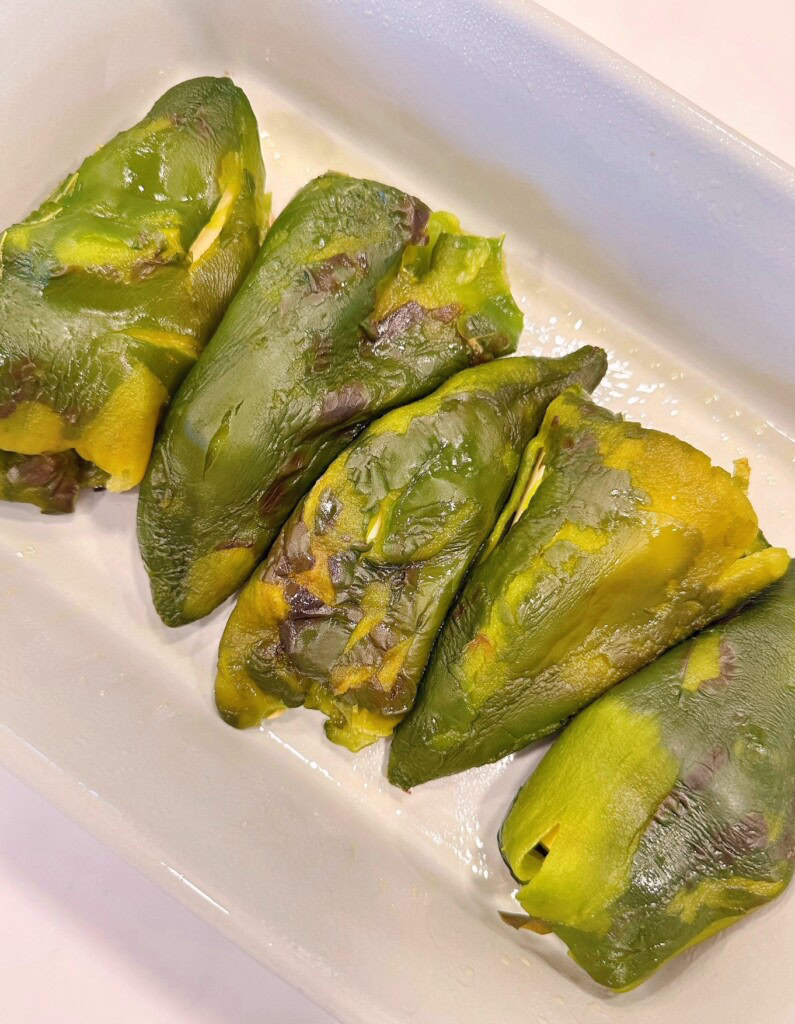
Place the stuffed peppers in the prepared baking dish. Arrange the stuffed peppers in a way that takes up as much room as possible in the baking dish.
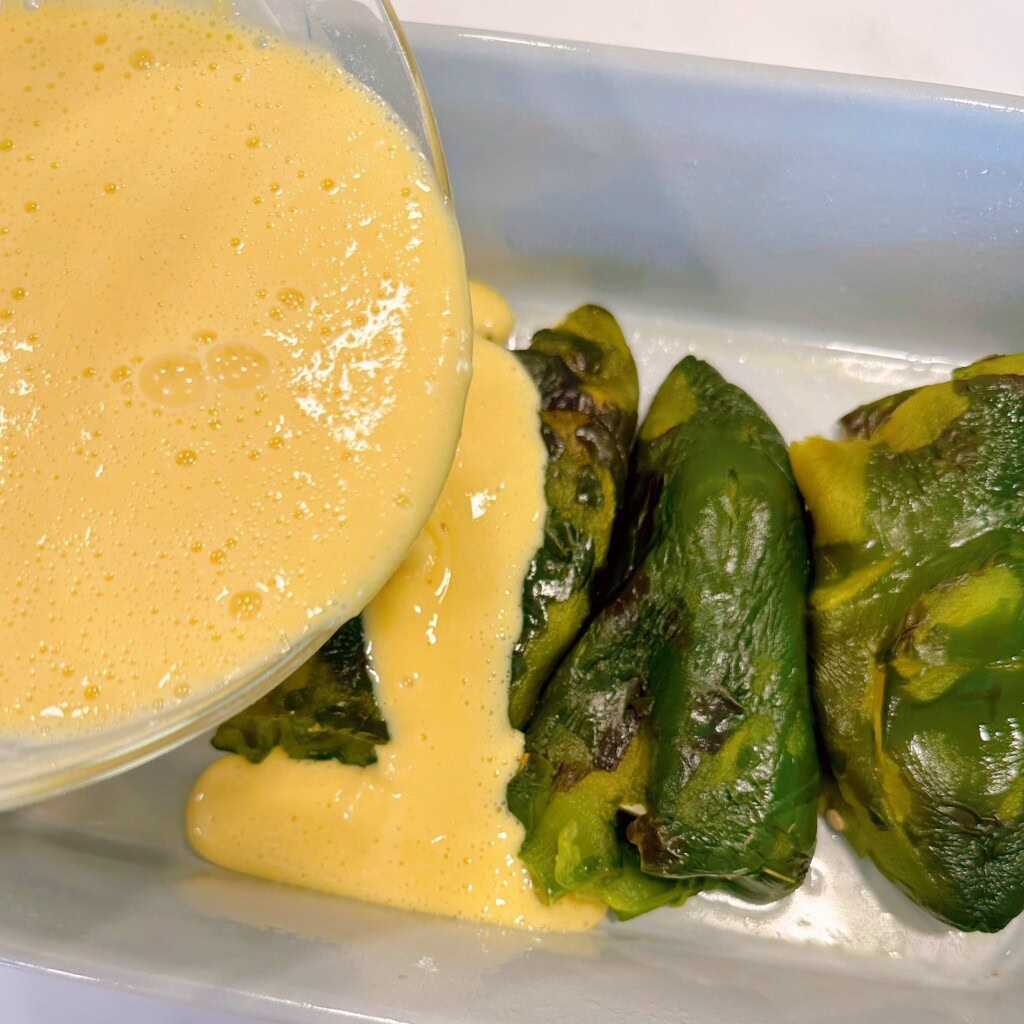
Slowly pour the egg batter over the peppers.
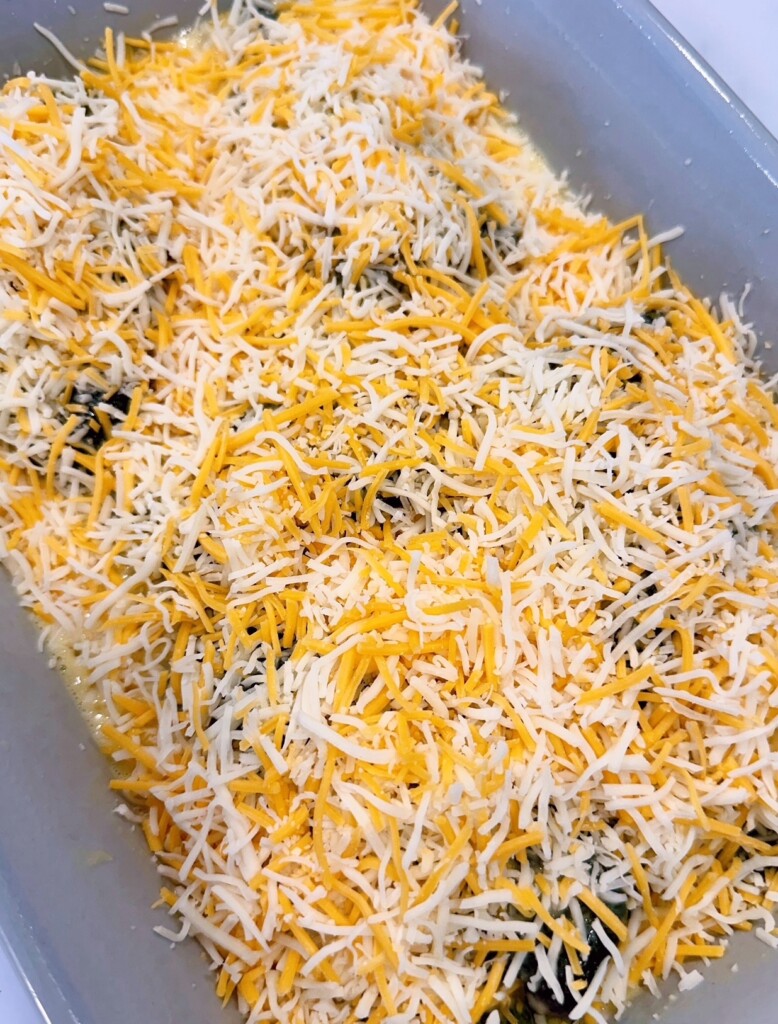
Top with shredded cheese.
Step 5 — Baking Instructions And Tips
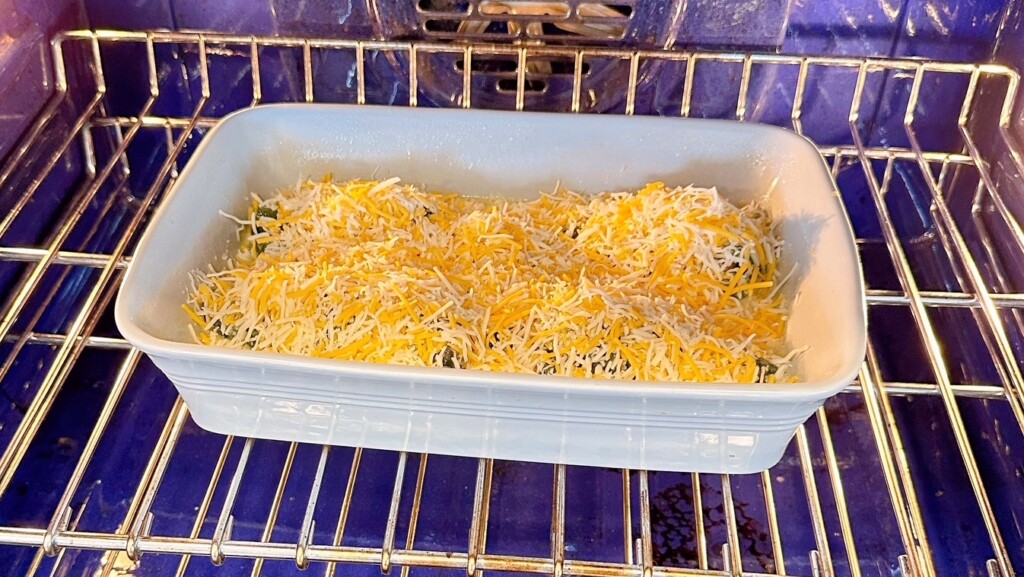
Bake on the center rack in the preheated 350°(F) oven for 30 minutes until golden on top and centered is baked through. To test if the casserole is done, insert a sharp knife into the center of the casserole into the egg batter. If it comes out clean, it is done baking.
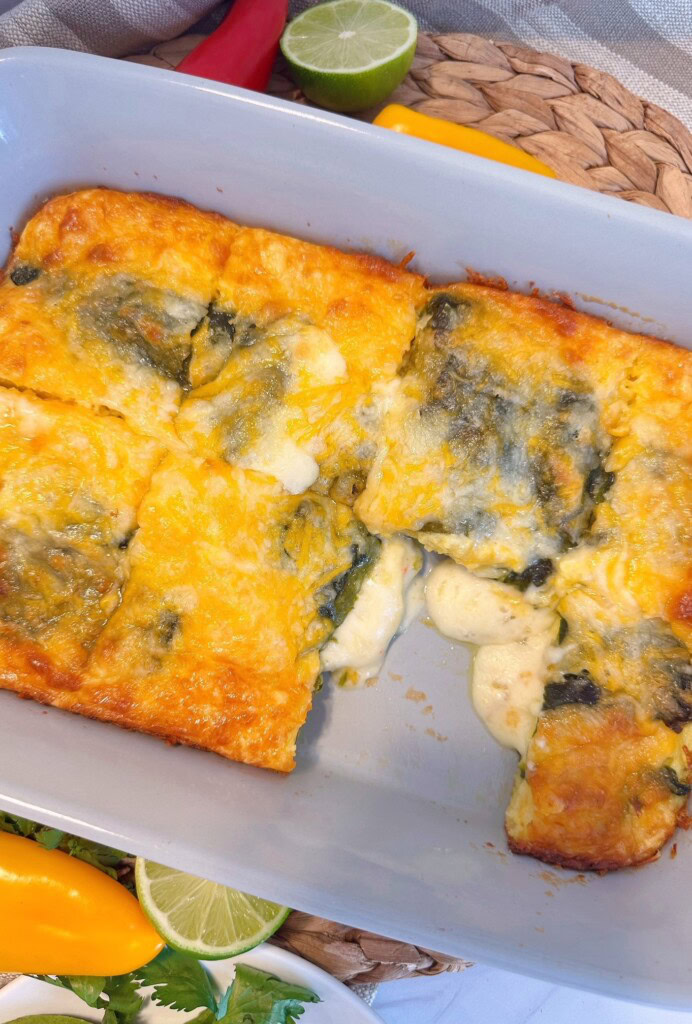
Remove from the oven and place on a rack to cool for 5–10 minutes. Cut into squares and serve.
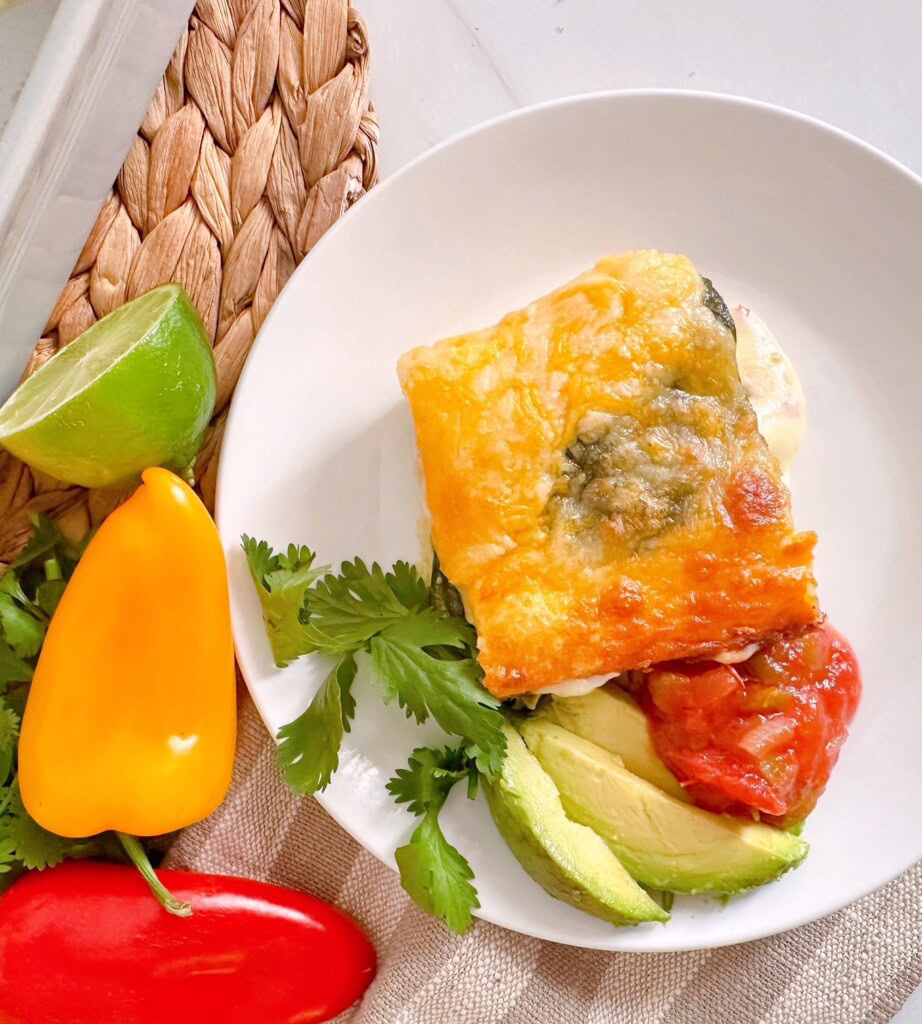
Look at all that cheesy goodness. The smell of this casserole is baking is out of this world!
Serving Suggestions
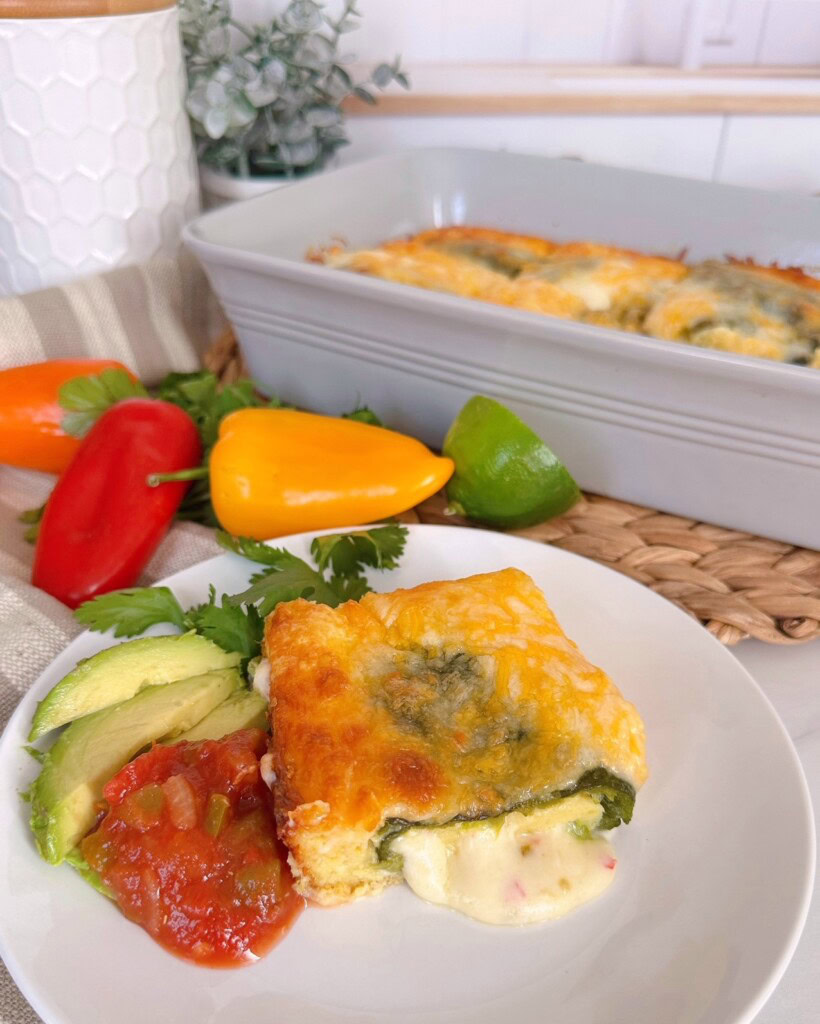
When it comes time to serve this Chili Relleno Casserole, I love keeping things simple to balance all that cheesy goodness.
Fluffy Mexican-style rice or even a scoop of cilantro-lime rice for a little extra flavor on the plate helps round out this dish, or even a fresh green salad with a cilantro lime dressing.
If you want to round things out even more, a side of refried beans or black beans makes the meal feel extra hearty and satisfying.
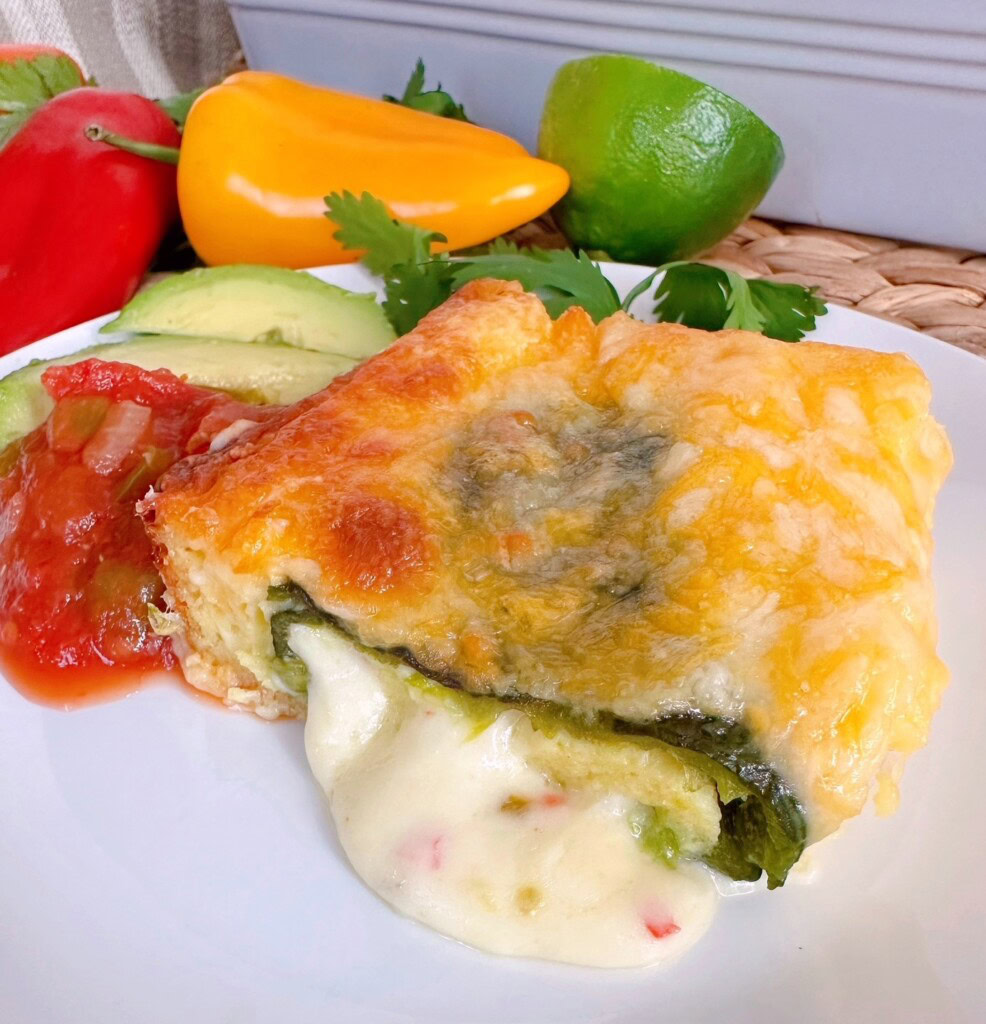
And don’t forget the toppings! A dollop of sour cream, a scoop of homemade guacamole, a spoonful of fresh salsa, or a sprinkle of chopped cilantro can take each serving to the next level.
Warm tortillas on the side are always a good idea too. They’re perfect for scooping up every last bite and making the meal feel just a little more special.
Variations And Substitutions
One of the things I love most about this Chili Relleno Casserole is how easy it is to make it your own, depending on what you have on hand or what your family enjoys most.
If you’d like to add a little protein, shredded beef, browned ground beef, or shredded rotisserie chicken mixes in beautifully and turns this into an even heartier main dish. Want a bit more heat? Toss in a few diced jalapeños for an extra kick without overwhelming the dish.
You can also lighten things up or adjust for what’s in your fridge. Egg substitutes or egg whites work fine in place of whole eggs, and reduced-fat cheese can be used if you prefer.
If fresh roasted poblanos aren’t available, as mentioned above, canned whole green chiliesa are a fantastic shortcut that still delivers great flavor. And for a slightly different twist, try layering in sautéed onions, bell peppers, or even a handful of corn for a touch of sweetness and color. It’s a flexible, forgiving recipe that welcomes a little creativity…just the way home cooking should be!
Storing And Reheating Leftovers
If you happen to have leftovers of this Chili Relleno Casserole, you’re in for a treat because it reheats beautifully!
Once the casserole has cooled completely, cover it tightly or transfer portions into an airtight container and store it in the refrigerator for up to 3–4 days. The flavors actually have a chance to settle and deepen, making those next-day servings just as delicious, if not better, than the first time around.
When it’s time to reheat, you can warm individual portions in the microwave in short intervals, about 1 minute on high, until heated through. If you’re reheating a larger portion, pop it in the oven at about 325°F, covered with foil, until it’s nice and hot again. Adding a sprinkle of fresh cheese over the top before reheating can bring back that melty, just-baked goodness. And if it seems a little dry, a small spoonful of salsa or a dollop of sour cream when serving will freshen everything right up.
Recipe Wrap-Up for Chili Relleno Casserole
At the end of the day, this Chili Relleno Casserole is one of those recipes that brings big flavor to the table without asking for a lot in return. It takes everything we love about the classic dish…those tender green chiles, layers of melty cheese, and that light, fluffy topping, and turns it into something simple enough for any night of the week.
It’s the kind of meal that fills the kitchen with the best aromas and brings everyone wandering in, ready to grab a plate.
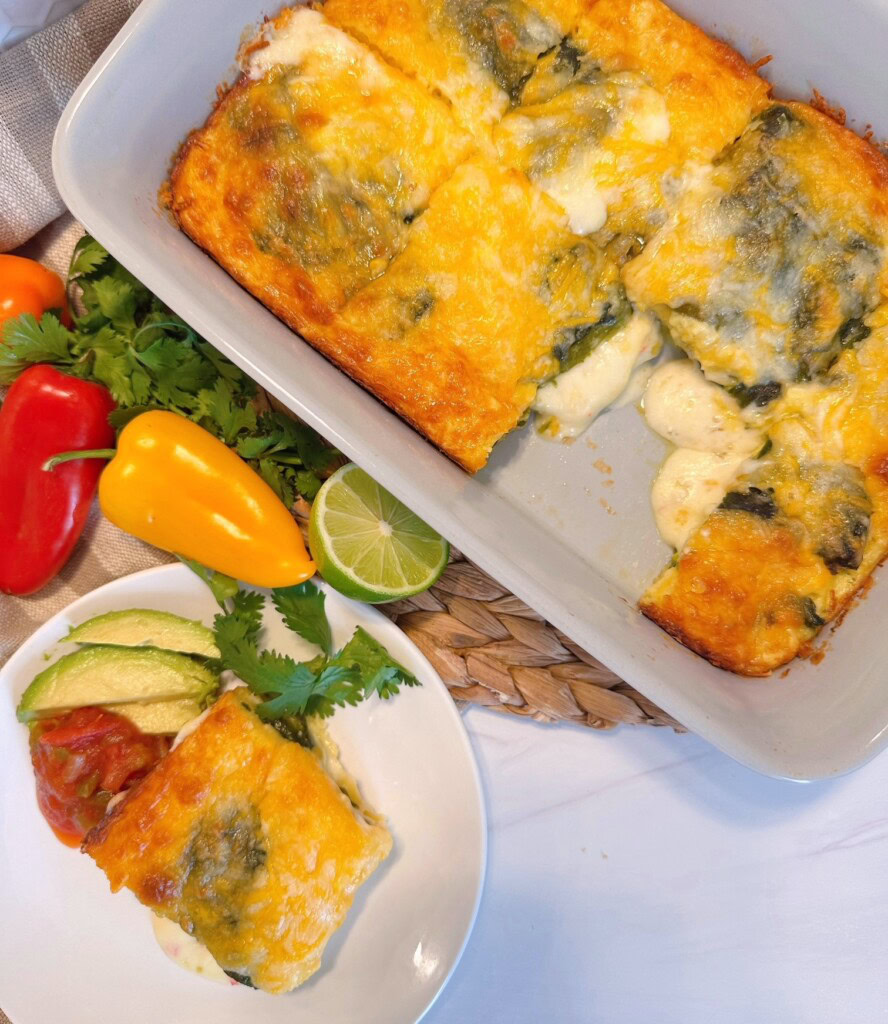
Whether you’re making it for a busy weeknight dinner, pairing it with another favorite Mexican dish, or sharing it with family and friends, this casserole is sure to become a repeat favorite. I know it is at our Nest.
It’s warm, satisfying, and just a little bit special in all the right ways. So go ahead and scoop up a generous serving, add your favorite toppings, and enjoy every cheesy, flavorful bite! You’ve earned it!
Other Favorite Mexican Dishes
- Instant Pot Pork Chili Verde
- Easy Ground Beef Enchiladas
- Loaded Nachos
- Mexican Bean Salad from Allrecipes.com
Thank you for stopping by my Nest! I love having you here sharing my love for good family-friendly recipes!
Remember to sign-up for my weekly newsletter and follow me on Instagram, Facebook, and Pinterest.
Happy Nesting Friends!

Printable Recipe Card
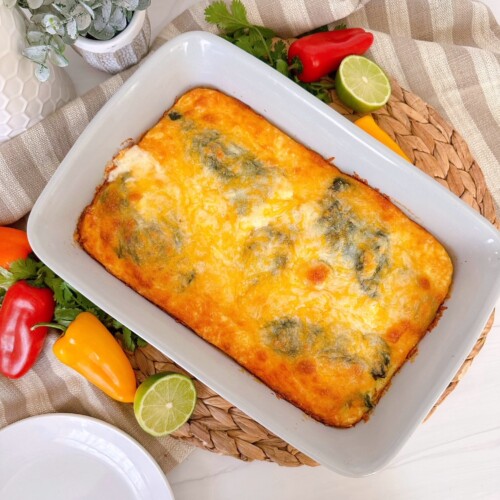
Chili Relleno Casserole
Ingredients
- 12 oz. can whole green chili peppers
- 6 oz. Monterey Jack Cheese
- 4 large eggs beaten
- 1/3 cup milk
- 1/2 cup Flour
- 1/2 tsp. baking powder
- 1/2 tsp. salt
- 1 cup shredded cheddar cheese
Instructions
- Roast peppers or drain and seed peppers. Cut Monterey Cheese into long ½ inch thick cheese sticks that will fit inside the peppers. If pepper tears, wrap the pepper around each strip of cheese.
- Place the stuffed peppers in a greased 10x6x2 baking dish.
- In a medium bowl, combine the beaten eggs and milk. Beat in flour, baking powder, and salt until smooth. Pour over peppers in baking dish. Sprinkle with grated cheese.
- Bake in a preheated 350° oven for 30 minutes until golden and the center is baked.
- Let the casserole cool for 5–10 minutes and then cut into squares and serve.
Video
Nutrition

Meet the Author
Hi! I’m Norine, the cook, baker, and recipe creator behind Norine’s Nest. I love sharing and creating recipes that invite family, friends, and neighbors to gather around the dinner table. Sharing good food and creating memories with those we love brings me happiness. Thanks for stopping by my Nest!

This sounds so delicious! Thanks for sharing!
Hi Miranda!
Thanks so much for stopping by and visiting. This is one of my very favorite casseroles! Hope you have a great week.
Happy Nesting!
Norine
I use enchalada sauce on mine. Wonderfull taste. No bitter taste like many other sauces.
Hi Karen!
Great Idea Karen. I’m going to try it. Thanks for sharing and for stopping by. Have a GREAT weekend.
Happy Nesting!
~Norine
Can you add enchilada sauce for more flavor
Hi Genie!
I’m not sure what that would do to the egg mixture? Since it puffs up as it bakes. You could certainly serve it on the side and spoon it over the top like I did with the salsa. Truthfully this is full of flavor with the peppers… and I sneak in Pepper Jack cheese! 😉
Sorry I couldn’t give you a more definitive answer. Hope you have a great weekend and give this casserole a try regardless. I think you’ll be surprised. Thanks for stopping by. Let me know if you do add it. I’d be curious to know.
Happy Nesting!
~Norine
Love this recipe! I have made it several times now with all kinds of peppers. If I ever lost this recipe, I think I would freak out… I will be passing this along to my kids.
Hi Nancy!
I loved reading this post! It made me smile. I love that you’ve used all kinds of peppers. I hope you never lose it either, but if you do…I’ll be here! Love that you’ll be passing it along to your kids. Now I’m craving it…lol. Thanks SO much for bringing a smile to my face and taking the time to share with me. Have a GREAT week!
Happy Nesting!
~Norine
The ratio of meat to onion is 1 to 1 saute onion then add garlic wait for the nutty aroma add meat and cook together with spices, then set aside for the layers. I set the oven at 400 for 15 minutes, then reduce to 350 until it bubbles around the edges or thermometer is at 200 internal temp. We grow a garden for preservation something always has a great year. Last year it was basil 20 quarts of pesto in the freezer (do not freeze with cheese add after thawing). Have a great day.
Thank You Ted! I appreciate all the tips and helpful hints. I know my readers do too! Have a great week.
~Norine
We do a version of this two ways vegetarian and a meat one. We grow green chilies, fire roast then vacuum seal. Easy to grow had a bumper crop of 35 bushel a couple of years ago we are still eating. Our version is like a lasagna in layers double layer of chilies on the bottom then the meat then cheese then frothy (weak peaks) egg whites start a new layer. We use ground beef, onion with fresh toasted cumin seeds we grind, garlic, Mexican oregano. Not as easy as yours which I will try. If you grow your own chilies leave the skin on for freezing and vacuum seal. When thawed at the sink with strainer to catch skin and seed break at top while a little water runs over the chilie, skin and seeds are easy to remove. It takes between 50 and 75 peppers for a large casserole. Left over peppers chop and serve with tortilla chips.
Hi Ted!
Wow! Your casserole with meat sounds wonderful! Thanks so much for sharing with me. I’ve got to try that. I also really appreciate your tip with freezing the peppers. I do grow my own and I usually roast them, peel them, remove the seeds and then vacuum seal them. I’m LOVING your process so much more than mine. Also…35 bushel!!! Your thumbs must extra green! So impressive! I really appreciate you stopping by and sharing with me. I’m actually wondering now that we are on the topic…if I could just stuff my peppers with shredded roast beef or pork and the cheese. Hmmmm…now you have me thinking! lol Thanks again so much. I hope you have a GREAT week.
~Norine
Hi, I used the peppers as they were and sort of wrapped them around the cheese (I used Monterey Jack cheese sticks), then covered with the mixture (cut in half since I had smaller amount of peppers). It tasted really good, and DH and DD1 liked it very much. We don’t have Kroger’s around here. We do have Wal-Mart, but I don’t shop there. Is it the Kroger’s brand? Or another name brand? Maybe I could mail order from Amazon.
In the meantime, I’m going to attempt it with fresh peppers, but just oven roast them for a while before stuffing them. My mom suggested I could blanch them also, but I’m going to try the roasting because I’m more familiar with it.
Thansks!
Hi!
I’m so glad it worked for you! The brand I get at Kroger’s/Smith’s is Ortega…but I found the other kind I purchase and it’s called Las Palmas. Truly it’s just as great with fresh roasted!
I’m ready to come over for dinner now! lol Thanks so much for sharing with me! I love hearing back from my Nest Friends.
Happy Nesting!
Norine
Where do you get canned peppers? I can’t find them in the northeast, so I roasted some Aneheim peppers – not a good idea, they fell apart, but I couldn’t see putting raw peppers in this because I felt like they wouldn’t cook long enough and they would still be crunchy.
Hi!
I’ve found them at Wal-mart and Krogers in the Mexican food isle. Right next to the chopped peppers. I have roasted my own before too. Little secret I found out recently…not as good as if you can “stuff” them…but you can cut the peppers open and lay them flat…then lay a layer of cheese, more cut peppers on top and then the egg batter over the entire thing. Like I said it isn’t as good as the original…but I’ve had peppers fall apart on me before too and I didn’t want to waste them. Kroger generally has a large can of these peppers…more than you need for this recipe so I freeze the leftover.
Hope this helps. I hate when friends have an issue finding ingredients to my recipes. I’m so sorry. Let me know if I can be of any more help.
Happy Nesting and Have a Great weekend.
~Norine
Do you think this casserole be frozen and cooked later? I’m looking for breakfast casseroles I can freeze for when company comes.
Hi Carole!
I personally would not freeze this casserole. Because it is a light egg batter that covers the peppers it doesn’t freeze well. I’m so sorry. I really wish I could tell it I’d do it…but I wouldn’t. I do think my other breakfast casserole with the potatoes and egg mixture would freeze well after baking it. Not really the answer you are looking for, but I hope it helps some how.
Thanks so much for stopping by. I really appreciate it. Hope you have a GREAT week.
Happy Nesting!
~Norine
I love chili rellenos, this casserole looks so easy to make, and delicious!
Hi Alison!
Thanks so much! It is super easy to make and so yummy! One of my very favorite dishes. Hope you love it as much as I do.
Thanks for stopping by my nest. Have a wonderful Holiday. 🙂
~Norine
@[email protected],
Hi Norine!
Just found you recipe and so excited to try it tonight. I was wondering if you could add a little masa flour with the the plain? Thanks MJ
Hi Merri Jo!
Okay I’m really late responding and I apologize for that. I had all my kids home visiting with all the grandkids and it time just got away from me. I’ve never used Masa flour in this recipe, but I honestly don’t see why you couldn’t. It might make the batter a little more dense…but that wouldn’t hurt. If you tried it let me know, and again I sincerely apologize for not getting back to you sooner. Hope you have a great weekend and come back soon.
Happy Nesting!
Norine
@[email protected], great recipe