Best Baked Fresh Peach Pie Recipe
With its perfect balance of juicy, ripe peaches and buttery flaky crust, this pie is more than just a dessert, it’s a taste of the lazy days of summer. The BEST peach pie with a delightful symphony of flavors and textures.
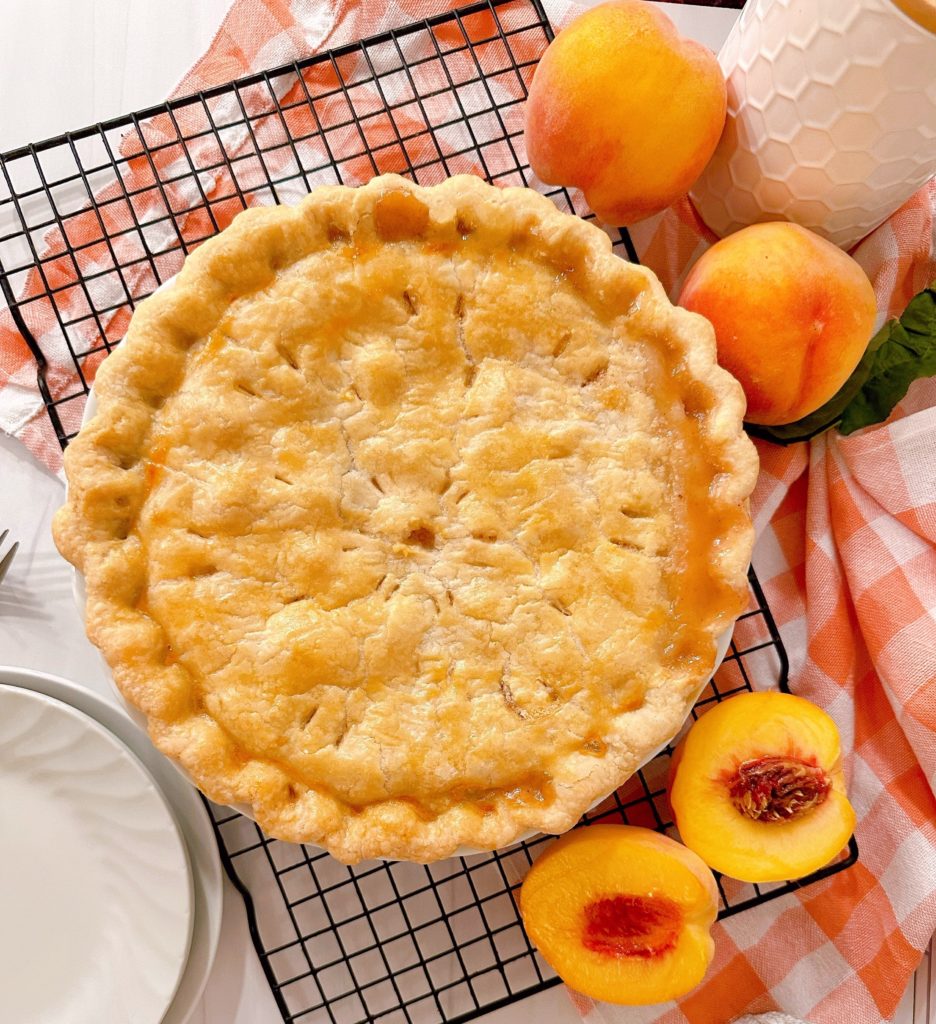
Peach Pie! Why has it taken me so long to share a baked peach pie recipe? Well… I had avoided making and eating a baked “fresh peach pie” my entire life! Shocking I know! Especially for someone who loves making and eating fruit pies! So, back to the original question… why did I avoid peach pie?
I was always afraid the peaches would be “mushy”! I’m not a fan of overly mushy fruit! However, when you have an entire box of peaches staring at you, you’re left with few options before they turn on you! (Nothing worse than fruit turning on ya…unless it’s a two-year-old!)
If I was going to make a peach pie, it would have to be the BEST! It was going to need to “WOW” me!
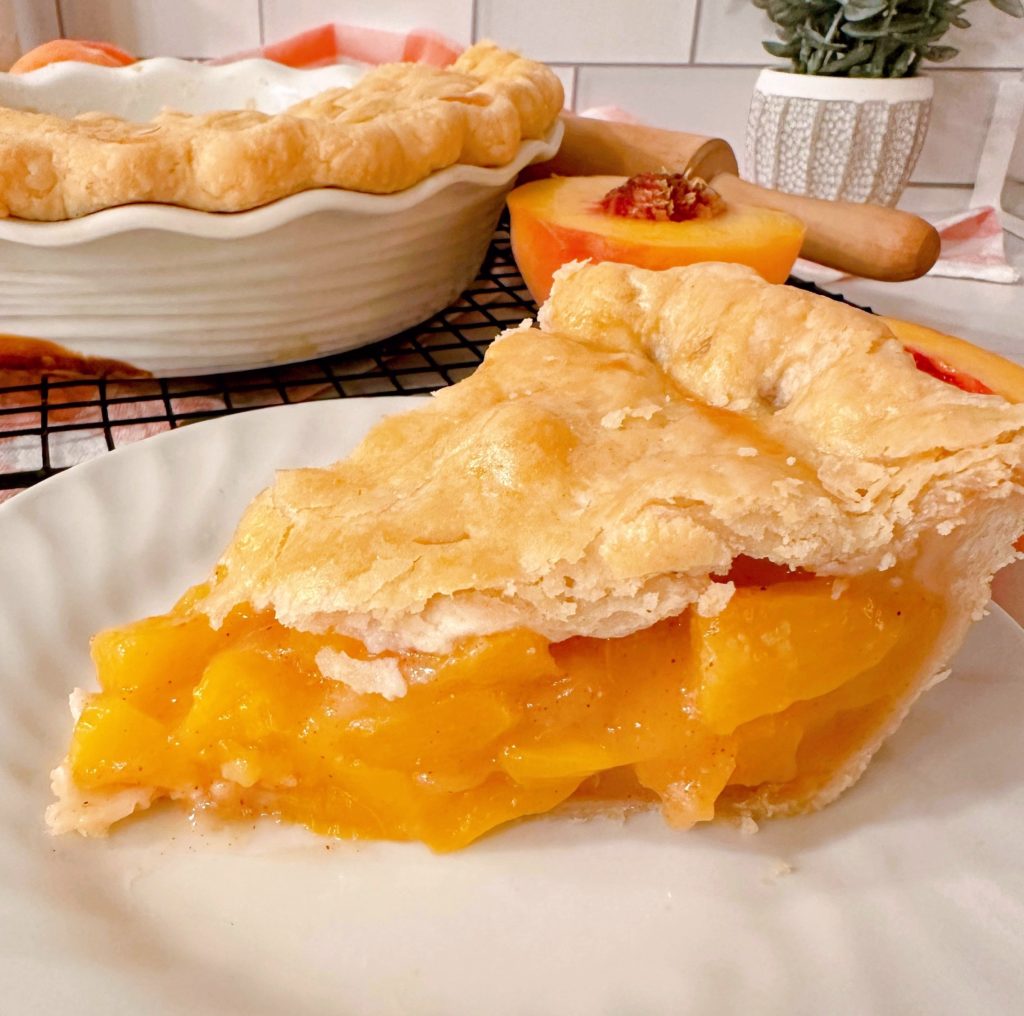
That, my friends, is EXACTLY what this recipe is! It’s perfection! The peaches are slightly firm, the filling sweet, yet tangy, and it sets up beautifully! If that isn’t enough, all of that peachy goodness is ensconced in a melt-in-your-mouth flaky pie crust!
Don’t have to take my word for it! My husband, who NEVER eats pie…ate almost the entire pie by himself! (I managed to get two whole slices! TWO!) He declared, and I quote, “This is the best pie I’ve ever eaten”! (Yes, I realize that’s coming from a man who doesn’t eat pie…but we take the endorsements we can get around here!)
In all seriousness, if you’ve been searching for a fantastic peach pie recipe, this is it!
Ingredients needed for Baked Peach Pie
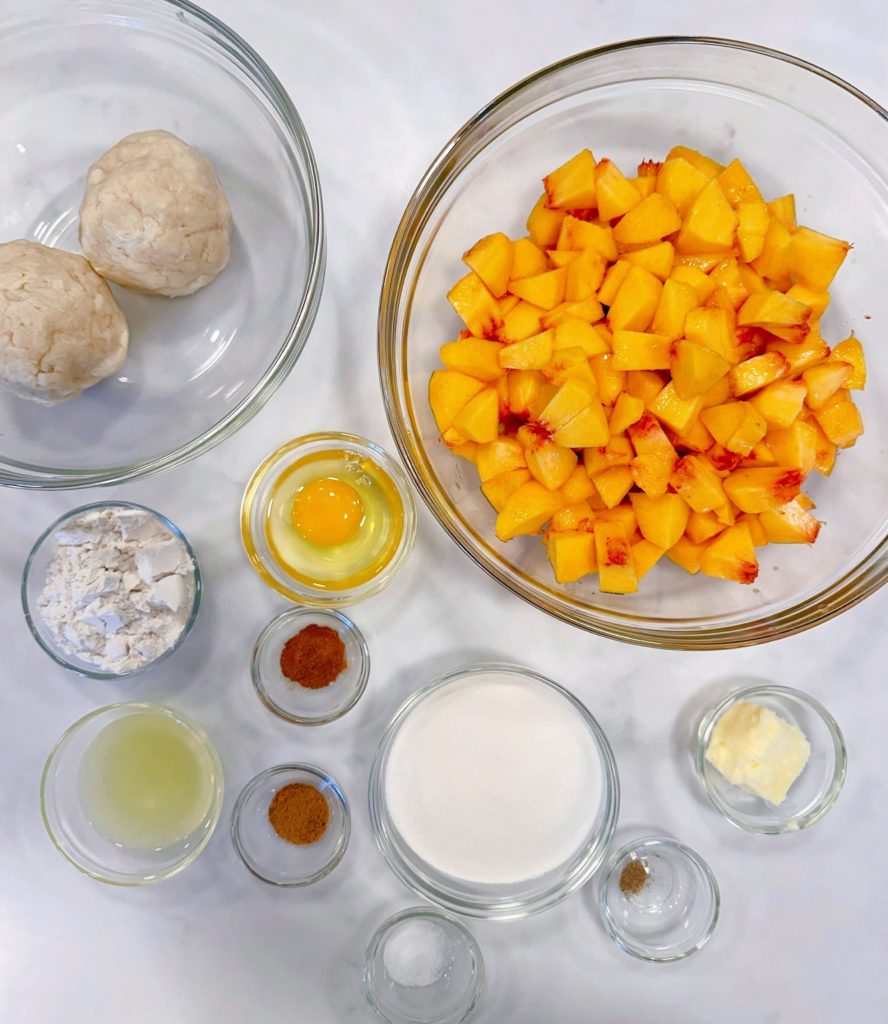
- 1 double-crust 9-inch pie crust
- 1 egg – beaten
- 5 cups sliced, or cubed, peeled peaches -about 4-5 large peaches
- 2 tablespoons lemon juice
- 1 cup granulated sugar
- ½ cup all-purpose flour
- ½ teaspoon ground cinnamon
- ¼ teaspoon ground nutmeg
- ⅛ teaspoon cardamon (optional)
- ½ teaspoon salt
- 2 tablespoons butter
How to Make Fresh Baked Peach Pie
Preheat the oven to 450° (F). Note there will be a heat reduction during the bake time, just so you are aware.
Preparing the Pie Crust
The most intimidating part of any pie is the crust! I know it can be a little overwhelming to make your own pie crust if you’ve never done it before. However, if you go to my recipe for flaky pie crust and follow my step-by-step instructions, you’ll be a pie crust pro in no time! In addition, there’s a “how-to” video as well! You can do this!
You can also use a store-bought pie crust for this pie. It’s 100% up to you and your level of comfort in the kitchen.
Line the bottom and sides of a “deep dish” 9-inch pie plate with one of the crusts.
TIP: It’s important to use a deep-dish pie plate. This pie holds a lot of peaches and filling! You’ll need all that extra space, my friends.
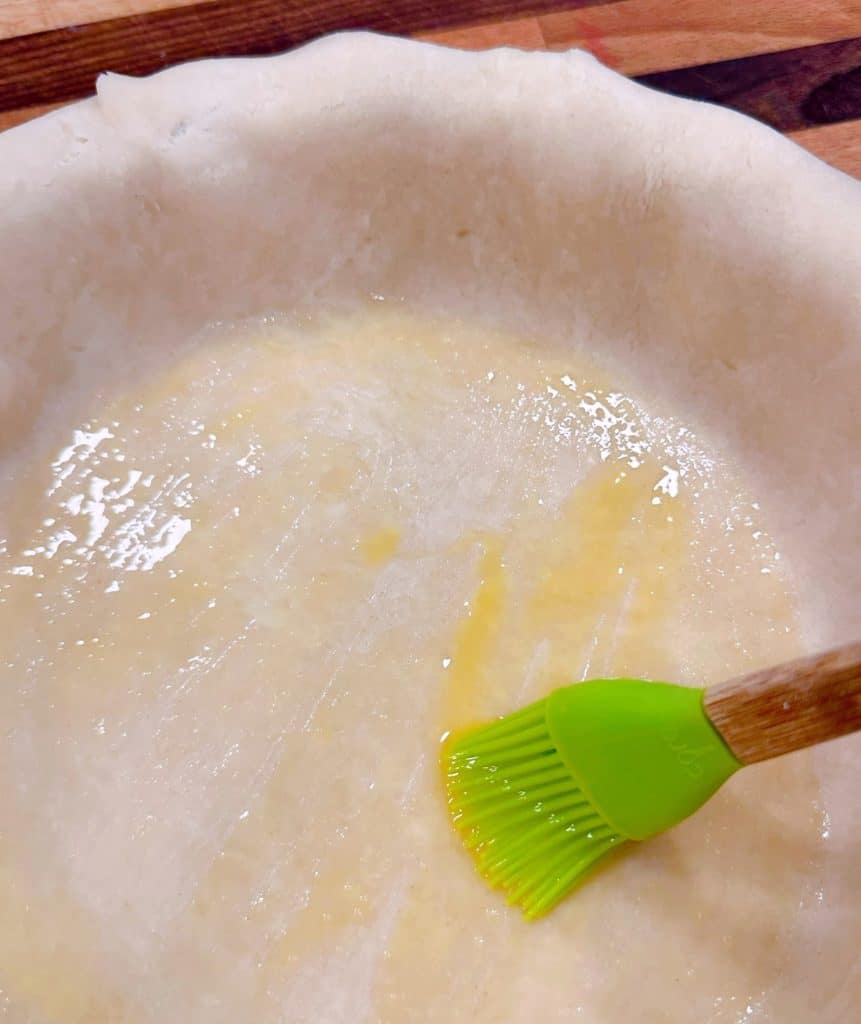
Lightly brush the crust with some of the beaten egg to prevent the dough from becoming soggy during baking. Set the second crust aside for later, as well as the remaining egg.
Peach Pie Filling
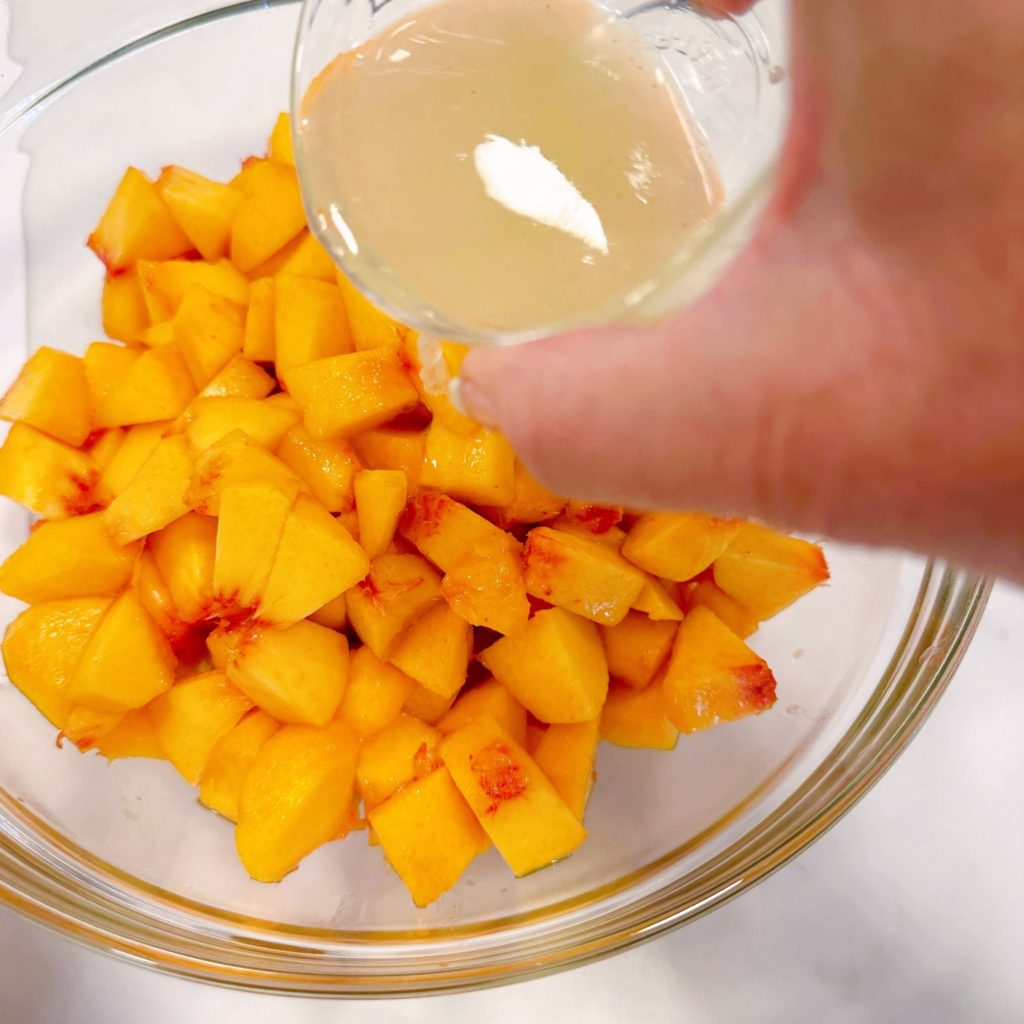
In a large bowl, place the cut-up peaches. Sprinkle with 2 tablespoons of fresh squeezed lemon juice. Mix gently with a silicone spatula or wooden spoon.
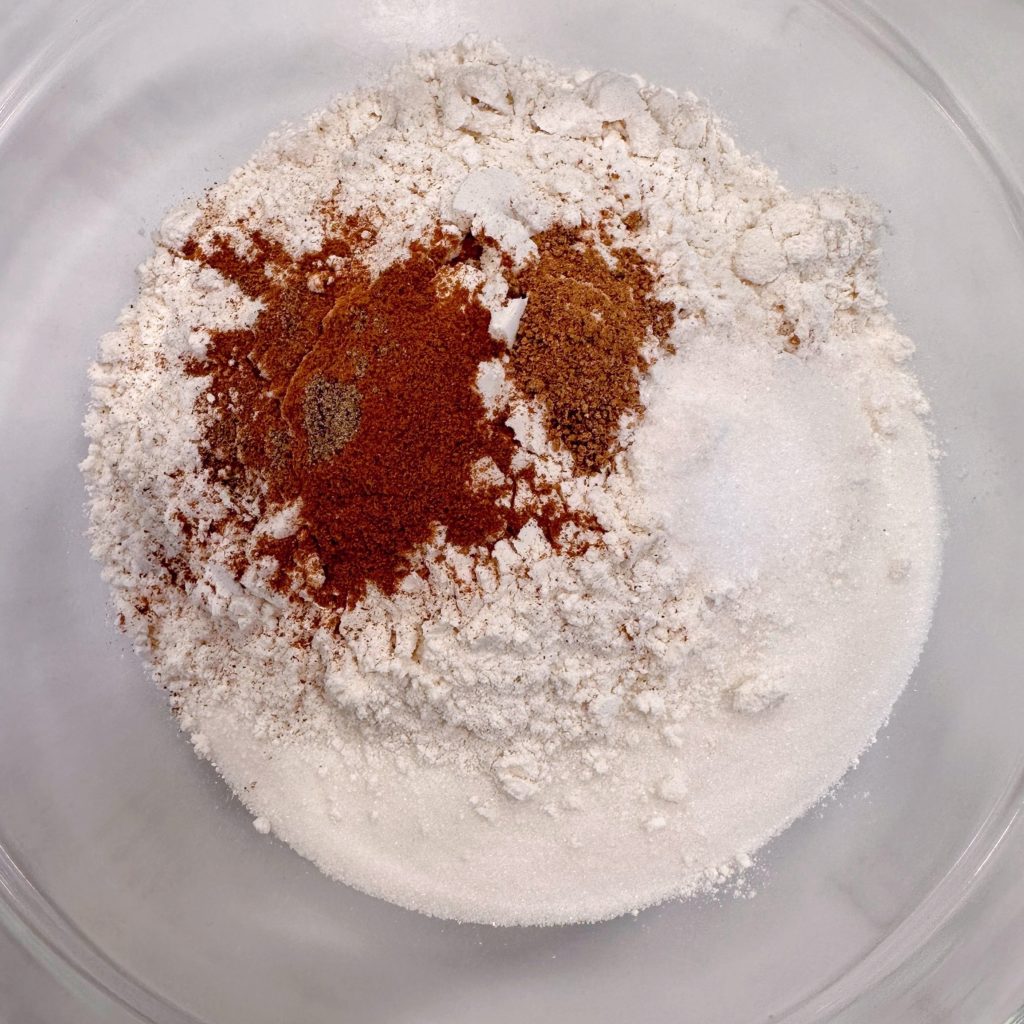
In a medium-sized bowl, add flour, sugar, cinnamon, nutmeg, cardamon (optional), and salt. Whisk to combine.
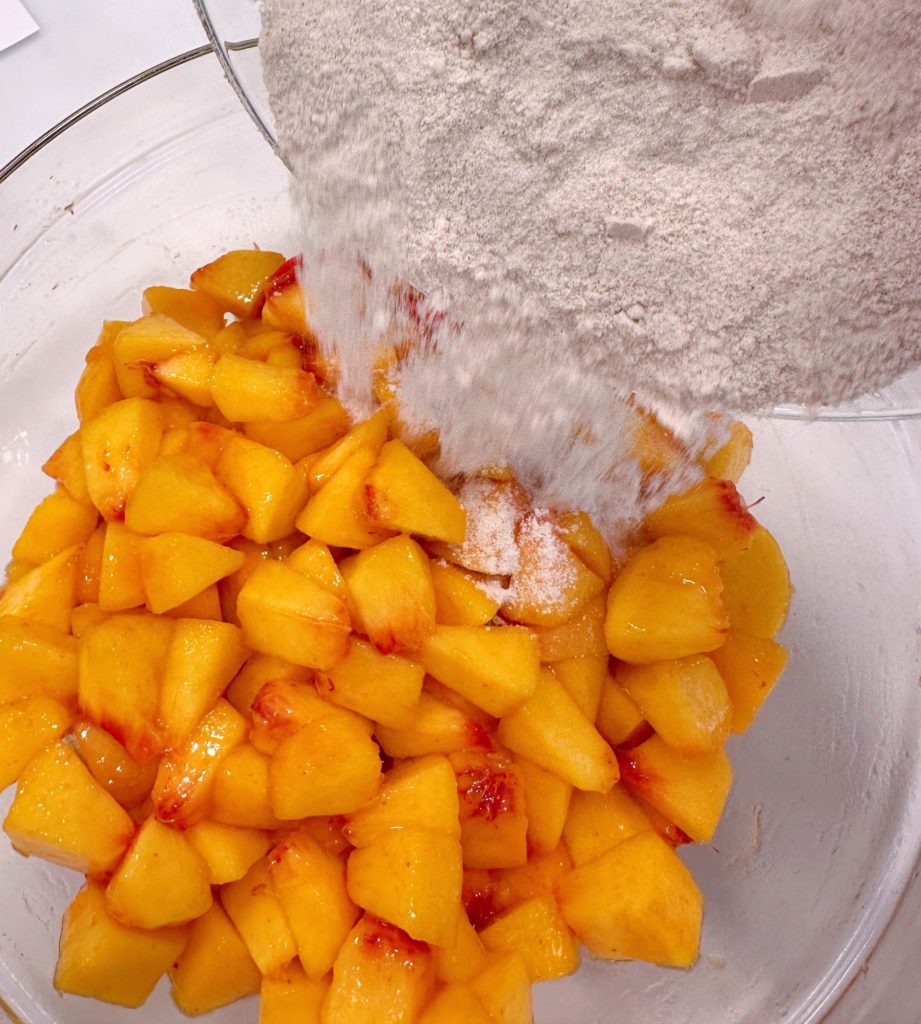
Pour the dry ingredients over the cut-up peaches.
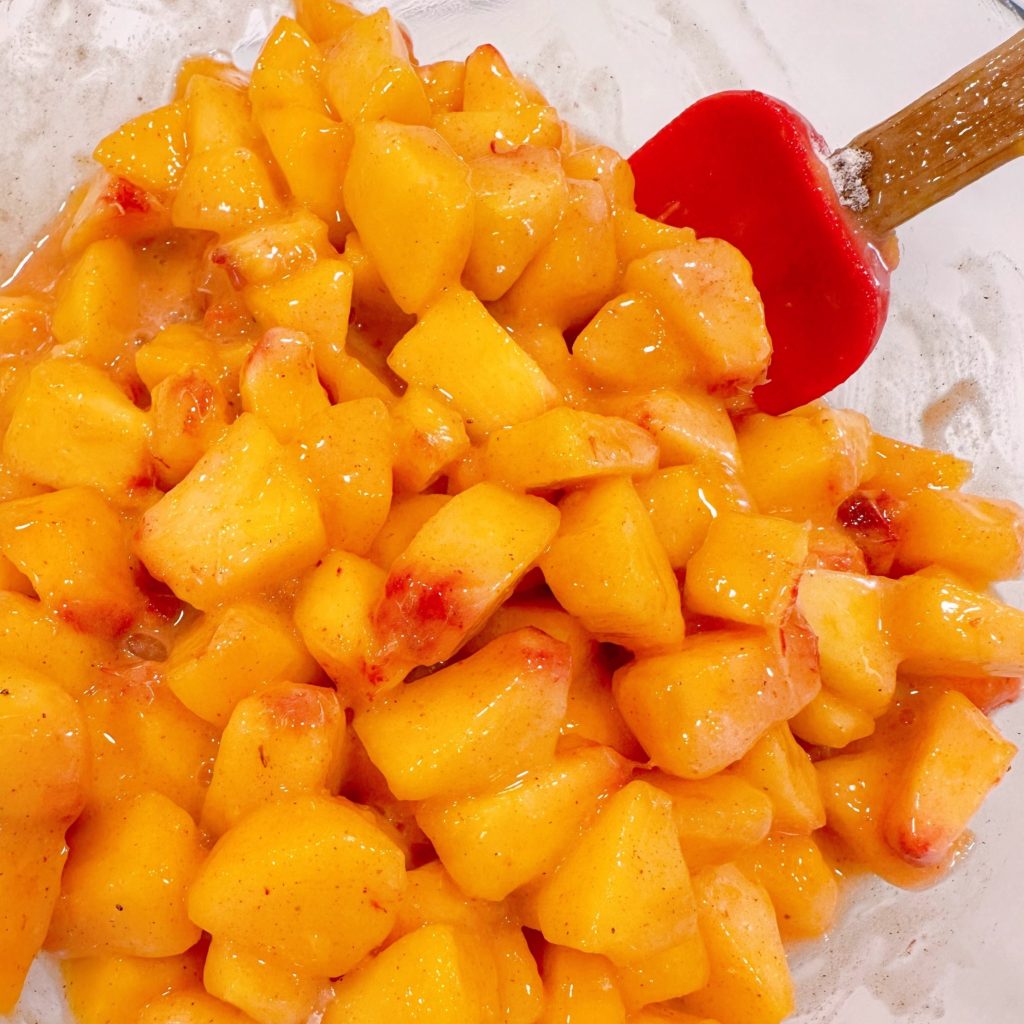
Gently mix until combined.
TIP: You’ll be tempted to add more flour because the peaches are so juicy! The flour thickens the filling during baking. However, don’t! This is a really well-balanced filling and it works great as is!
Filling and finishing the pie
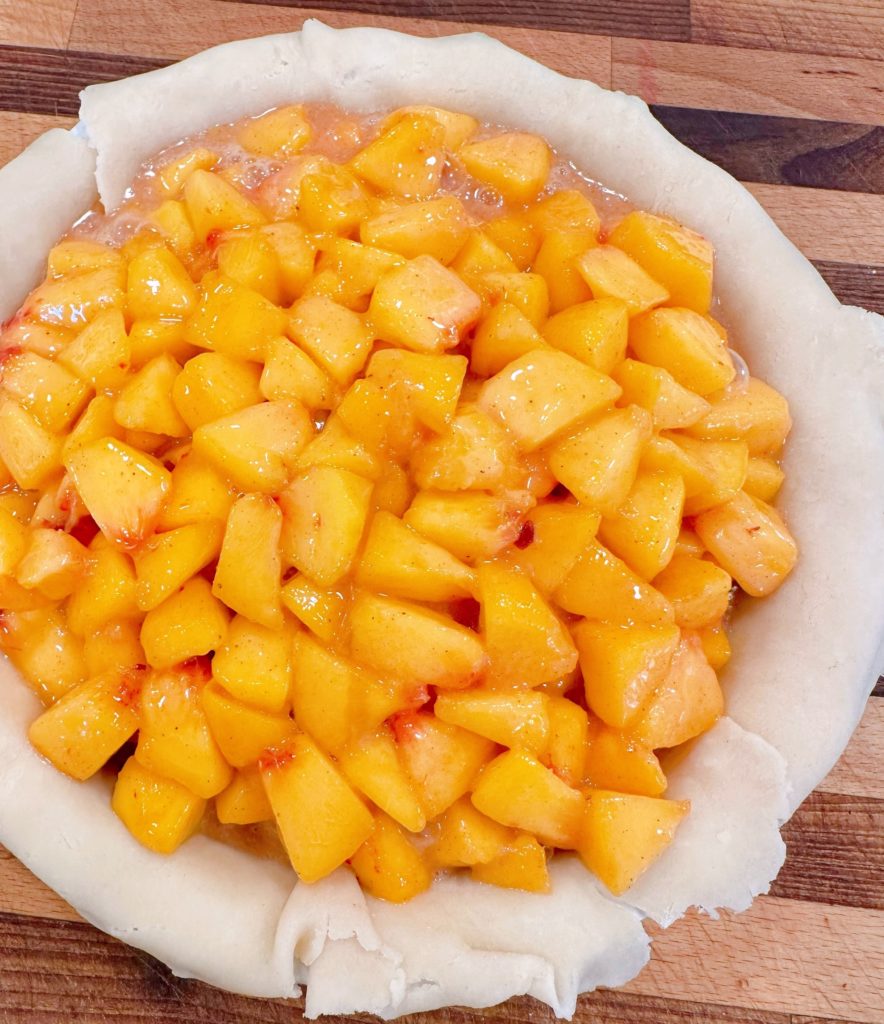
Pour the peach pie filling into the prepared pie crust in the pie plate. It will completely fill the deep dish pie crust! Don’t worry! It’s going to be okay!
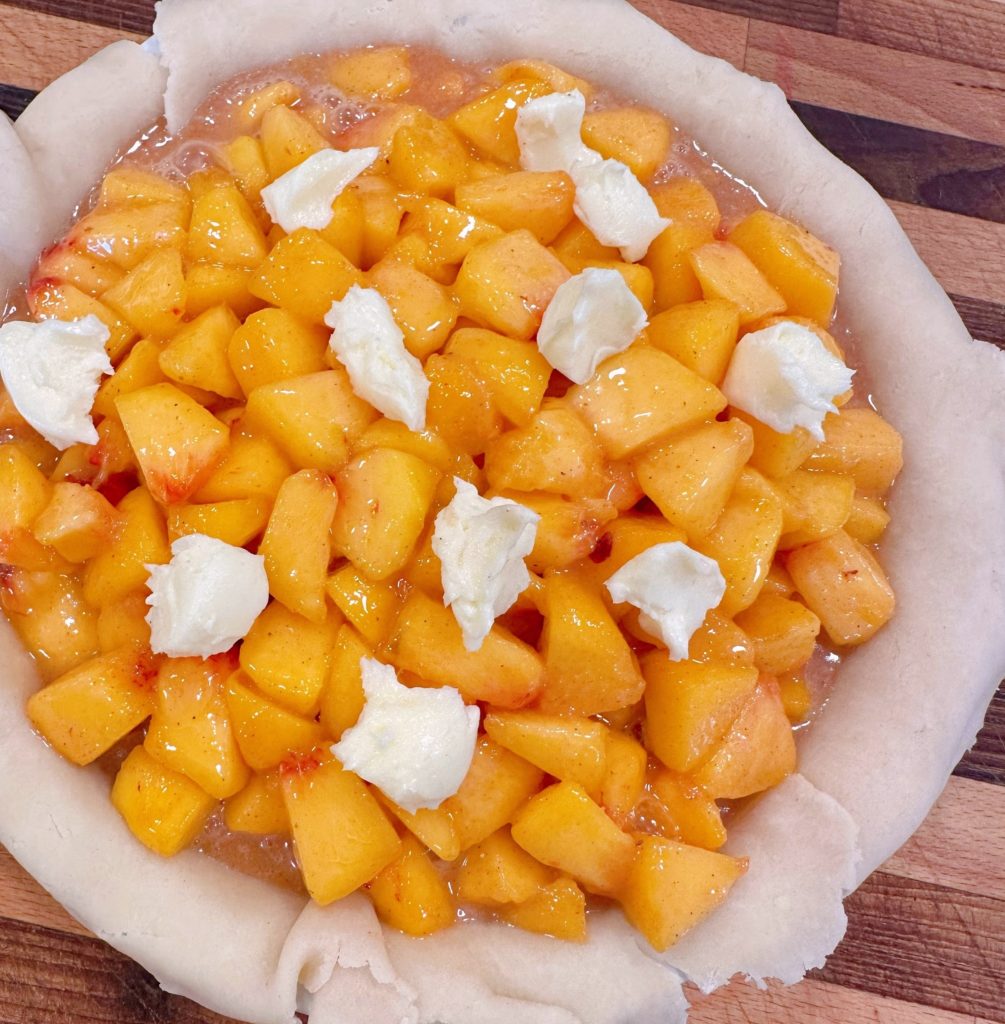
Dot the top of the peach filling with the softened butter. It doesn’t have to be perfect, just make sure you cover all the areas of the pie.
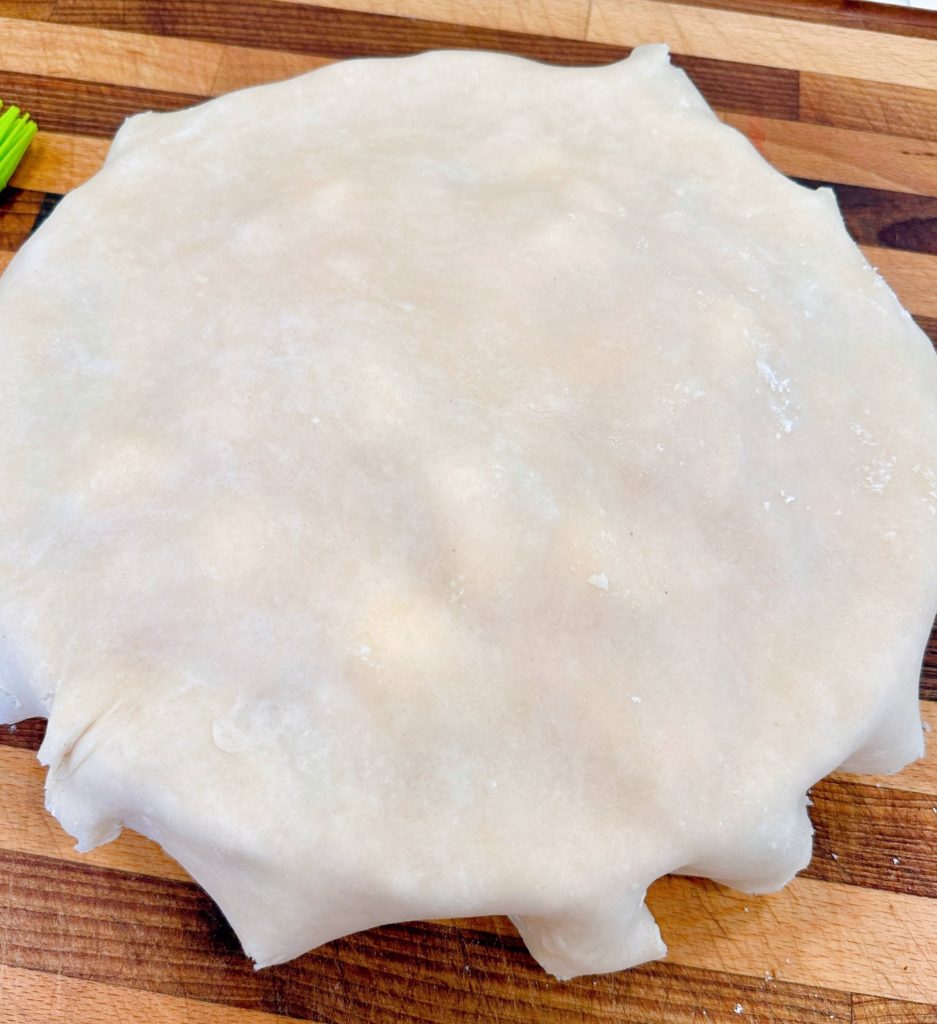
Cover the filling with the remaining pie crust. Gently pat the crust down over the peaches to remove any air pockets. Trim any over-hanging crust ¼ an inch from the lip of the pie plate.
Tuck the overhang under and flute the edges to seal, or use a fork dipped in egg to press them down.
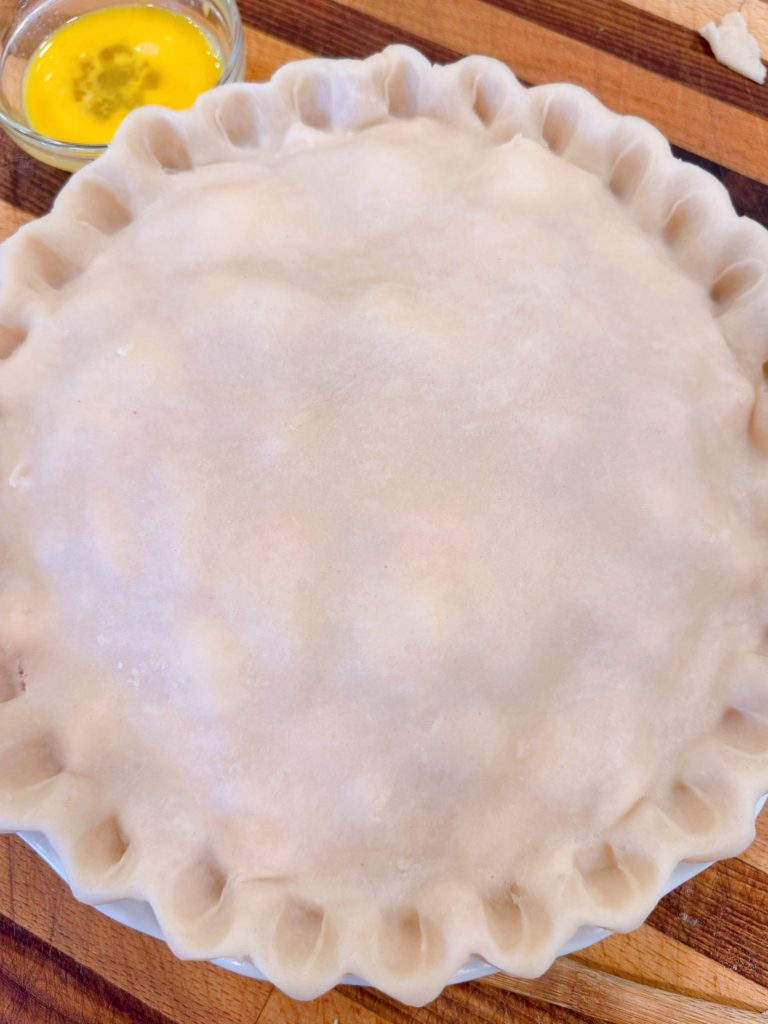
Brush the remaining egg on top, then cut several slits in the top of the crust to allow the steam to escape.
TIP: In the past, I’ve always brushed my fruit pies with milk and sprinkled them with sugar. I decided on this pie to brush the top with egg, and it turned out beautiful! I highly recommend this method for this pie! It produces a golden brown flaky top!
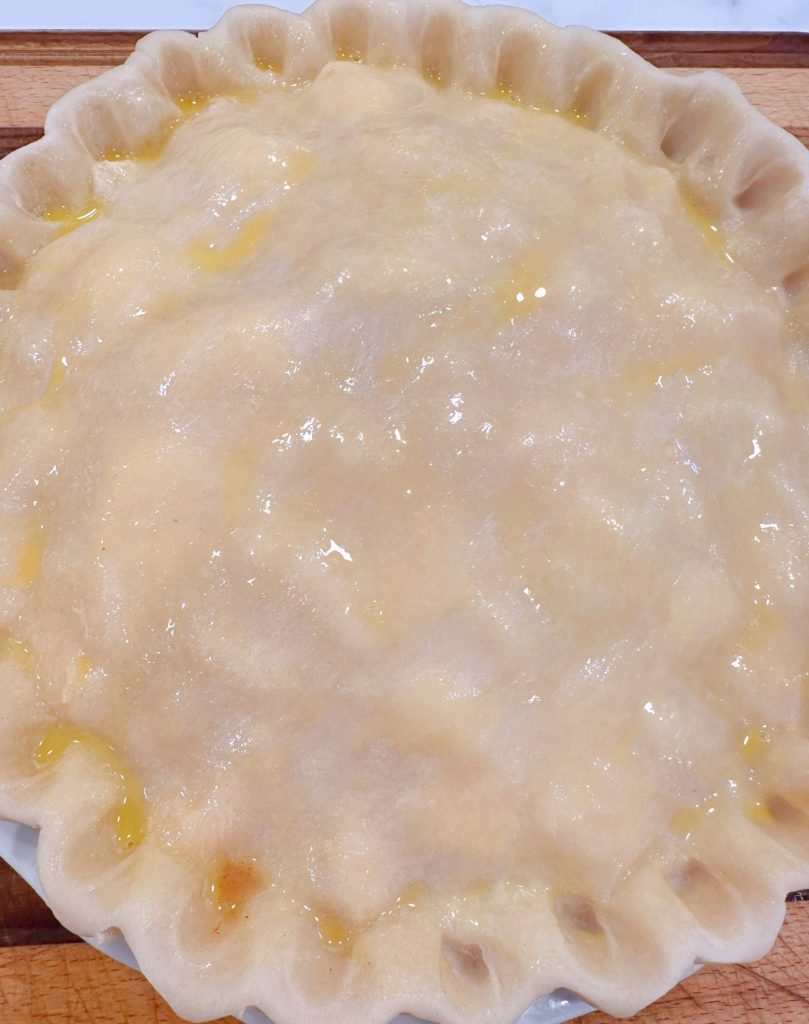
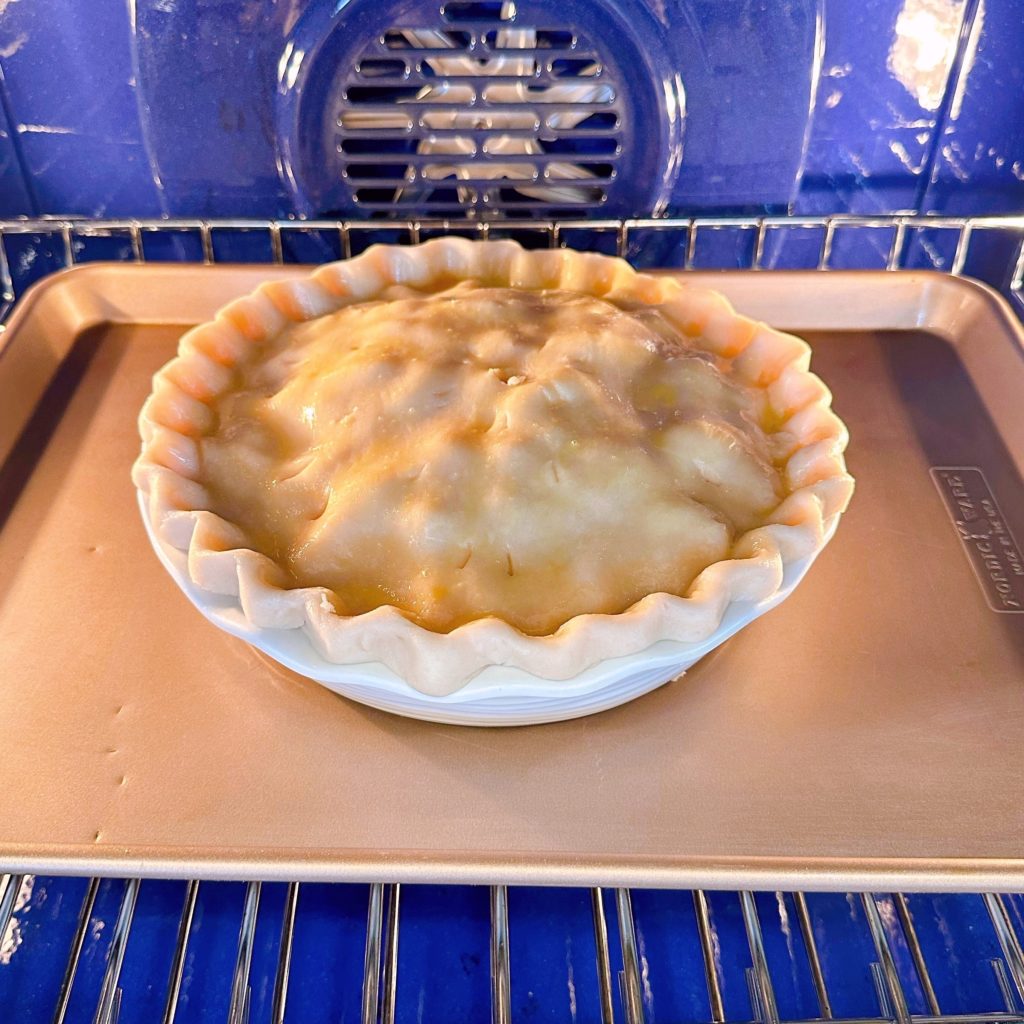
TIP: Place the pie on a baking sheet to prevent any spillage from dropping to the bottom of your oven…unless you L.O.V.E. cleaning your oven! Mine did not spill over, but this is a precaution I always use when baking fresh fruit pies.
Baking Instructions
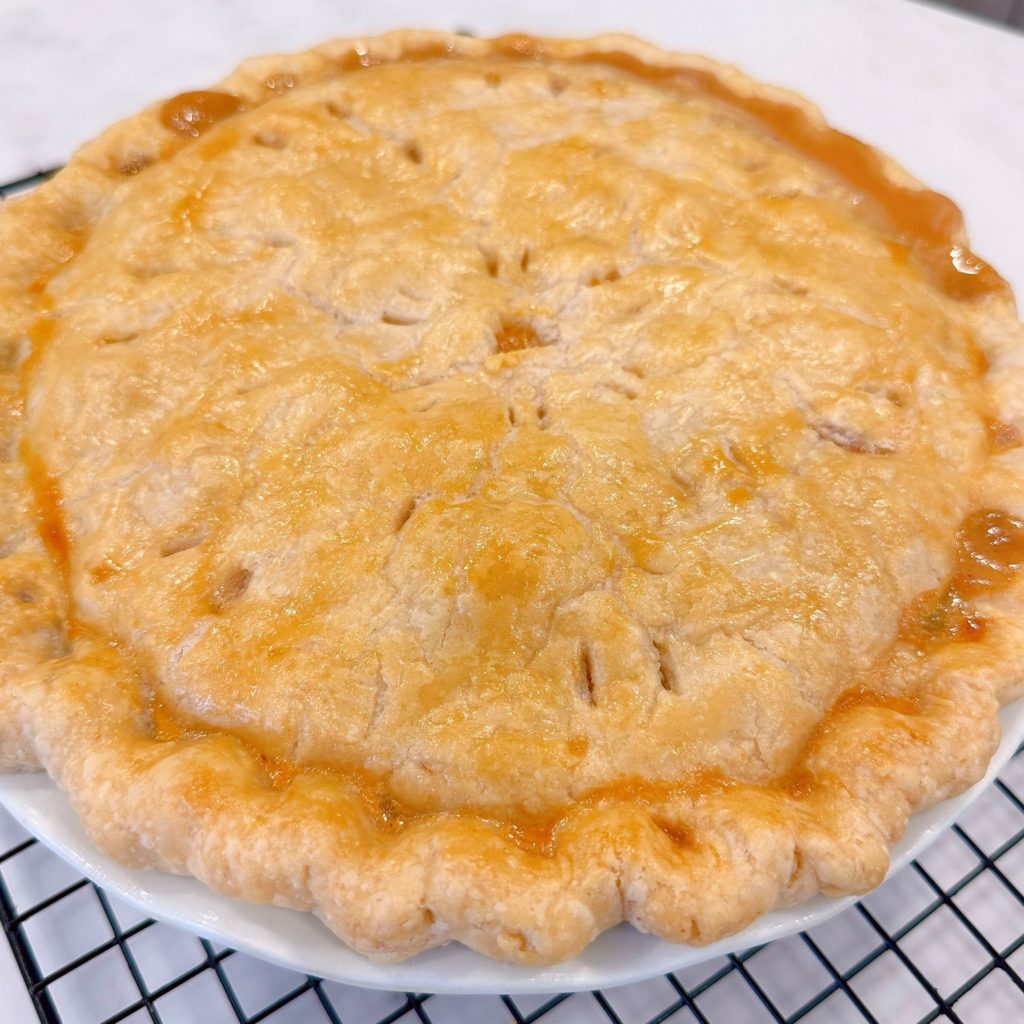
Place the pie in the preheated oven for 15 minutes. Reduce the heat to 350° degrees (174C) and bake until the crust is brown and juice begins to bubble through the vents.
In my oven, it was 45 minutes, but it could take up to 50 minutes. I recommend checking after 30 minutes. Every oven cooks differently.
TIP: If the edges brown too fast, cover them with strips of aluminum foil, or a foil tent, about halfway through baking.
Finished Peach Pie
Remove the pie from the oven and place it on a cooling rack. Cool the pie at least 1 hour before cutting. If you want the pie to really set up, let it cool completely! You can reheat it in the microwave if you want to serve it warm.
Serving and Storage
To serve, slice the pie and serve with a heaping scoop of vanilla ice cream! This is a pie that is divine a-la-mode! It’s great served as is. There’s no wrong way to serve this impeccable pie to friends and family!
If you have leftover peach pie and are planning on finishing it within a day or two, (and you will finish it in a day or two) store it at room temperature on your counter. For optimal freshness, the leftover pie should be kept out of direct sunlight and loosely covered with plastic wrap or foil. You want a slight amount of air flow to get to the pie or the crust will get soggy!
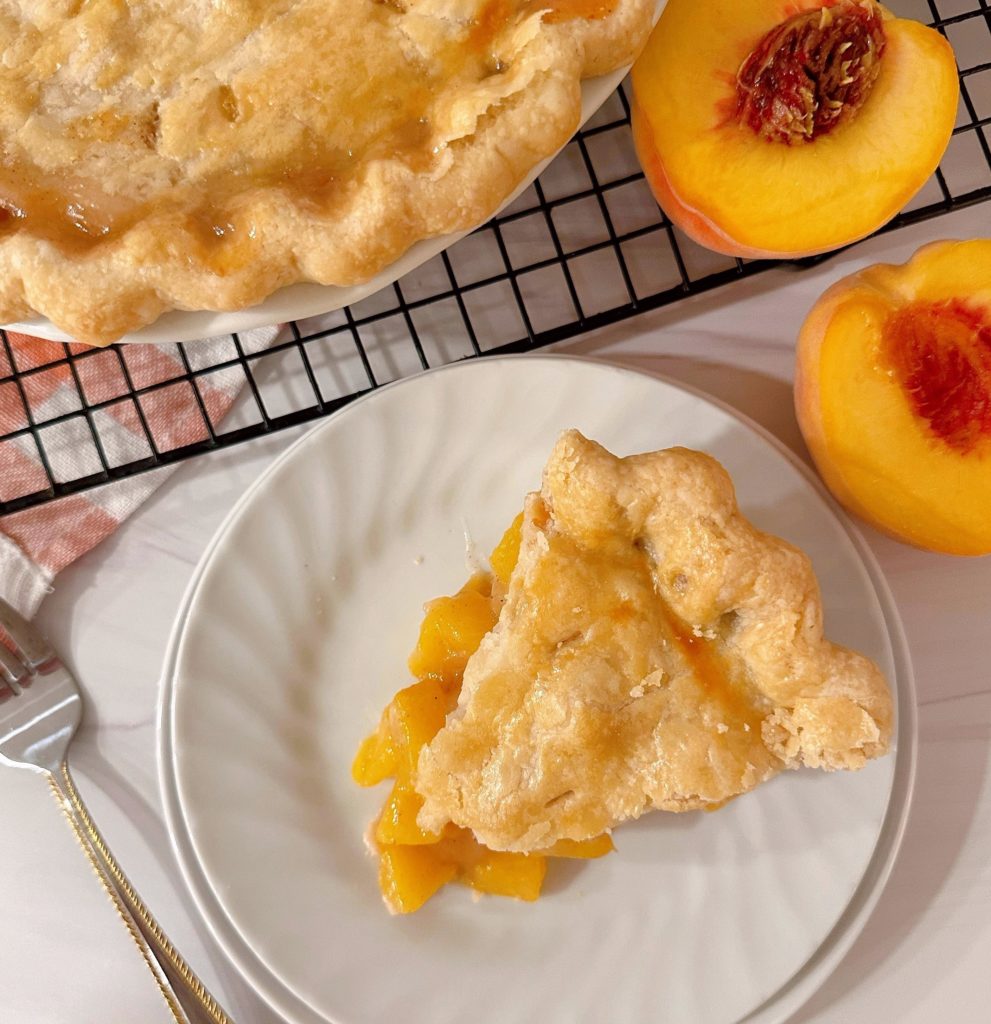
As you take your first bite of this fresh Baked Peach Pie, it may evoke memories of lazy summer afternoons eating fresh peaches with the juices running down your hands and onto your arms!
For me, it signals the beckoning of Fall at our doorsteps! Peach season hits towards the end of August here, and I love that it’s our final goodbye to summer!
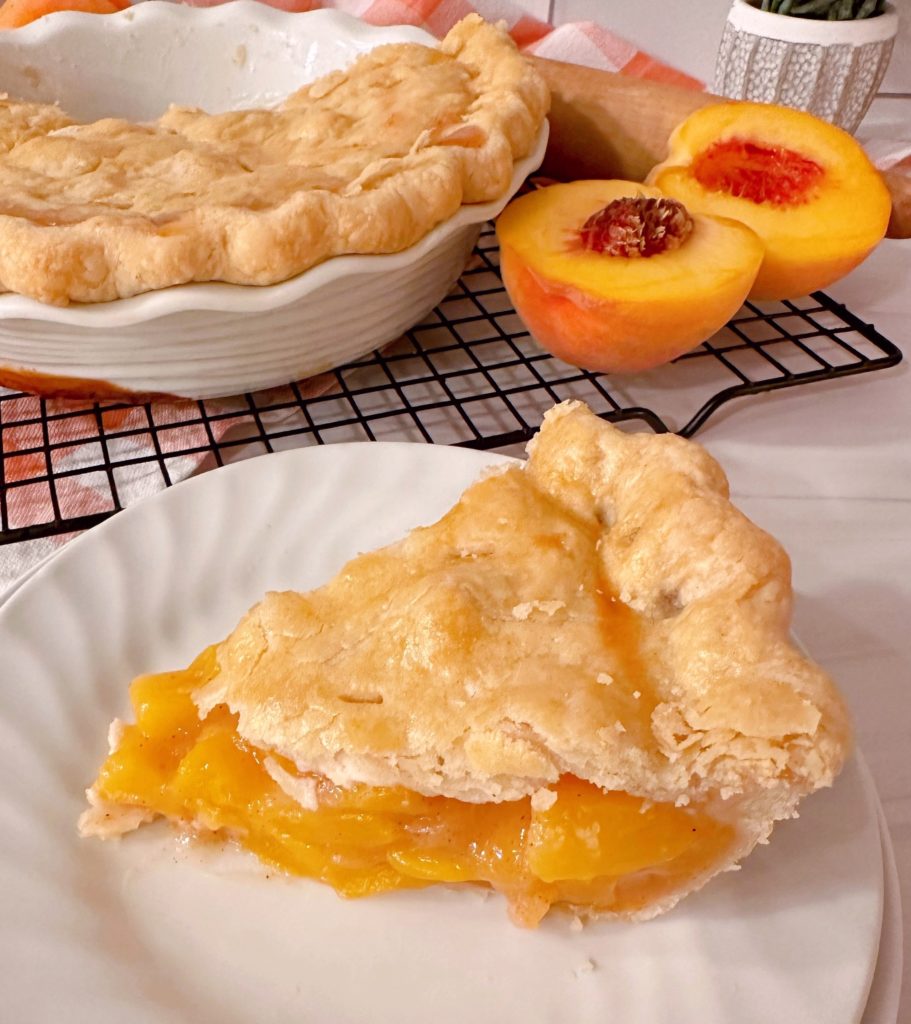
If you can eat just one slice of this pie, you’re a better person than I am. I have to admit my husband was right! This is the BEST peach pie and one I’ll be making every year come peach season!
Other Favorite Fruit Pie Recipes
- Double Crust Purple Plum Pie
- Fresh Homemade Blackberry Pie
- Triple Mixed Berry Deep Dish Gallette Pie
- Strawberry Rhubarb Pie
- Spiced Caramel Apple Pie
- Nectarine and Strawberry Pie from A Red Spatula
Thank you for stopping by today and sharing this recipe with me! I hope you and your family enjoy this peach pie as much as we do! It’s a delightful dessert. The free recipe card is below. Enjoy, and please come again!
Happy Nesting!

Printable Recipe
Best Baked Fresh Peach Pie Recipe
Ingredients
- 1 double-crust 9-inch pie
- 1 egg-beaten
- 5 cups sliced or cubed, peeled peaches
- 2 tablespoons fresh lemon juice
- 1 cup white sugar
- ½ cup all-purpose flour
- ½ teaspoon ground cinnamon
- ¼ teaspoon ground nutmeg
- ⅛ teaspoon cardamon optional
- ½ teaspoon salt
- 2 tablespoons butter softened
Instructions
- Preheat oven to 450° (F)
- Line the bottom and sides of a deep-dish 9-inch pie plate with one crust. Lightly brush the crust with some of the beaten egg to prevent the dough from becoming soggy later. Set the second crust aside.
- Place the peaches in a large bowl, sprinkle with lemon juice, and gently mix.
- In a separate bowl, combine sugar, flour, cinnamon, nutmeg, cardamon, and salt. Whisk together. Pour over the peaches and mix until combined.
- Pour peach filling into the bottom of the pie crust. Dot with softened butter.
- Cover the filling with the remaining pie crust. Trim crust to edge of pie plate. Flute the edges. Brush with the remaining egg on top, cut several slits in the top crust to allow steam to escape. Place the pie on a baking sheet to prevent spillage from burning on the bottom of the oven.
- Bake the pie in a preheated oven for 15 minutes. Reduce the heat to 350°(F) and bake until the crust is golden brown and the juice begins to bubble through the vents. About 45–50 minutes depending on the oven. If the edges brown too fast, cover them with strips of aluminum foil halfway through baking.
- Remove from the oven, place on the cooling rack, cool for a minimum of 1 hour, or until completely cool for a firm set. Slice and enjoy.
Nutrition
About the Author
Meet The Author
Hi! I'm Norine, the cook, baker, and recipe creator behind Norine's Nest. I love sharing and creating recipes that invite family, friends, and neighbors to gather around the dinner table. Sharing good food and creating memories with those we love brings me happiness. Thanks for stopping by my Nest!


