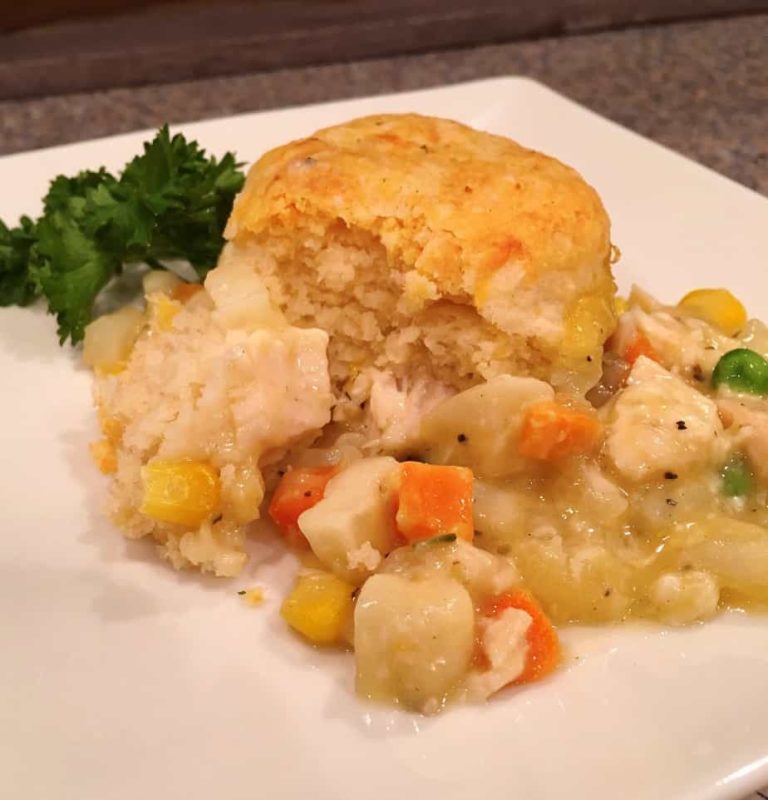
Easy Homemade Pizza Dough Recipe




Discover a simple step-by-step recipe to make delicious homemade pizza dough, perfect for beginners. Get tips on ingredients, kneading, and baking for the best results.
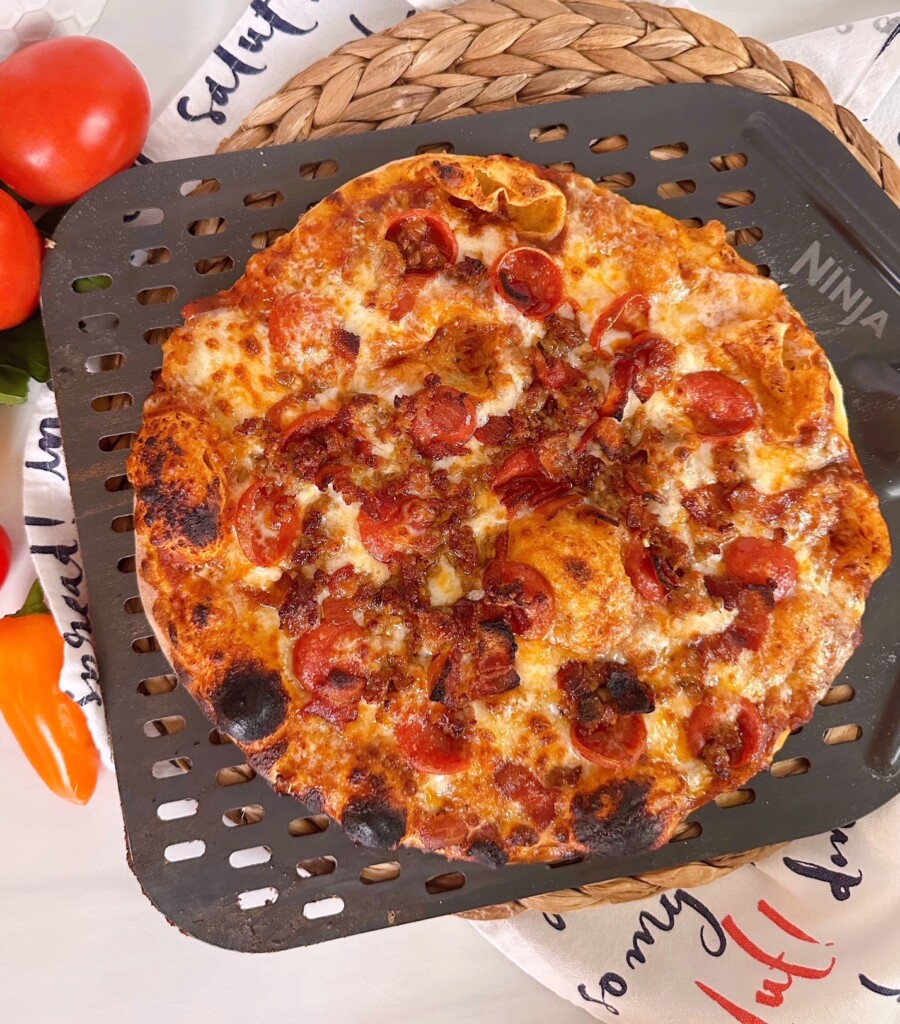
Why Make Your Own Pizza Dough?
There was a time when I thought I would never master homemade pizza dough! After too many failed attempts to count, and a lot of bad pizza… I thought it was something best left to the professionals. No matter how many different recipes I tried, it seemed I just couldn’t get it right!
I finally decided to give it another try last year when my husband bought me a Ninja Wood fire Pizza Oven and Smoker. (Let me be clear…you don’t need a pizza oven for this recipe! Just a good pizza stone, or baking sheet, and your home oven will work beautifully!) I love wood-fire pizza and was determined to re-create my favorite crust! Once I hit on the right combination, I was surprised by just how simple it really was.
This recipe uses basic pantry ingredients, comes together without any fuss, and makes a crust that’s crisp on the outside, soft and chewy on the inside. Grab your apron and let’s get to it!
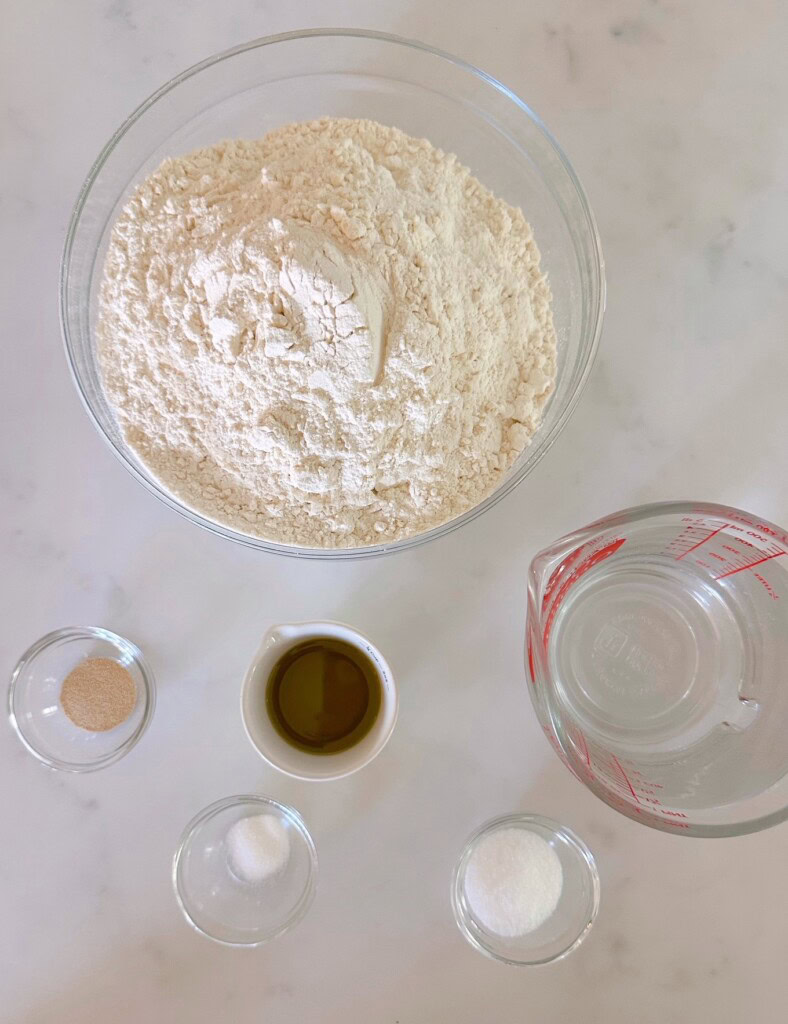
Ingredients Needed For Easy Pizza Dough
- Olive oil, or vegetable oil.
- Water, room temperature
- Yeast
- Sugar
- Salt
- All-purpose flour (No special flour is needed)
Step-By-Step Instructions
This recipe will give you enough dough for 4, 12-inch pizzas. This is basically a dump and mix recipe! I use my KitchenAid with my dough hook attachment, but you can mix it in a large bowl. Just be sure to follow my tips for kneading the dough below.
Step1: Mixing the Dough Ingredients
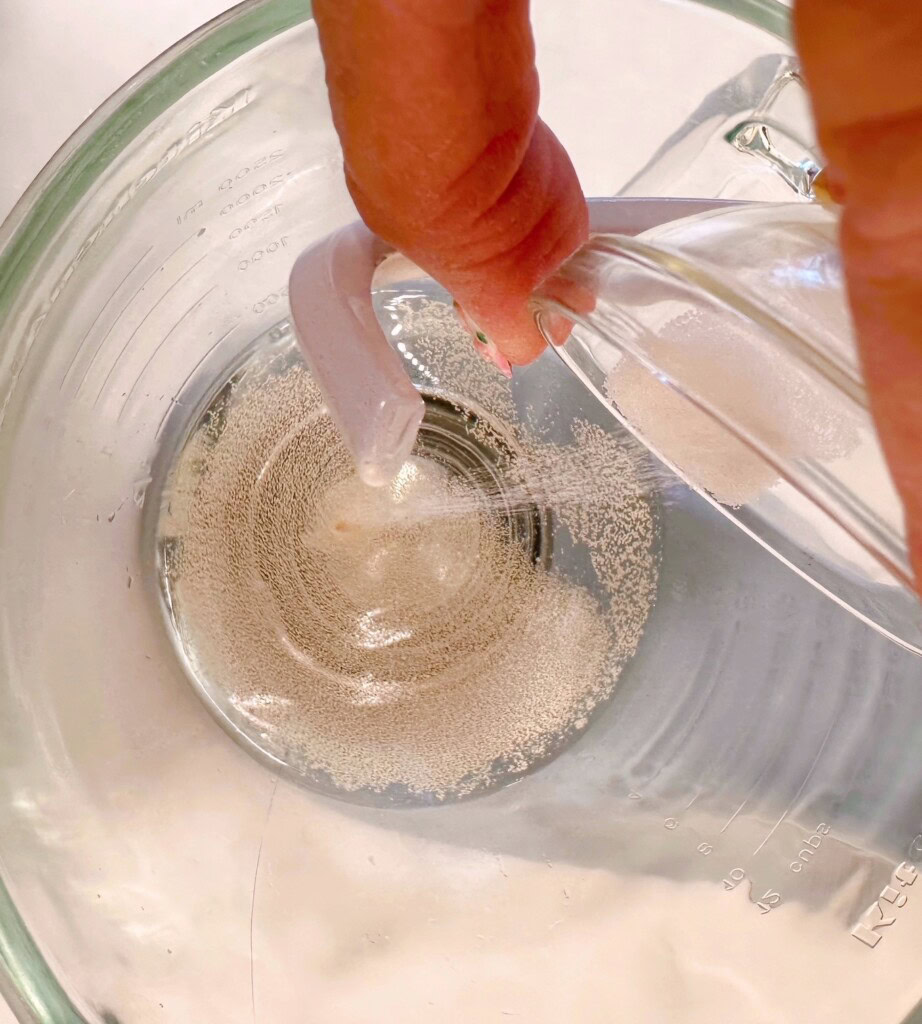
In the bowl of your stand mixer, add room temperature water.
TIP: DO NOT use HOT water as it will kill the small amount of yeast in this dough, and you won’t get the necessary rise needed.
Add yeast, sugar, and salt to the water.
Why is “sugar” added to “yeast” doughs?
Sugar plays a few important roles in yeast breads, but not all of them are essential. Here’s why it’s commonly added:
- Feeds the yeast (at first): Yeast consumes simple sugars to produce carbon dioxide, which helps the dough rise. While yeast can also break down the natural starches in flour into sugars, adding a small amount of sugar gives it an easy food source to get started.
- Promotes browning: Sugar helps the crust develop a beautiful golden-brown color through caramelization and the Maillard reaction during baking.
- Improves texture: Sugar attracts and holds moisture, which can make bread softer and help it stay fresh longer.
For a homemade pizza dough, a small amount of sugar (about 1 to 2 teaspoons per batch) can help the dough rise a little faster and encourage browning, especially in a home oven that doesn’t get as hot as a commercial pizza oven.
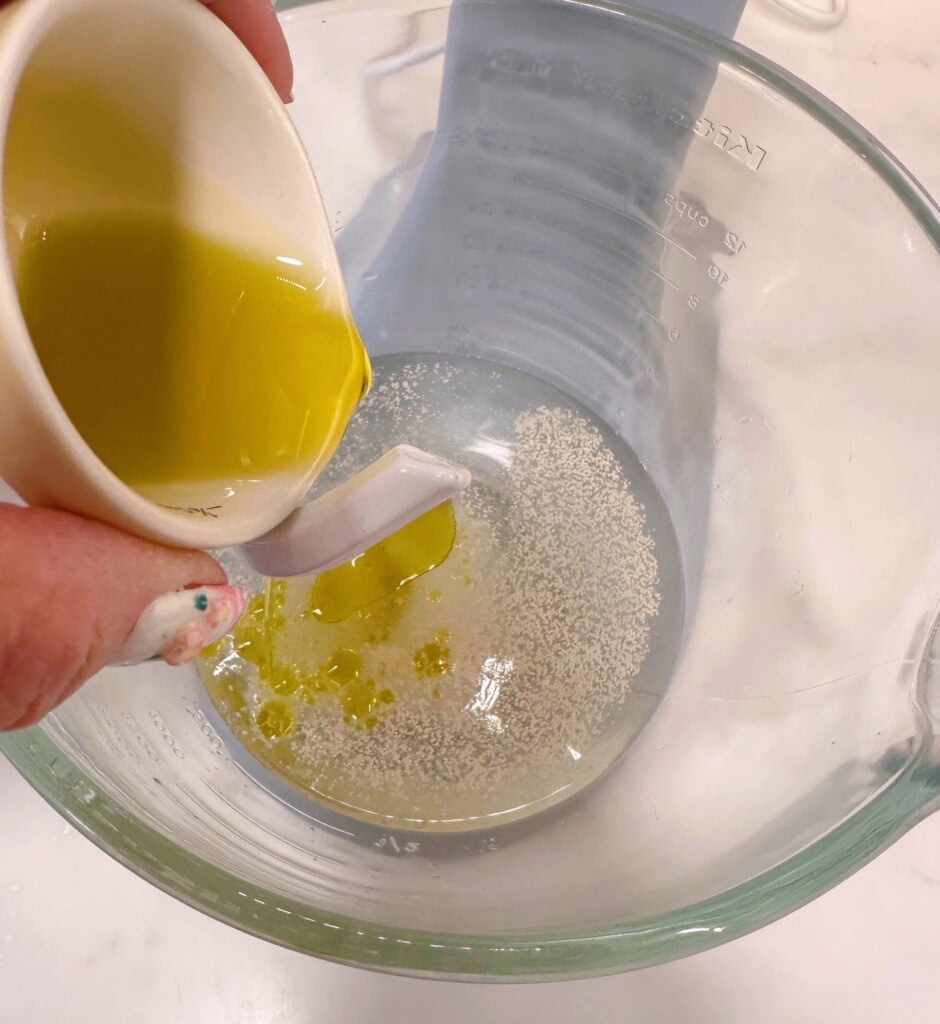
Back to the Pizza Dough… Add the olive or vegetable oil to the water mixture. I like to use Olive Oil for added flavor. Either works well. It’s about personal preference.
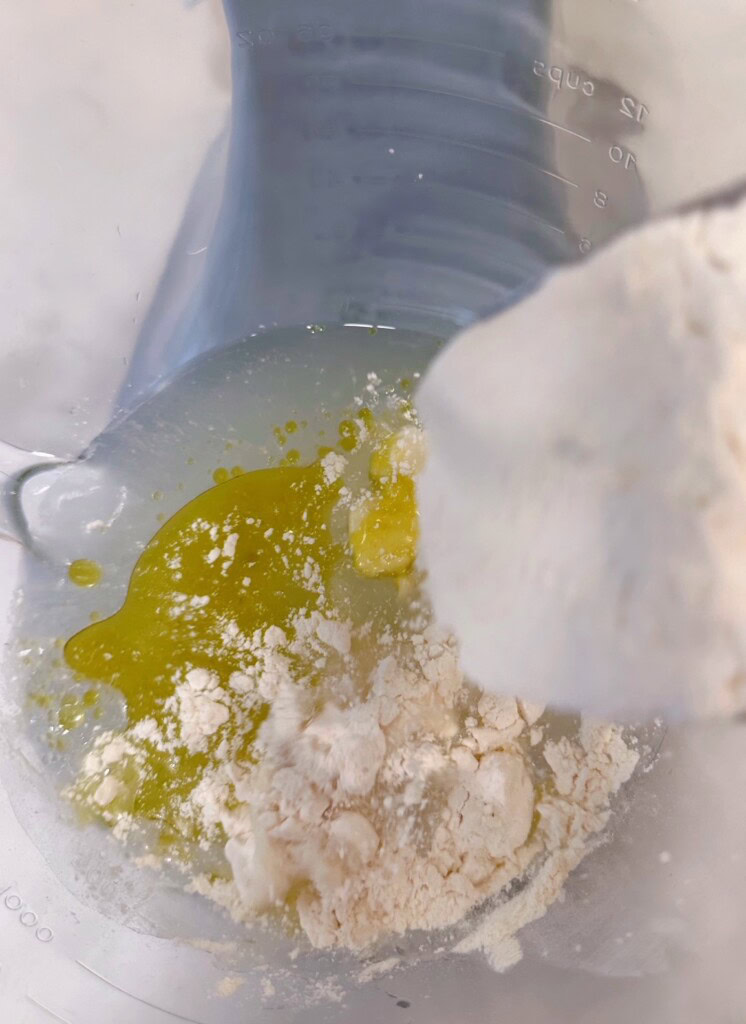
Slowly add the flour, two cups at a time, to the liquids, with the mixer on low.
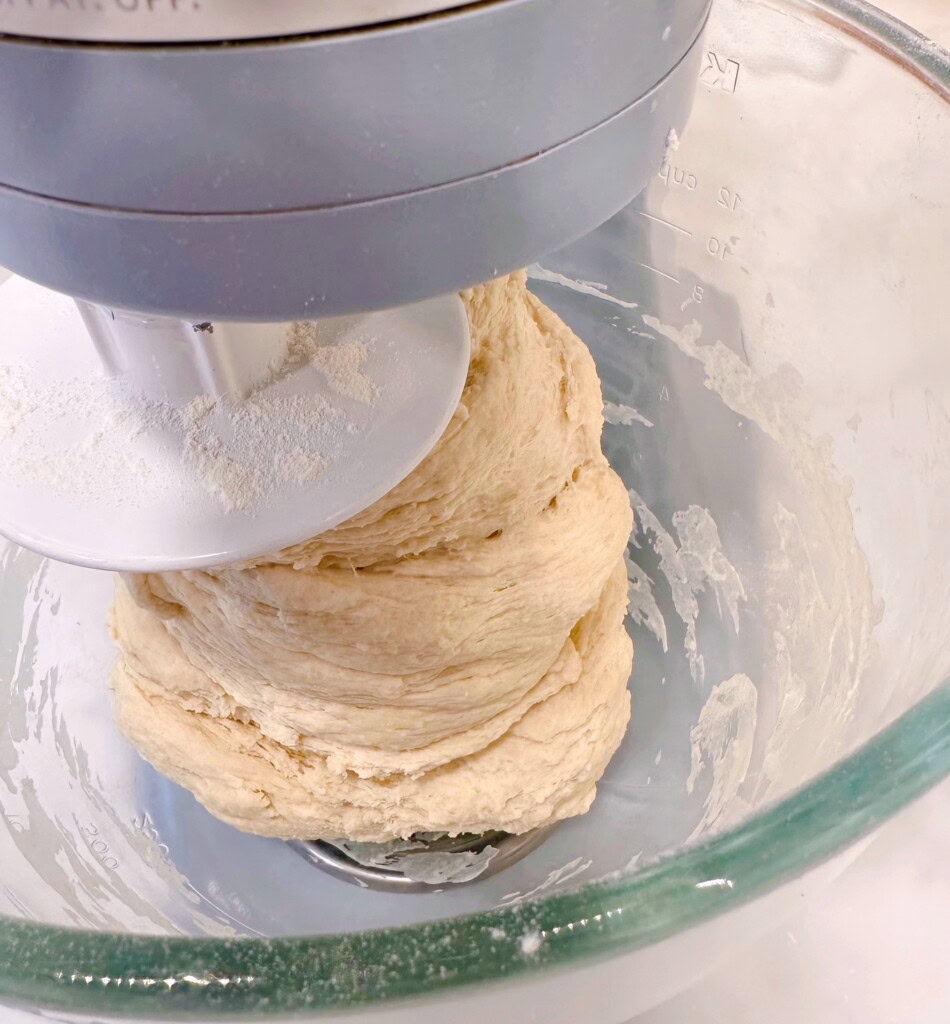
Mix on low until the dough pulls away from the side of the mixing bowl and clings to the dough hook.
Step 3: Kneading The Dough: Tips And Techniques
Kneading is one of the most important steps in making pizza dough, but it doesn’t have to be intimidating. The goal is to develop the gluten, which gives the dough its strength, elasticity, and chewy texture. Properly kneaded dough is easier to shape, holds its structure while baking, and creates a crust that’s crisp on the outside and tender on the inside.
Kneading By Hand Instructions:
If you’re making this dough without a mixer, and kneading by hand, lightly flour your work surface and gently push the dough away from you with the heel of your hand. Fold it back over itself, give it a quarter turn, and repeat. Continue this process for about 8 to 10 minutes. The dough will start out rough and sticky but will gradually become smooth, soft, and elastic.
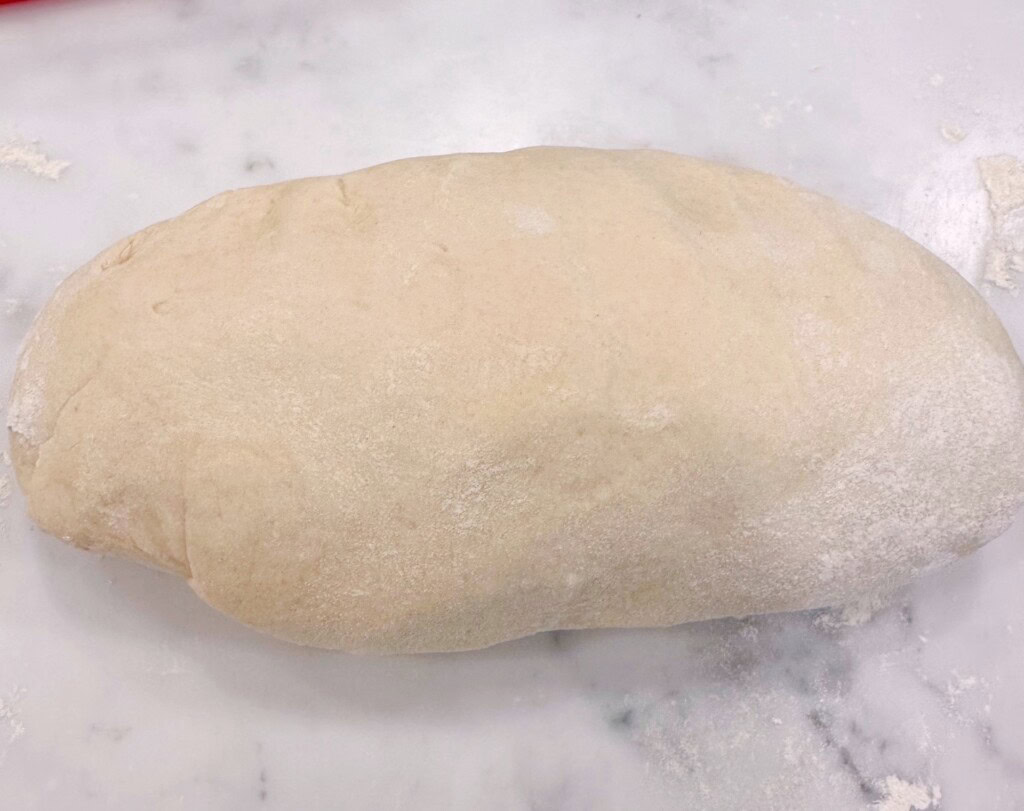
Kneading Using A Stand Mixer:
As stated above, if mixing with a dough hook, after mixing the dough ingredients, knead the dough on low speed for about 5 to 7 minutes. Avoid overmixing, as too much kneading can make the dough overly tight and difficult to stretch when rolling out. Remove the dough from the dough hook and place on a lightly floured surface. Knead one or two times.
TIP: Remember that every batch of dough is a little different. Humidity, the type of flour you use, and even the temperature of your kitchen can affect how the dough feels. With a little practice, you’ll learn to recognize when the dough feels just right.
Step 4: Letting The Dough Rise
Once the dough has been properly kneaded, place the dough into a large bowl, sprayed with cooking spray, place the dough in the bowl and turn it oiled side up. Cover with a lid or plastic wrap.
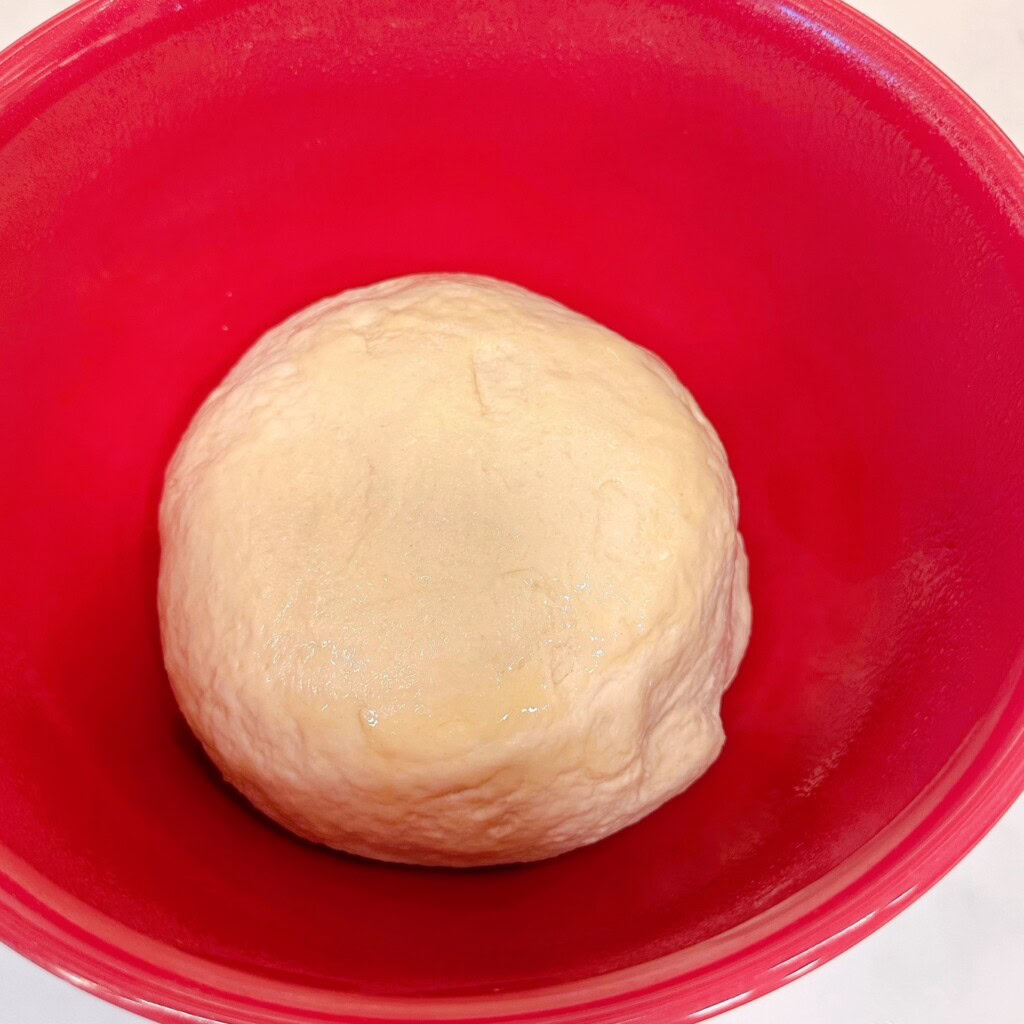
Place the dough in the refrigerator overnight. The dough can be stored up to 3 days before using. It’s one of the reasons I LOVE this recipe. I can meal prep for Friday pizza night and just pull it altogether that day!
Remove the dough from the refrigerator, place in a draft-free, warm area, and allow to come to room temperature. About 3–4 hours. The dough will continue to rise.
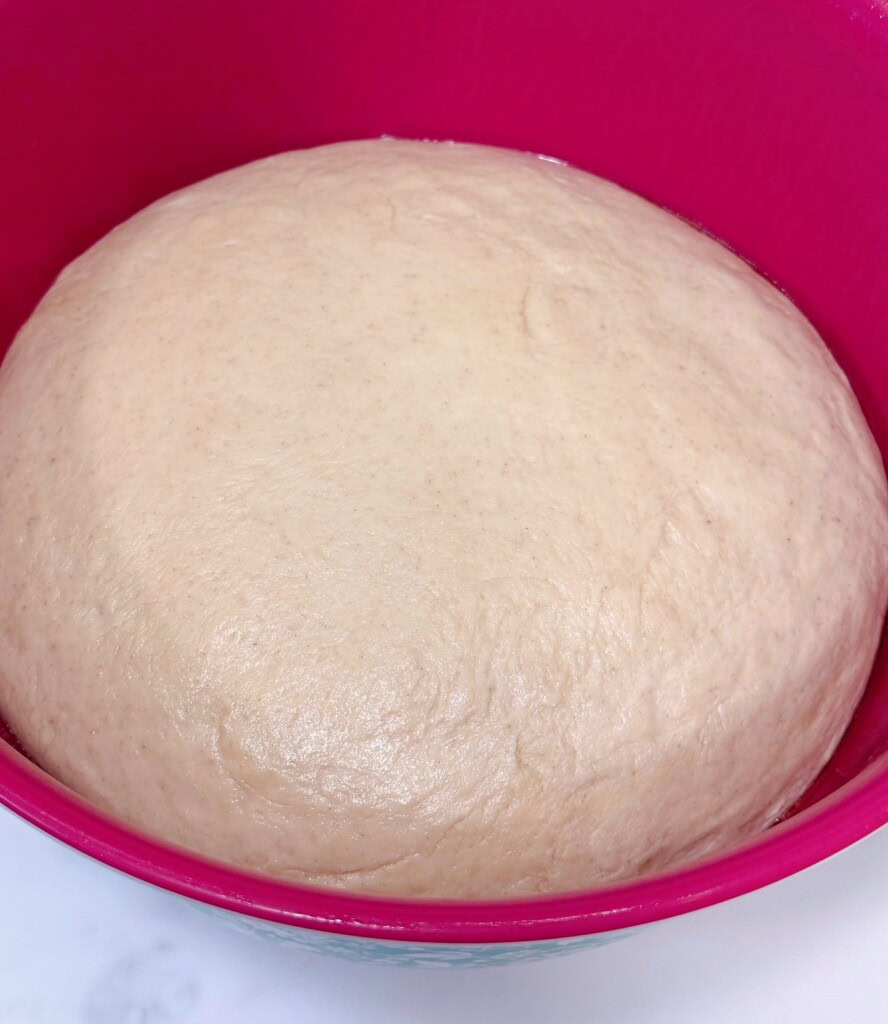
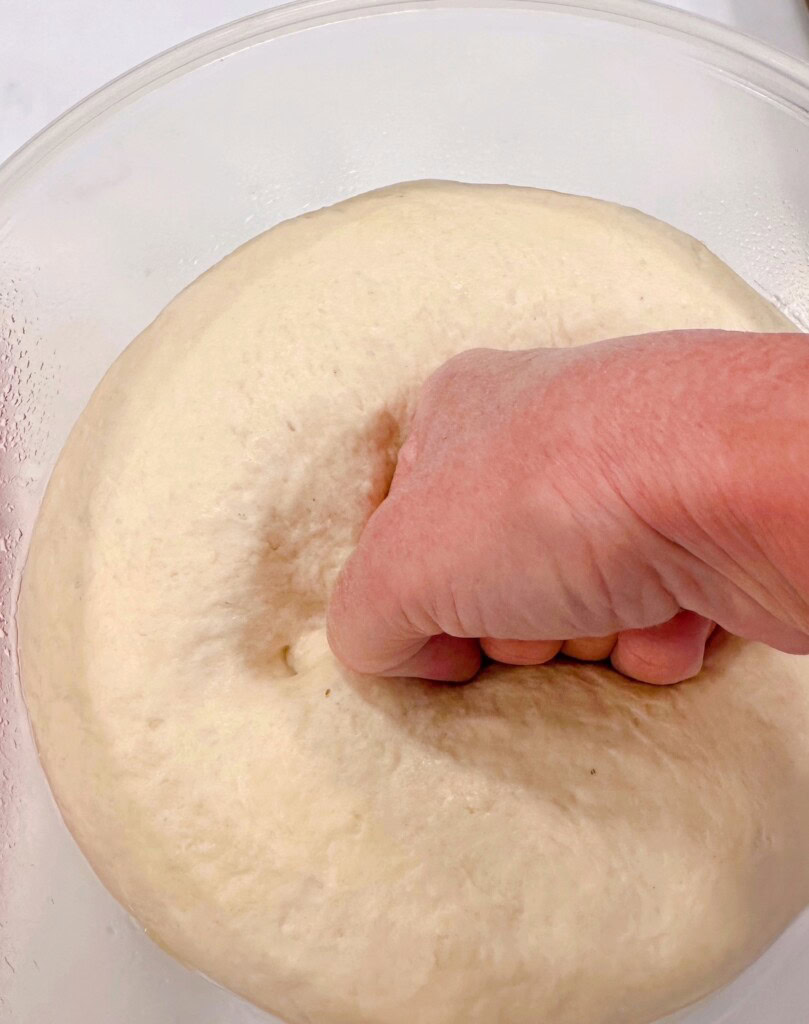
Punch the dough down and divide into 4 equal pieces each weighing 320 grams.
Form each section into smaller balls and place on an oiled sheet pan or large rectangular food storage container, once again turning the dough oiled side up. This prevents the dough from sticking to the plastic wrap.
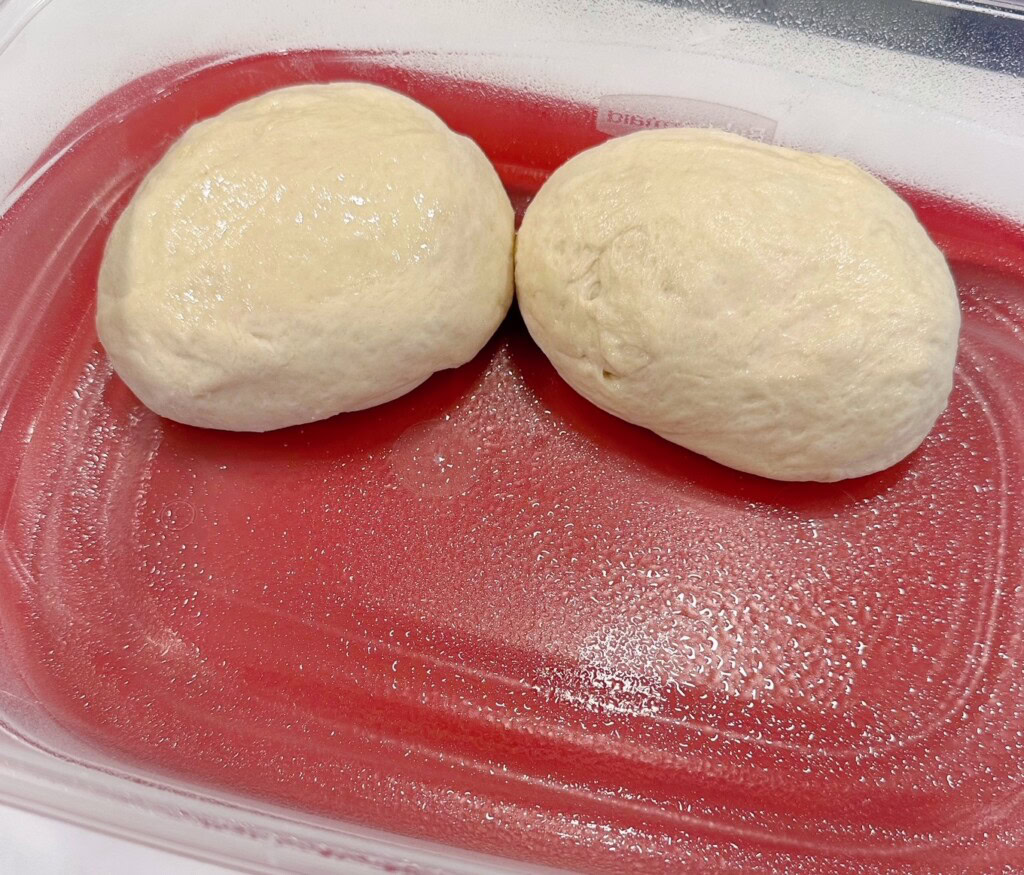
Cover the dough and let it rise again. About 1 hour. Now your dough is ready to turn into your favorite Pizza!
TIP: At this point, you can wrap each individual dough ball, place in a gallon-sized Freezer Ziploc Bag and freeze up to 3 months. To use, remove from freezer and thaw. Follow the instructions to bake the crust.
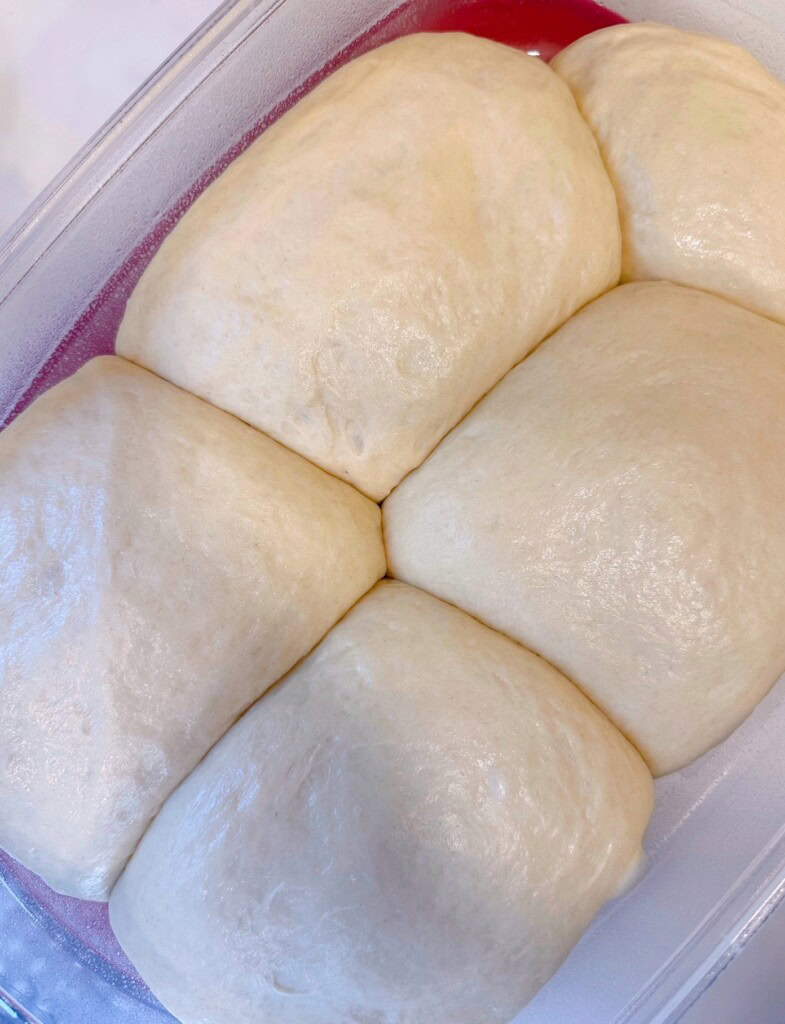
TIP: Once the dough has risen the second time, I give it a quick 15-minute chill before rolling it out so it won’t stick to my pizza paddle!
Step 5: Shaping The Dough For Pizza
Once your dough has finished rising, it’s time to shape it into the perfect pizza crust. Don’t worry, we won’t be tossing it into the air while singing “When the Moon Hits the Sky…”.
Begin by turning the dough out onto a lightly floured surface. I use my dough disc, but the countertop works equally well.
Using your fingertips, gently press the dough into a flat circle.
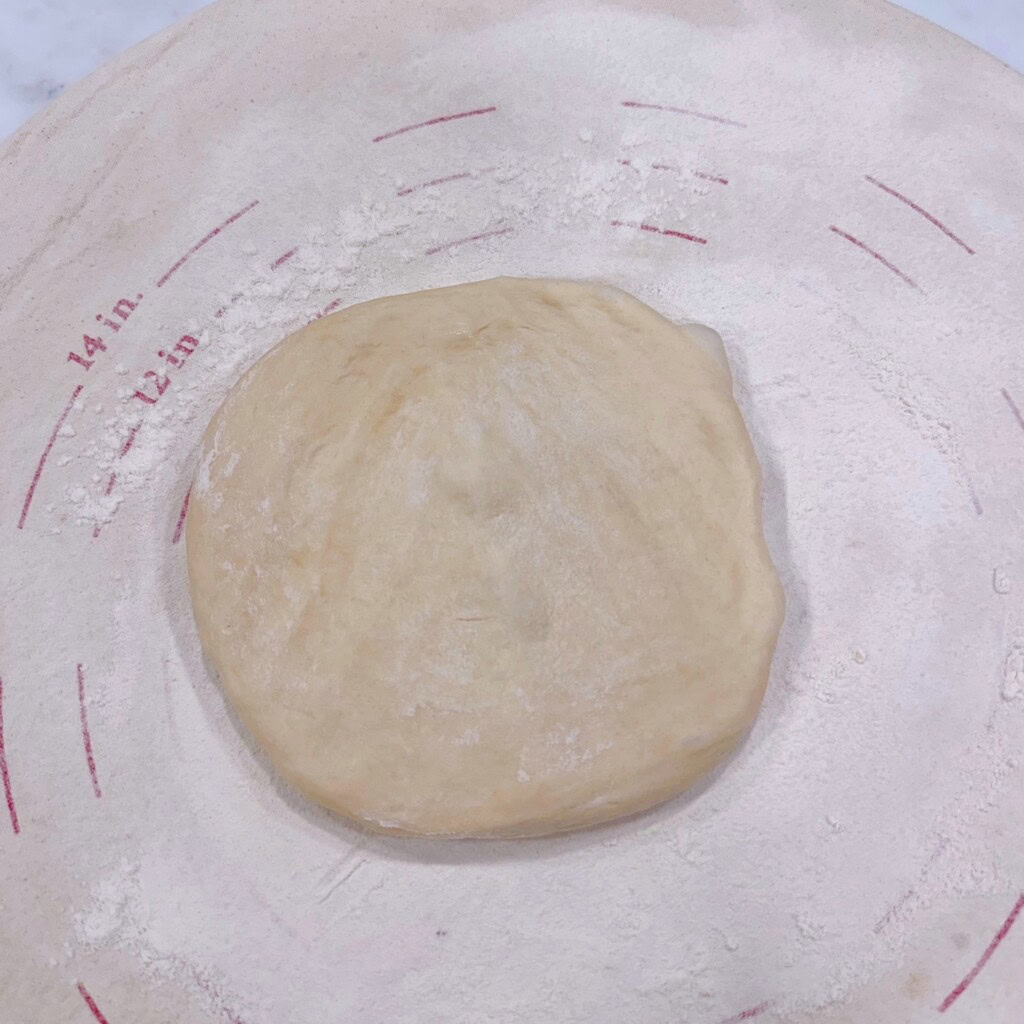
I know, it’s not “traditional”, but I use a rolling pin. It works fine with this dough! For most pizza dough recipes, this would remove the tiny air bubbles that create a light, tender crust, but trust me, this recipe is so “fail proof” that those air bubbles hang around!
Roll the dough into a 12-inch circle. If the dough springs back while you’re stretching it, don’t force it. Let it rest for 5 to 10 minutes, then continue shaping. A short rest allows the gluten to relax, making the dough easier to work with.
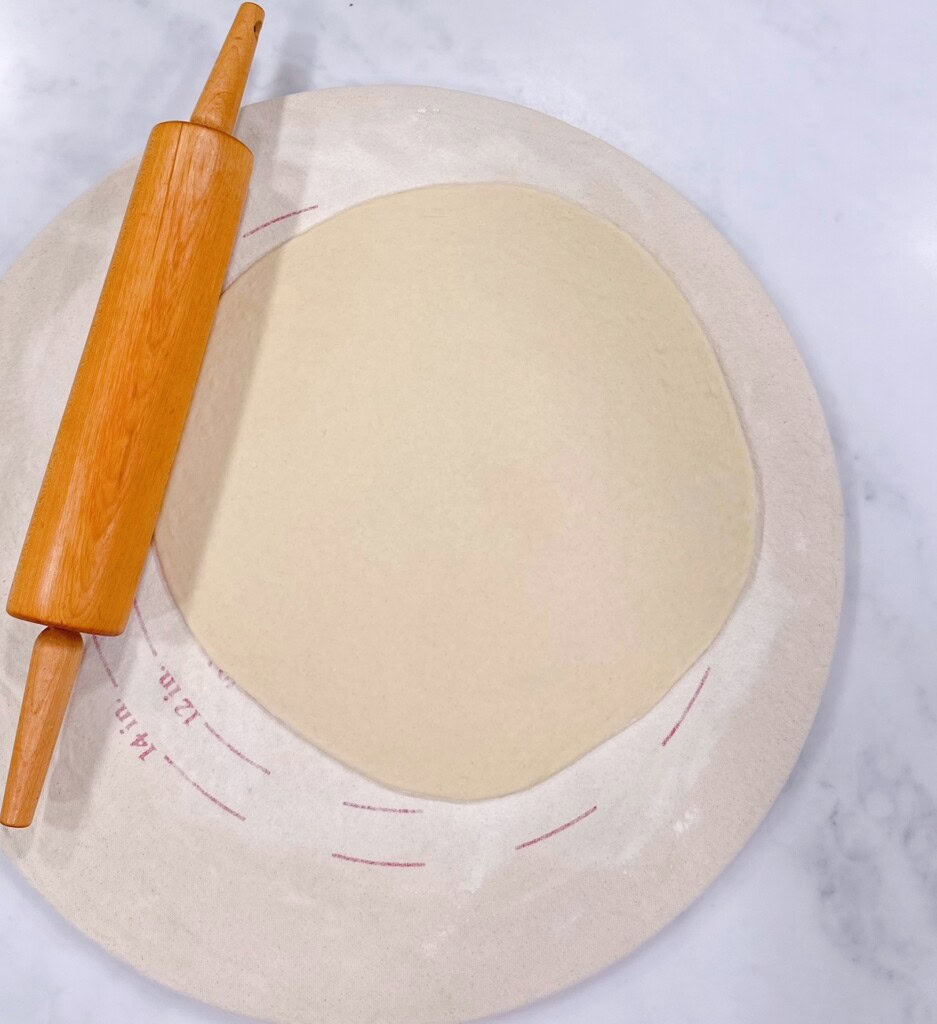
Once the dough is shaped, slide a pizza paddle underneath it. Don’t worry about the flour, it helps the paddle not stick to the crust. You can also transfer it to a parchment-lined baking sheet or pizza pan.
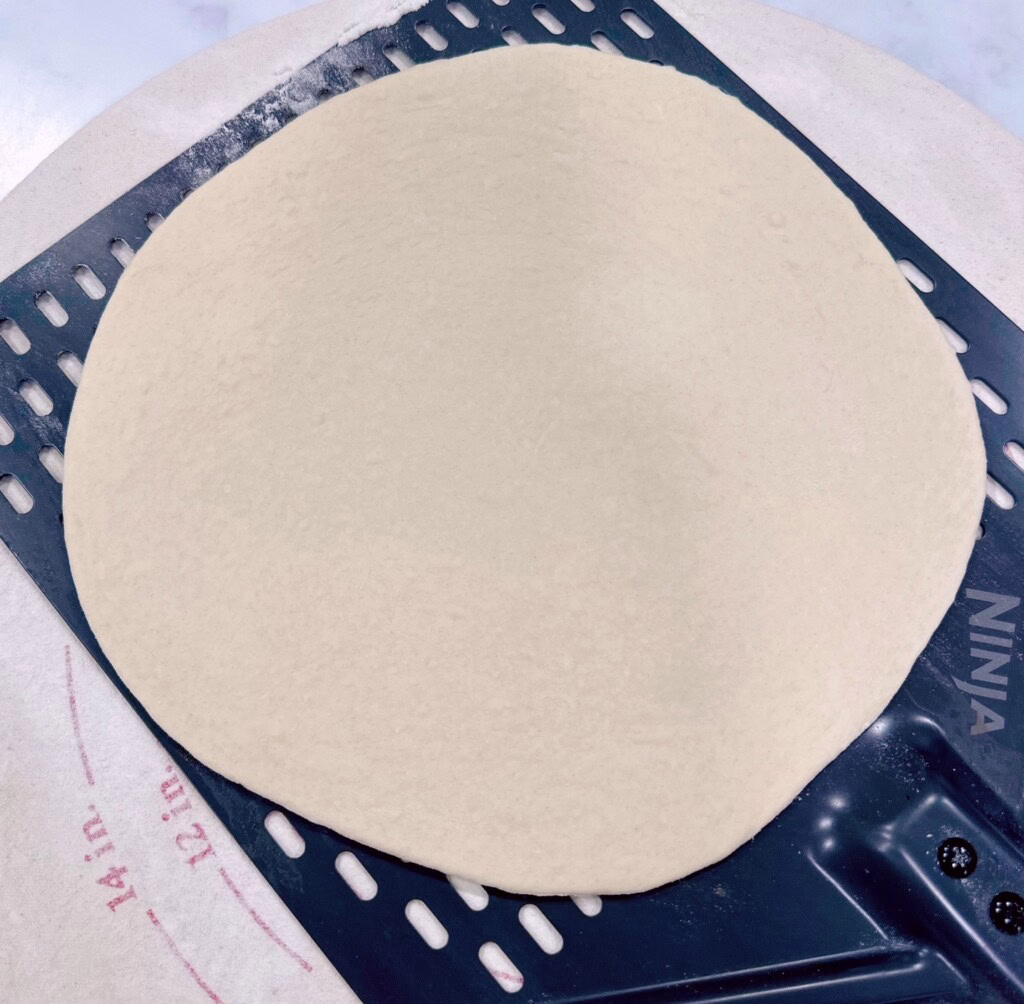
Making your Favorite Pizza
Add your favorite sauce, cheese, and toppings, being careful not to overload the pizza. Too many toppings can make the crust soggy and prevent it from baking evenly. Now your pizza is ready for the oven and just minutes away from becoming a delicious homemade meal.
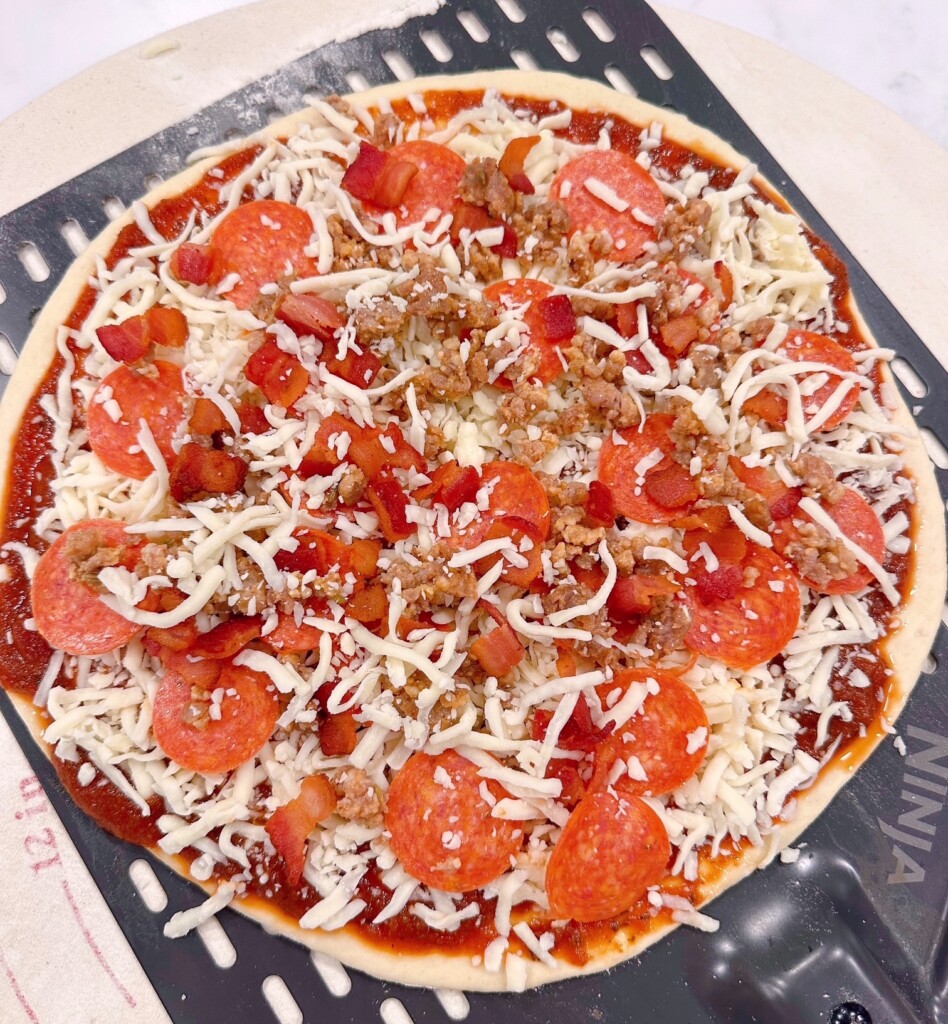
Step 6: Baking Your Pizza Dough
The secret to a great homemade pizza is baking it in a very hot oven. A high temperature helps the crust puff up quickly, creating a crisp exterior while keeping the inside soft and chewy.
My Ninja Pizza Oven bakes at 700°(F). It takes 3 minutes from start to finish to bake each pizza! It does take 30 minutes to preheat. If using a wood pizza oven, follow the baking instructions for that make and model.
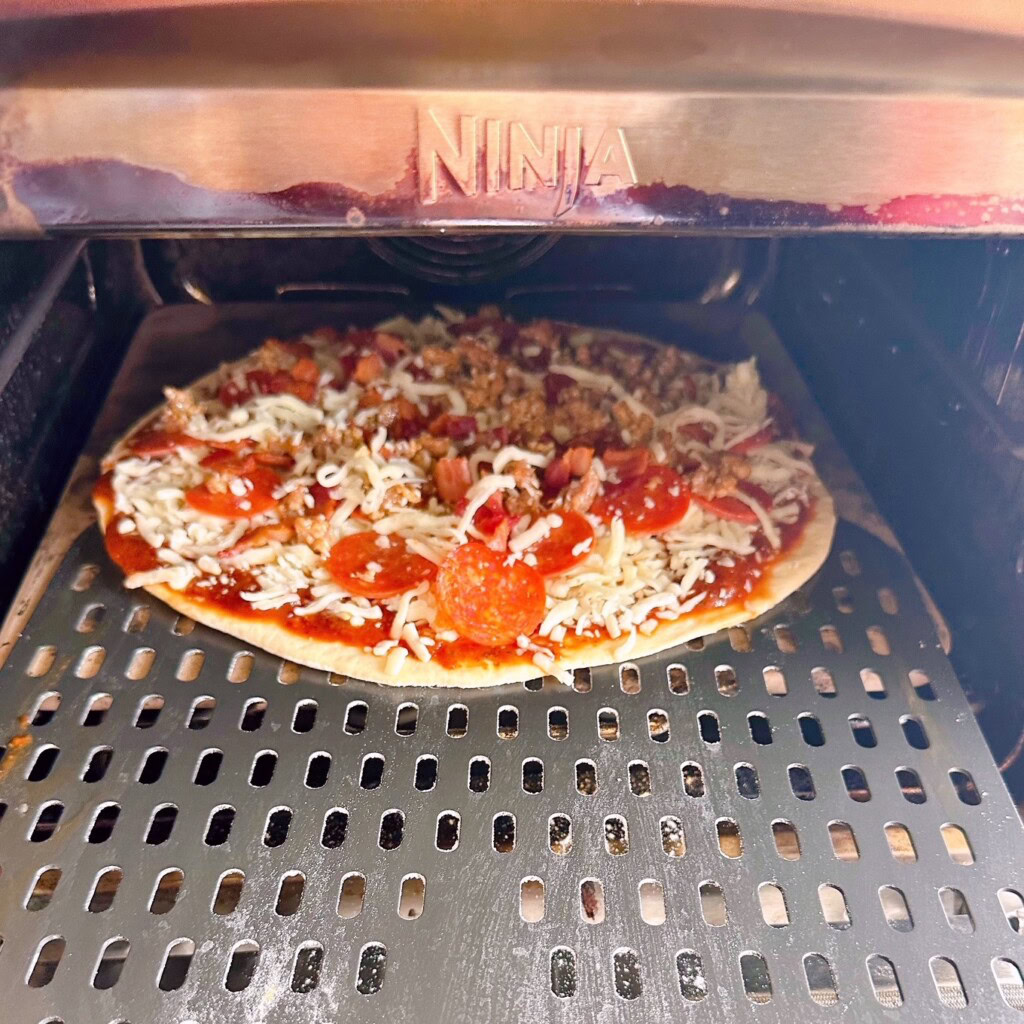
Standard Pizza Oven Instructions:
If you’re using a standard oven, before you begin assembling your pizza, preheat your oven to 475°F to 500°F (245°C to 260°C) for at least 20 to 30 minutes. If you’re using a pizza stone or baking sheet, place it in the oven while it preheats so it’s thoroughly heated.
Once your pizza is topped and ready to bake, carefully transfer it to the preheated stone or place the baking sheet or pizza pan in the oven. Bake for 7 to 15 minutes, depending on your oven and the thickness of your crust. The pizza is done when the crust is golden brown, the cheese is melted and bubbly, and the bottom of the crust is lightly browned.

Keep in mind that every oven bakes a little differently, so begin checking your pizza after about 7 minutes. If you prefer a crispier crust, let it bake for another minute or two, watching carefully to prevent over browning.
When the pizza comes out of the oven, let it rest for 2 to 3 minutes before slicing. This brief resting time allows the cheese to set slightly and makes it easier to cut clean slices. Finish with fresh basil, grated Parmesan, crushed red pepper flakes, or a drizzle of olive oil if desired, then serve while it’s hot and enjoy every bite.
Tips For Best Results And Troubleshooting
Making homemade pizza dough is simple, but a review of a few helpful tips can make the process even easier.
- Measure your flour correctly. Too much flour is one of the most common reasons pizza dough turns out dry or dense. If you’re using measuring cups, spoon the flour into the cup and level it off with a knife rather than scooping directly from the bag.
- Give the dough enough time to rise. I love that this dough is made in advance and rises in the refrigerator, slowly. I find it helps if you let the dough come to room temperature, before trying to work with it. If your kitchen is cool, the dough may need a little extra time to double in size. Don’t rush the process; the extra rise time helps develop better flavor and texture.
- If the dough is too sticky… Add a little more flour, one tablespoon at a time, until the dough is soft and manageable. It should still feel slightly tacky but shouldn’t cling heavily to your hands or the countertop.
- If the dough is too dry… Mix in a teaspoon of warm water at a time until the dough becomes smooth and elastic. Dry dough can be difficult to knead and won’t stretch as easily.
- If the dough doesn’t stretch… Let it rest for 10 to 15 minutes before trying again. Resting allows the gluten to relax, making the dough much easier to shape without tearing or springing back.
- Don’t overload the toppings. It’s tempting to pile on your favorite ingredients, but too many toppings can prevent the crust from baking properly and leave the center soggy. A lighter layer of toppings helps everything cook evenly.
- Bake in a fully preheated oven. A hot oven is one of the keys to a great homemade pizza. Give your oven plenty of time to preheat, and if you’re using a pizza stone or baking steel, allow it to heat for at least 20 to 30 minutes before baking.
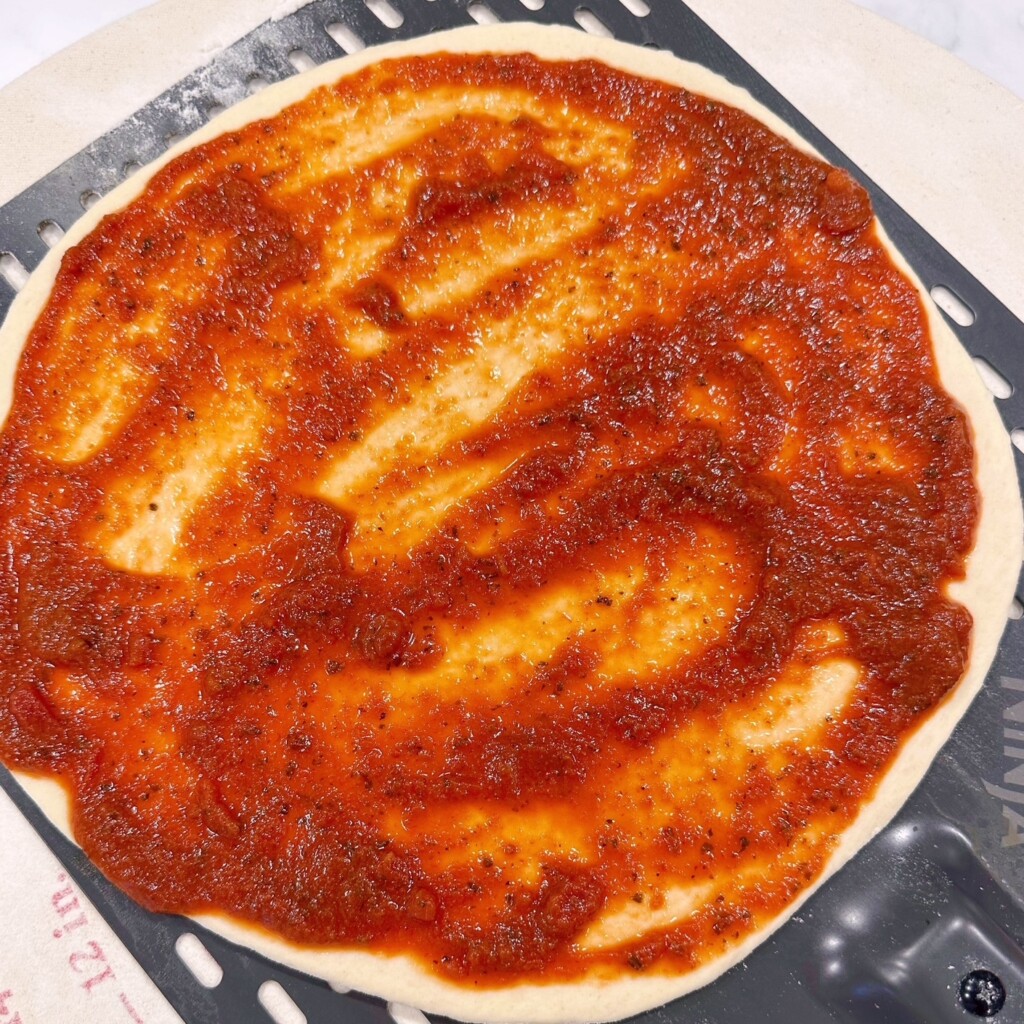
With a little practice, you’ll quickly get a feel for how the dough should look and feel. Before long, making homemade pizza will become second nature, and you’ll be turning out delicious, restaurant-quality pizzas right from your own kitchen.
Recipe Wrap-Up!
It may have taken me 30+ years to come up with the perfect pizza crust…but like they say, “Anything really great, is worth waiting for!” (I may have taken some liberties with that saying…)
My family absolutely LOVES this pizza crust. Even my husband, who generally skips the edges…eats every last bite!

Favorite “Bread Dough” Recipes
- Easy Homemade Garlic Breadsticks
- Buttermilk Bar Donut Recipe
- Homemade Pan Dinner Rolls
- Traditional Fry Bread Recipe
- Easy Homemade Soft Pretzel Recipe

Whether you’re making pizza for a busy weeknight dinner, a family movie night, or a weekend get-together with friends, this recipe is one you’ll find yourself reaching for again and again.
I hope it becomes a favorite in your kitchen, too. If you give it a try, I’d love to hear how it turned out and what toppings made it onto your pizza!
Happy Nesting Friends!

Printable Recipe Card
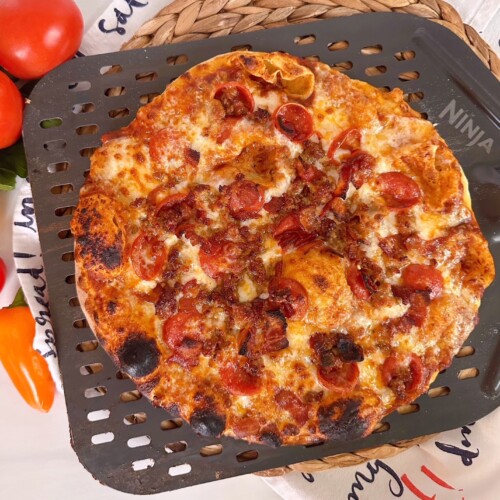
Easy Homemade Pizza Dough Recipe
Ingredients
- 2 Tbsp + 2 teaspoons Olive Oil or Vegetable Oil.
- 2 cups water Room Temperature
- ¼ teaspoon yeast slightly rounded
- ¼ teaspoon sugar
- 2½ teaspoons salt
- 6 cups All-purpose Flour
Instructions
- In the bowl of a stand mixer, using the "dough hook" attachment, add water, yeast, sugar, salt, and olive oil. (You do NOT need to wait for yeast to activate)
- Turn the mixer to low and slowly add flour, 2 cups at a time, until well incorporated. Knead for 5–7 minutes until the dough gathers around the dough hook and the dough pulls away from the side of the bowl, leaving the bowl clean.
- Spray a large bowl with cooking spray. Turn the dough out onto a very lightly floured surface. Knead 2–3 times to form a large ball. Place the ball in the oiled bowl. Turn the ball oil side up. Cover the bowl and place in the refrigerator for 8 hours or overnight. (Dough will rise in the refrigerator)
- Remove the dough from the refrigerator and bring to room temperature (1–2 hours). Punch the dough down, turn out on a lightly floured surface and divide into 4 equal balls weighing 320 grams each. Place each dough ball on a lightly greased baking sheet or large rectangular food storage container. Cover and let rise until double, about 1 hour.
- Preheat your oven to 475-500°(F). Preheat the pizza stone, or baking sheet, while you roll out the pizza dough. *If using a special pizza oven, see notes below.
- Place the dough on a lightly floured surface. Press dough ball into a round disc. Using a rolling pin, roll the dough into a 12-inch circle. Transfer dough to a pizza paddle or baking sheet, add toppings and bake for 7–15 minutes, depending on oven. Remove from oven, let rest for 4–5 minutes and serve.
Notes
Nutrition

Meet the Author
Hi! I’m Norine, the cook, baker, and recipe creator behind Norine’s Nest. I love sharing and creating recipes that invite family, friends, and neighbors to gather around the dinner table. Sharing good food and creating memories with those we love brings me happiness. Thanks for stopping by my Nest!