Depression Era Water Pie Recipe

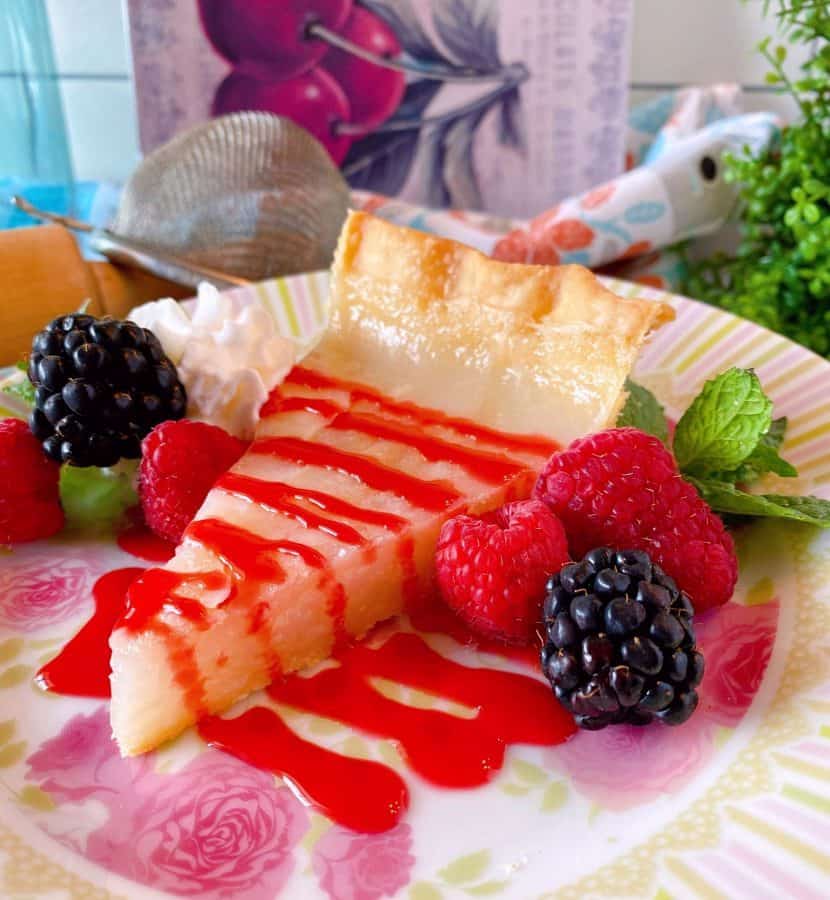
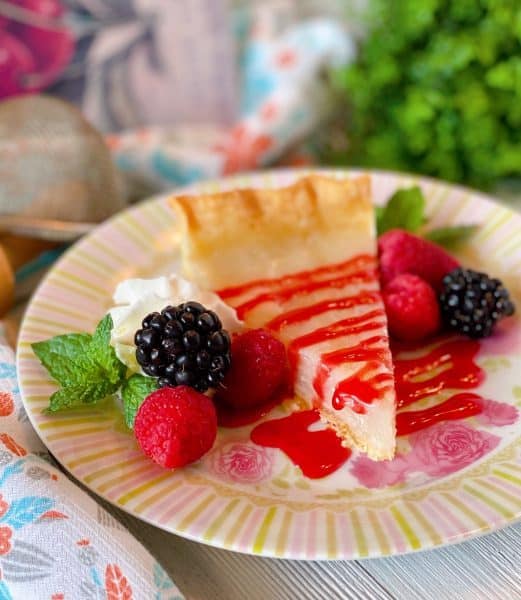
Hot Water Pie, or Depression Era Pie, is pure magic. Made with six basic ingredients, it easily creates a delicious custard-type pie. Topped with a fresh raspberry sauce and garnished with fresh berries, it’s a retro recipe making a big comeback…and for good reason!
The Great Depression Water Pie or Depression Era Water Pie is making a huge comeback right now, and rightly so! It’s made with just a few pantry ingredients.
All you need to make this delightful buttery dessert is hot water, vanilla or almond extract, sugar, butter, flour and a deep dish homemade pie crust!
I’ve always admired the women, and amazing cooks, of the Great Depression who were so creative in their kitchens, especially when obtaining ingredients was difficult and beyond their family budgets! Those women, like many of us today, wanted to provide delicious desserts with limited supplies. This recipe was created to make something out of basically nothing!
I’ve added my own twist to update this Depression Pie Recipe by creating a delicious fresh tangy raspberry sauce! The tang of the raspberries helps cut some of the sweetness in the custard filling created by the Hot Water Pie ingredients. I’ve also garnished it with fresh berries and cream. (Grandma used to say “We all need a little pretty in our lives”. I’m sure that applies to pie too, right?)
How To Make Hot Water or Depression Era Pie
Water Pie is pure magic! With just a few simple basic ingredients, the main one being “water”, and a hot oven…POOF! You have this incredible custard pie. So let’s get baking!
Depression Water Pie begins like any other pie…with the crust. This pie has a deep dish pie crust. You can use a store-bought pie crust, but if we are going to stay true to the time era of this recipe, I’m 100% sure the good bakers of that era made their crust. I made my traditional pie crust recipe. I have a lot of step-by-step helpful instructions if you’ve never made a traditional homemade pie crust.
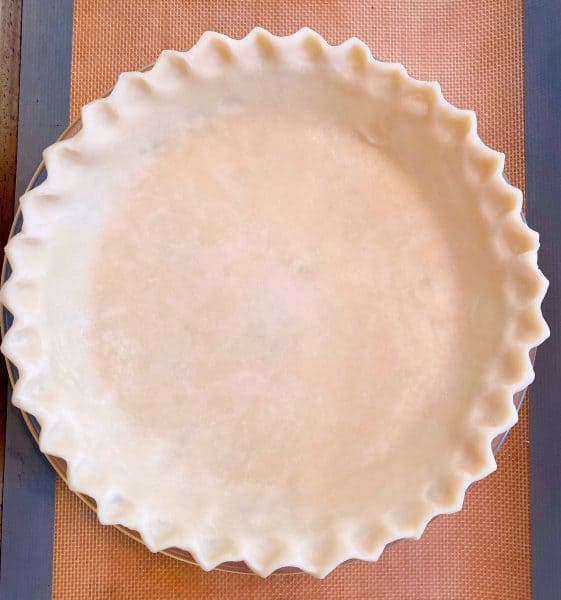
Preheat the oven to 400° Fahrenheit and set the empty pie crust on a baking sheet lined with a silicone mat for easy clean up. The pie won’t boil over, but I always error on the side of caution. (Have I mentioned how much I hate cleaning my oven? Ugh! It’s right up there with running for fun!) If you don’t have a silicone baking mat, it’s okay, you can use foil or parchment paper.
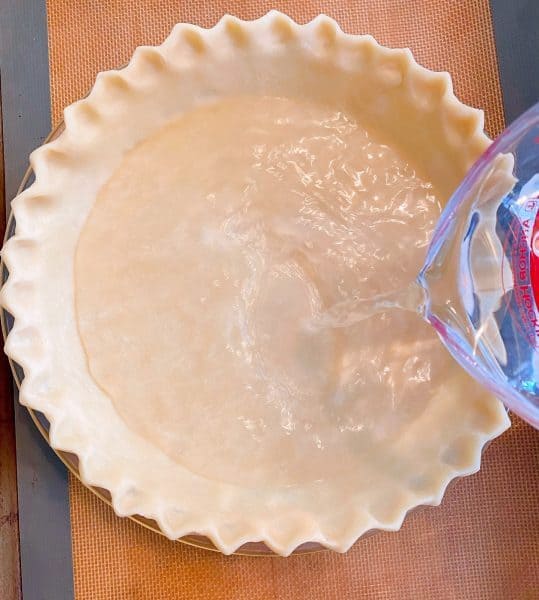
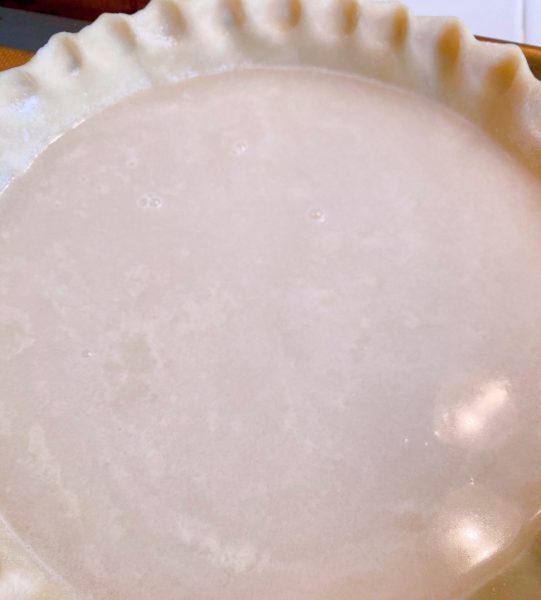
Pour 1½ cups of water into the pie crust. I know! I can read your mind right now. It seems so wrong. I struggled with this too…but you just have to trust me that it works!
Whoever in the world thought of this recipe is a genius…because it goes against everything in a pie maker’s heart to just pour water into a pie crust! (I needed someone to grab my hand and force me to pour that water into that beautiful pie crust. Lol)
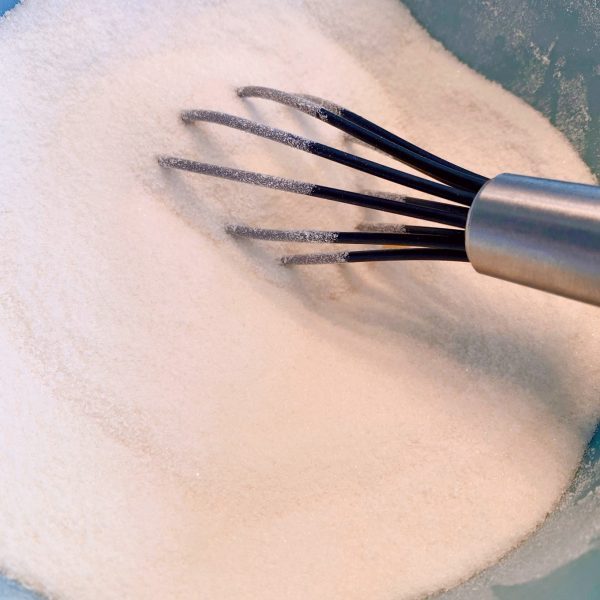
In a small bowl, stir together flour and sugar. Use a small whisk to combine it well.
Ready for a little more “weird” with this recipe? Here we go…
Sprinkle the flour and sugar mixture evenly over the entire top of the water sitting there in that deep dish pie crust. DO NOT MIX or STIR the flour and sugar into the water. ONLY sprinkle it over the water. I can’t emphasize this step enough! Keep sprinkling it all around until it’s all gone.
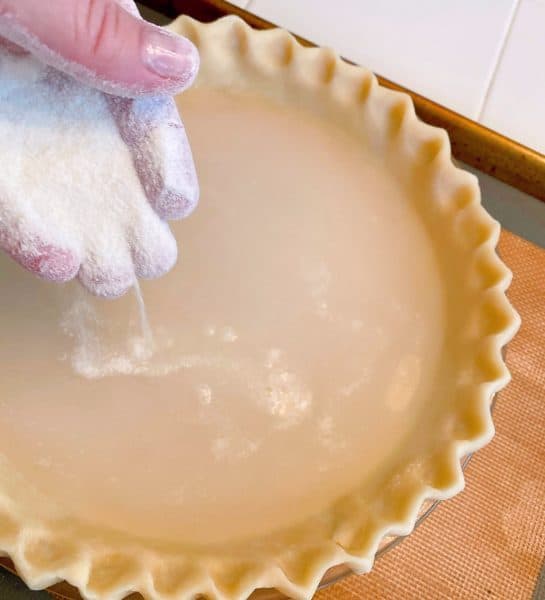
The water in the pie will now look cloudy. That’s okay! You’re exactly where you’re supposed to be with this recipe. Just hang in there…this pie truly is magical.
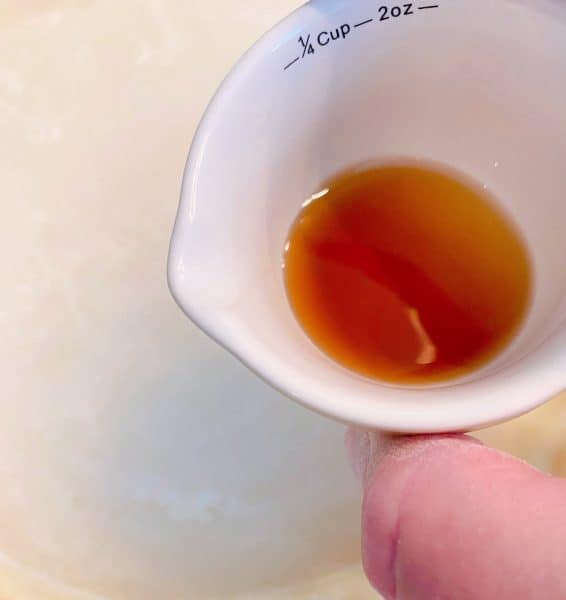
Drizzle vanilla over the water pie. You can change things a bit if you’d like at this point. You can add 1 teaspoon of vanilla and 1 teaspoon almond extract. You can switch it out for coconut extract. You have options depending on the base flavor you are trying to achieve.
The original recipe calls for vanilla. I wanted hints of almond to go with the raspberry drizzle, so I added almond extract with vanilla.
Next up…the buttah! Life is just better with butter! You’ll need 5 tablespoons of real butter for this pie. No substitutions. I use salted butter for a little extra flavor. Cut the butter into several “pats” of butter, at least 5 equal pats, but I recommend doing at least 10, regardless of what granny did.
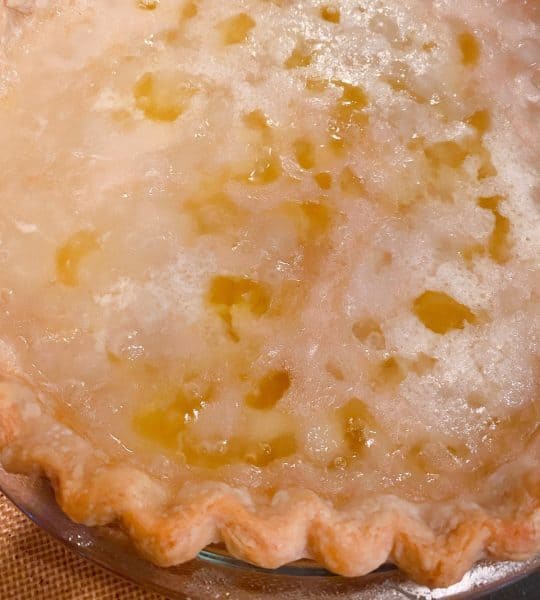
TIP: I HIGHLY recommend cutting those pats into smaller pieces, at least 10 pieces of butter and placing them equally around the pie and the center. It will distribute better during cooking. I did not do this the first time and ended up with bigger “butter pools” than I wanted (as you’ll see from the photo below).
Place the pats of butter on top of the water pie filling. Just gently lay them on top and leave them be. STOP! Don’t do it. Don’t touch those floaters of butter pats. Let ’em be!

Carefully place the baking sheet, with that water pie, into the preheated oven and bake at 400° for 30 minutes. Reduce heat to 375° and cover the sides of crust if needed to prevent burning. Continue baking for an additional 30 minutes.
TIP: I did not find the edges of this crust needed to be covered. I’d recommend tenting a piece of foil over the entire pie if you’re worried about the edges burning, it’s easier to cover the entire pie in a foil tent than trying to cover the edges of the pie as the filling of this pie is very watery (go figure) and you really don’t want to disturb that filling.
When you remove the pie from the oven it will be very watery. It’s kinda like juggling an egg on your head. So proceed with caution!
Cool the pie to room temperature. As it cools, it gels. It’s really fun to see what happens with those six simple ingredients. Cover and chill 4–5 hours, or overnight before cutting.
Note: Remember the butter pools I described above? This is why I recommend cutting the butter into smaller pieces. It won’t affect the outcome of the recipe, just cut down on those buttery pools being so big.
How To Make Fresh Homemade Raspberry Sauce
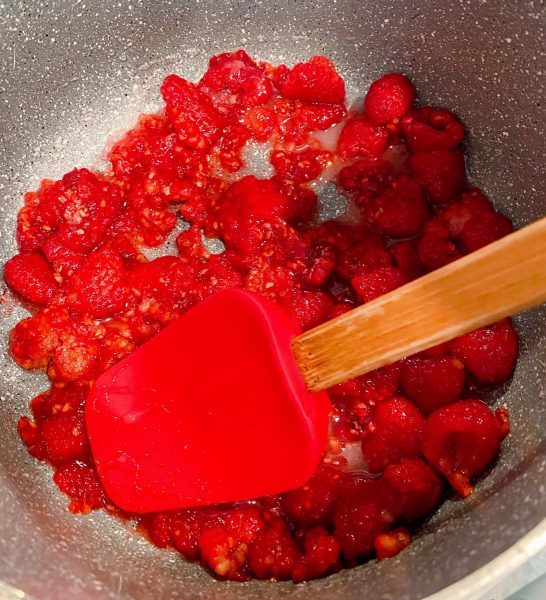
In a medium sauce pan, over medium heat, add one pint of fresh rinsed raspberries. Using a spatula, gently smash the berries to release the juices. Add 1/4 cup sugar. Mix well.
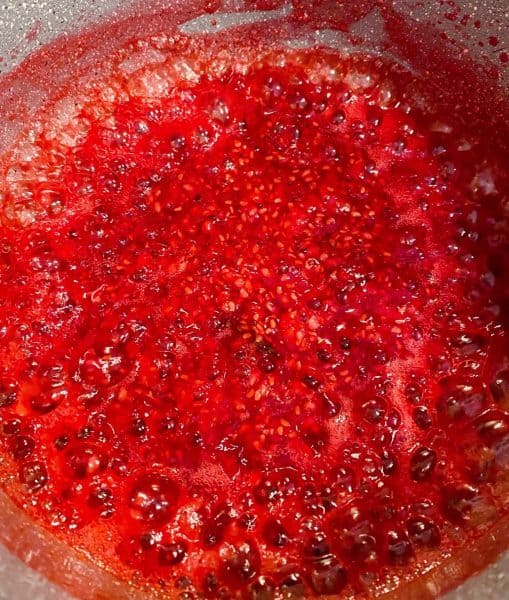
Add 1/2 teaspoon almond or vanilla extract. Bring the mixture to a boil, stirring occasionally.
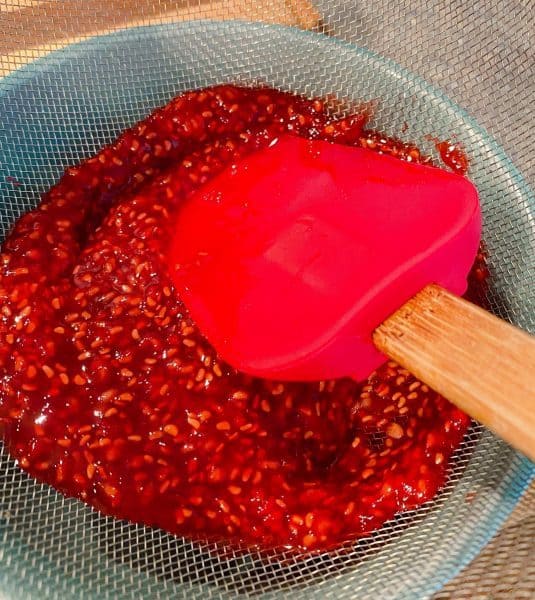
Place a strainer over a small bowl. Pour the cooked berry purée over a strainer. Using the back of a rubber spatula, press the berry mixture into the strainer, going back and forth, to release all the juices. Continue pressing until only the seeds and thick pulp are left in the strainer.
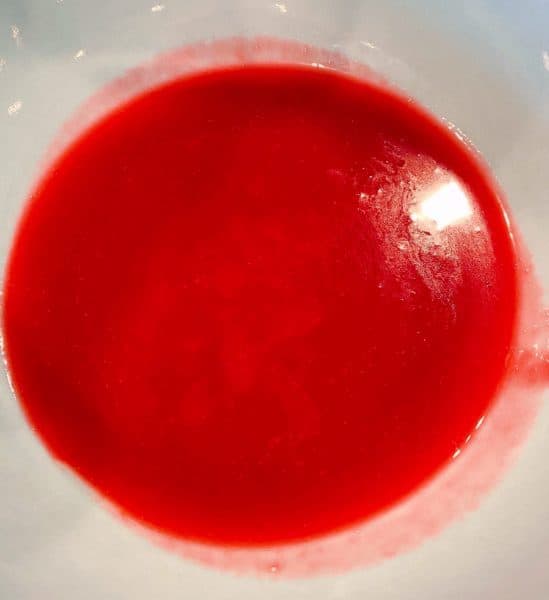
You should end up with about 1/2 cup of fresh raspberry sauce. Place raspberry sauce in a container and chill until ready to serve that beautiful pie! (sneak a taste though…this stuff is scrumptious!)
I’m sure when our grandma served this pie to their families it was minus this tasty raspberry sauce. Which is sad, but understandable, because the amount of flavor this simple syrup adds to this pie truly amazing! It blends so beautifully with the vanilla buttery custard in this pie.
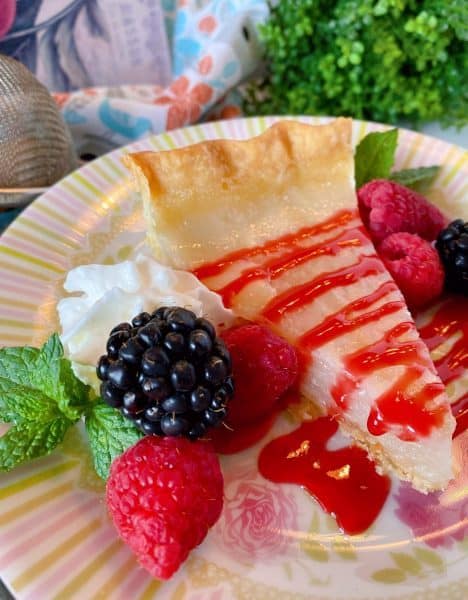
To serve this magical pie, cut the pie into equal slices. Drizzle with the raspberry sauce and garnish with fresh berries and a dollop of whipped cream on the side. I also garnished with a few springs of mint!
The wonder of this recipe, besides the fact that it’s main ingredient is WATER, is that you can add any fruit you like or eat it plain. It would be amazing with fresh peaches, strawberries, or even a blueberry compote.
With that flaky crust and creamy filling, you’re reminded, once again, that creating amazing desserts is possible even during the most difficult of times. (We just can’t do away with our beloved desserts, right? Lol)
I’m sure when folks were in the middle of the “Great Depression” this pie was a welcome treat!
Food truly is happiness and creates the most amazing memories of times spent with those we love gathered together. Even when times are tough, if we have bread to break and friends to share it with, we are blessed.
If you loved this pie, you might also enjoy these other Favorite Homemade Pie Recipes
- Easy Pumpkin Pie Recipe
- Traditional Homemade Tart Cherry Pie
- The Best Key Lime Pie Recipe
- Mile High Lemon Meringue Pie
- Classic Dutch Apple Crumb Pie
- Lemon Ice Box Pie from Soulfully Made
- Amazing Coconut Cheese Pie from Julia’s Simply Southern
I hope you’ll want to make this Depression Water Pie for your family. It’s a great way to talk to your children about what our ancestors went through during the great depression and how they didn’t let it “beat them”!
The human spirit is so resilient, and we will always persevere when we stay positive, creative, and count our blessings in the midst of the storm.
Thanks so much for stopping by today and visiting with me. Come back soon!
Happy Nesting,
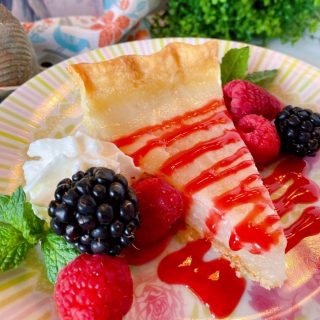
Depression Era Water Pie Recipe
Ingredients
- 1 9 inch deep-dish pie crust, unbaked
- 1 1/2 cups water
- 4 Tbsp flour
- 1 cup sugar
- 2 tsp vanilla or almond extract
- 5 Tbsp butter cut into smaller pats
- Fresh berries mint, and whipped cream as garnish if desired.d
Fresh Raspberry Sauce
- 1 pint fresh raspberries rinsed
- 1/4 cup sugar
- 1/2 teaspoon vanilla or almond extract
Instructions
- Preheat oven to 400° Fahrenheit. Set empty pie crust on a lined baking sheet.
- Pour 1 + 1/2 cups water into the pie crust
- In a small bowl, whisk together flour and sugar. Sprinkle evenly over water in crust. DO NOT STIR.
- Drizzle vanilla or almond extract over water in pie crust. Place pats of butter on top of water mixture.
- Bake at 400 for 30 minutes. Reduce heat to 375 and cover sides of crust, or create a foil tent to go over top of the pie, if needed to prevent burning. Continue baking for an additional 30 minutes.
- Pie will be VERY watery when you pull it out of the oven but will gel as it cools. Allow to cool completely, then cover and place in the refrigerator until chilled before cutting.
- To make the raspberry sauce, place 1 pint of raspberries and sugar into a medium sauce pan, over medium heat. Mash raspberries with a rubber spatula and bring mixture to a low boil stirring occasionally. Add vanilla or almond extract. Stir.
- Place a wire strainer over a small bowl. Pour raspberry mixture through a strainer, pushing it back and forth with a spatula until only the seeds and thick pulp remain.
- Pour raspberry sauce in a container and chill until ready to drizzle over pie.
Nutrition

Meet the Author
Hi! I’m Norine, the cook, baker, and recipe creator behind Norine’s Nest. I love sharing and creating recipes that invite family, friends, and neighbors to gather around the dinner table. Sharing good food and creating memories with those we love brings me happiness. Thanks for stopping by my Nest!

As I was browsing your blog, this recipe caught my eye. I have to admit that I have never heard of depression era water pie. It sounded interesting and looked very pretty. I think that I may have to make it. Thank you for sharing. I love your website!
Hi Audrey!!
It’s so fun to see you here! I hope you had a Dr. Pepper with ya when you were browsing! Thanks for your sweet compliments and I hope you make this pie. It’s fun and really different. Have a Great week my friend.
Happy Nesting!
Norine