Easy Crispy Fried Chicken Recipe
Fried Chicken is not only a Southern Classic, it’s an American Classic! There’s nothing better than a platter full of tender juicy, extra crispy, Fried Chicken! This recipe calls for a generous soaking in buffalo flavored buttermilk then dredged in a seasoned flour mixture, and deep-fried to perfection!
I have to admit this was not the recipe I was going to publish today! However, so many of you responded to the photo I posted in my stories on Instagram, asking for the recipe, that I decided to walk the chicken up to the front of the line! (This is really why the chicken crossed the road! Age-old dilemma solved!)
It just goes to show you that a true classic NEVER goes out of style! What’s not to love about tender juicy chicken fried to a golden crisp?!
I’m a fan of “extra crispy” fried chicken! So when I decided to create my own version of the classic, I knew I had to come up with a recipe that was loaded with delicious flavor and had an amazing ultra crispy coating on chicken. THIS is THAT recipe! Big bonus points…it’s super easy to make! You’re gonna love this recipe!
If you’re a fan of Classic Southern Fried Chicken and have been looking for the BEST Fried Chicken Recipe…you’ve finally found it! So let’s get frying!
How To Make Fried Crispy Homemade Chicken
Buttermilk!!! You’ve heard it a million times, you’ve seen Paula Deen, and all the great southern cooks tout about it…but it’s true! Soaking the chicken in buttermilk is KEY to a really great tender juicy fried chicken! Melt in your mouth chicken!
This recipe is going to cling to that tradition!
Let’s start with the chicken. You’ll need approximately 5.5 lbs of bone-in chicken thighs, drumsticks, and wings. I found a package with four of each at my local market for around $9.00.
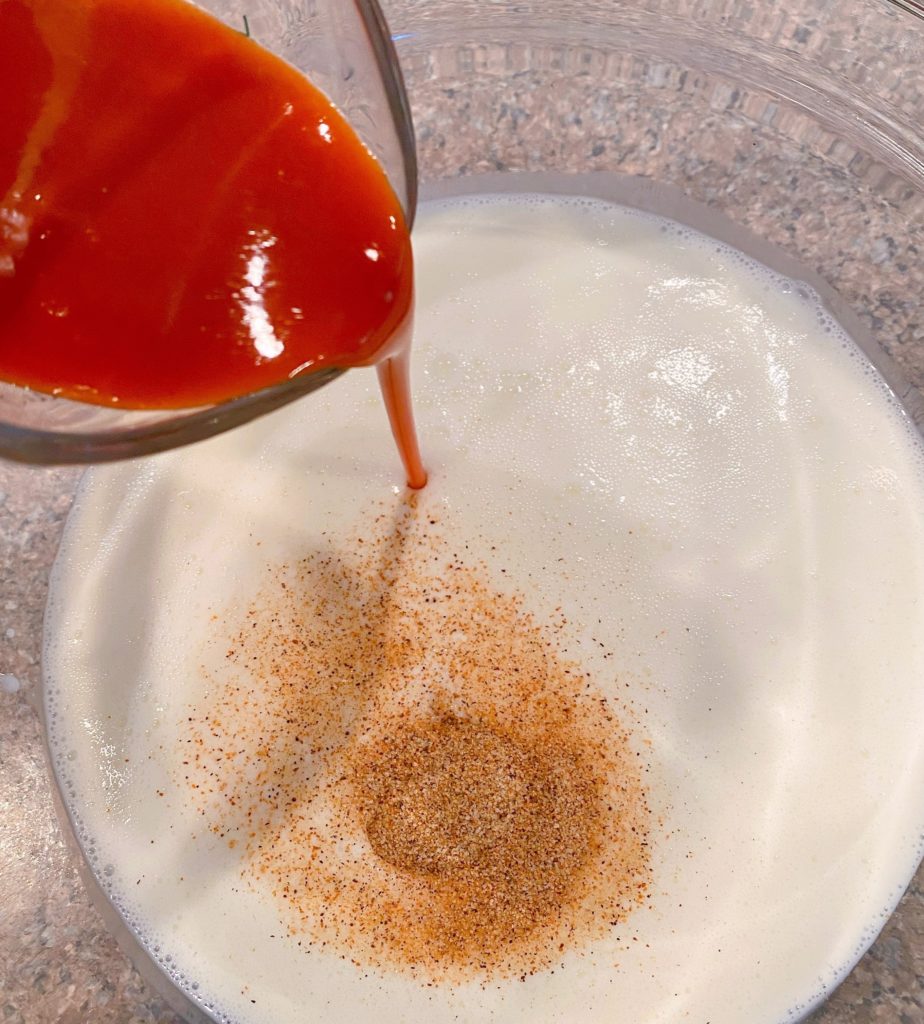
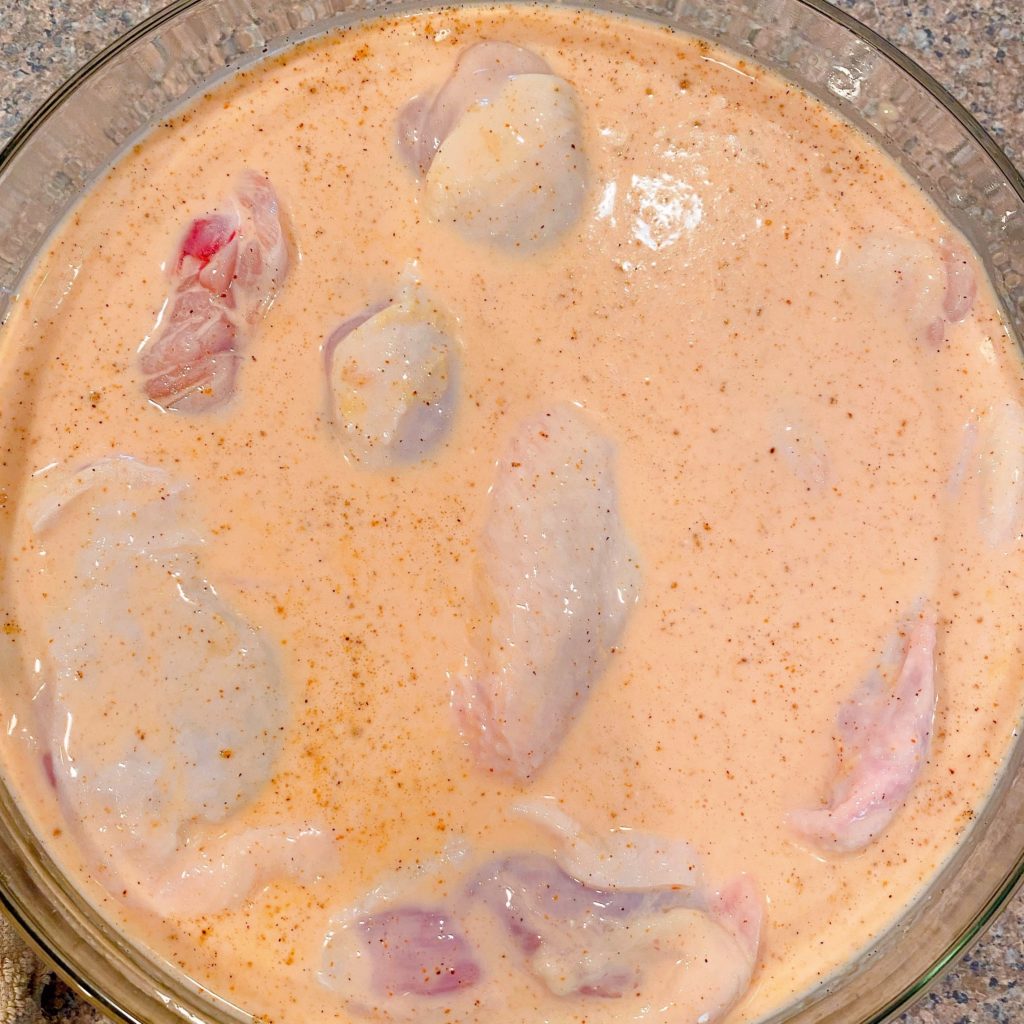
In a large bowl add 4 cups, or one quart, of buttermilk, 1/2 cup of Frank’s buffalo sauce, and 1/2 Tablespoon Tony’s Creole Seasoning Mix.
Don’t let the buffalo sauce scare you off. I promise this chicken is not spicy. It just adds flavor, not heat! I’m a wimp when it comes to spicy food! I downed three pieces of this chicken with no fire extinguisher in sight!
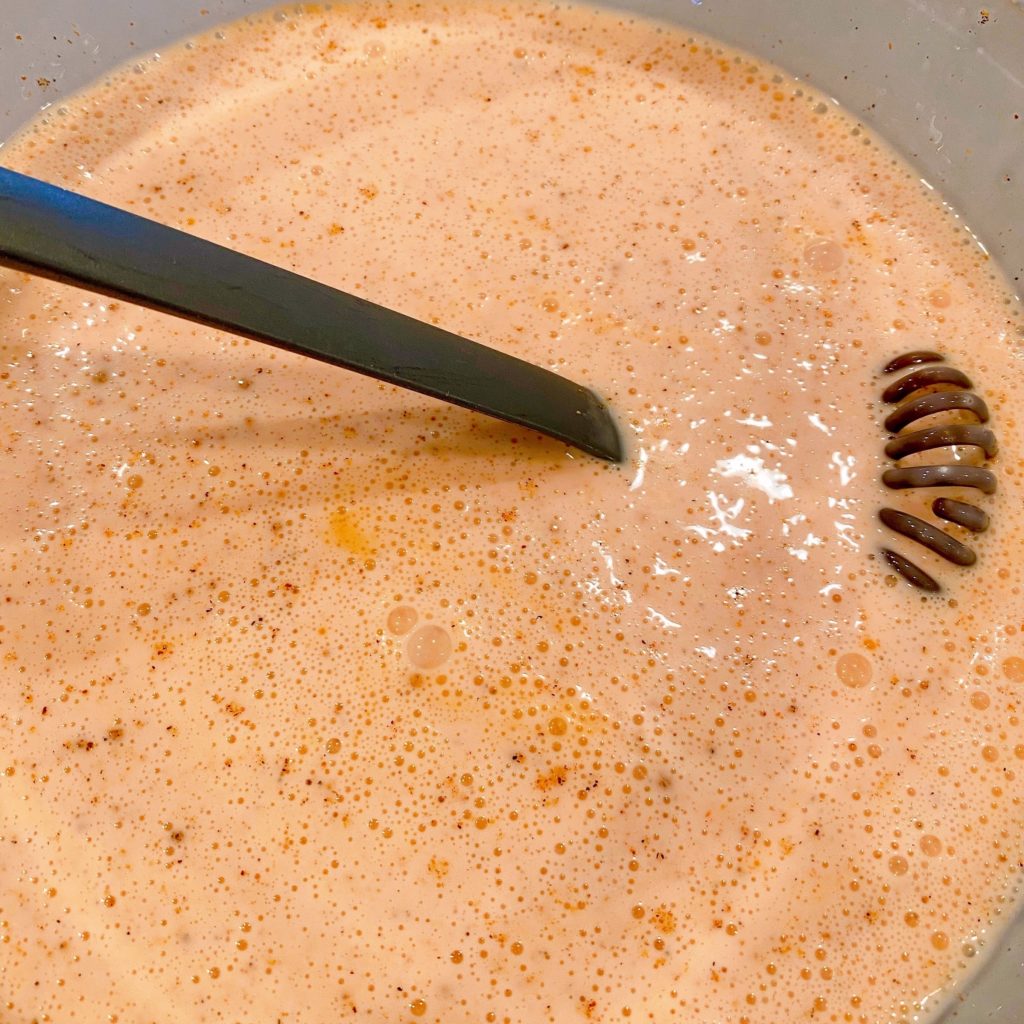
With a wire whisk, mix wet ingredients until well combined. This creates the buttermilk bath for that chicken. It’s “SPA” day for the “chicks”!!! (Bad puns are free!)
Preparing Chicken for Buttermilk Bath
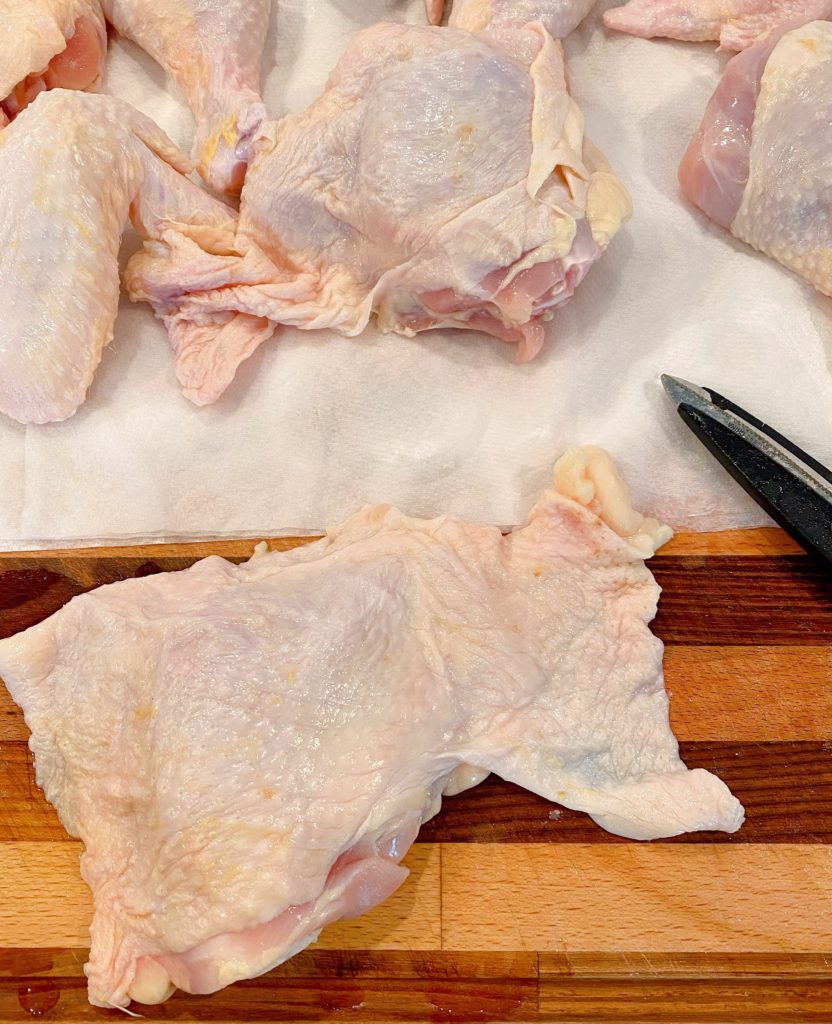
Rinse and pat your chicken pieces dry. Remove any excess skin on the individual chicken pieces.
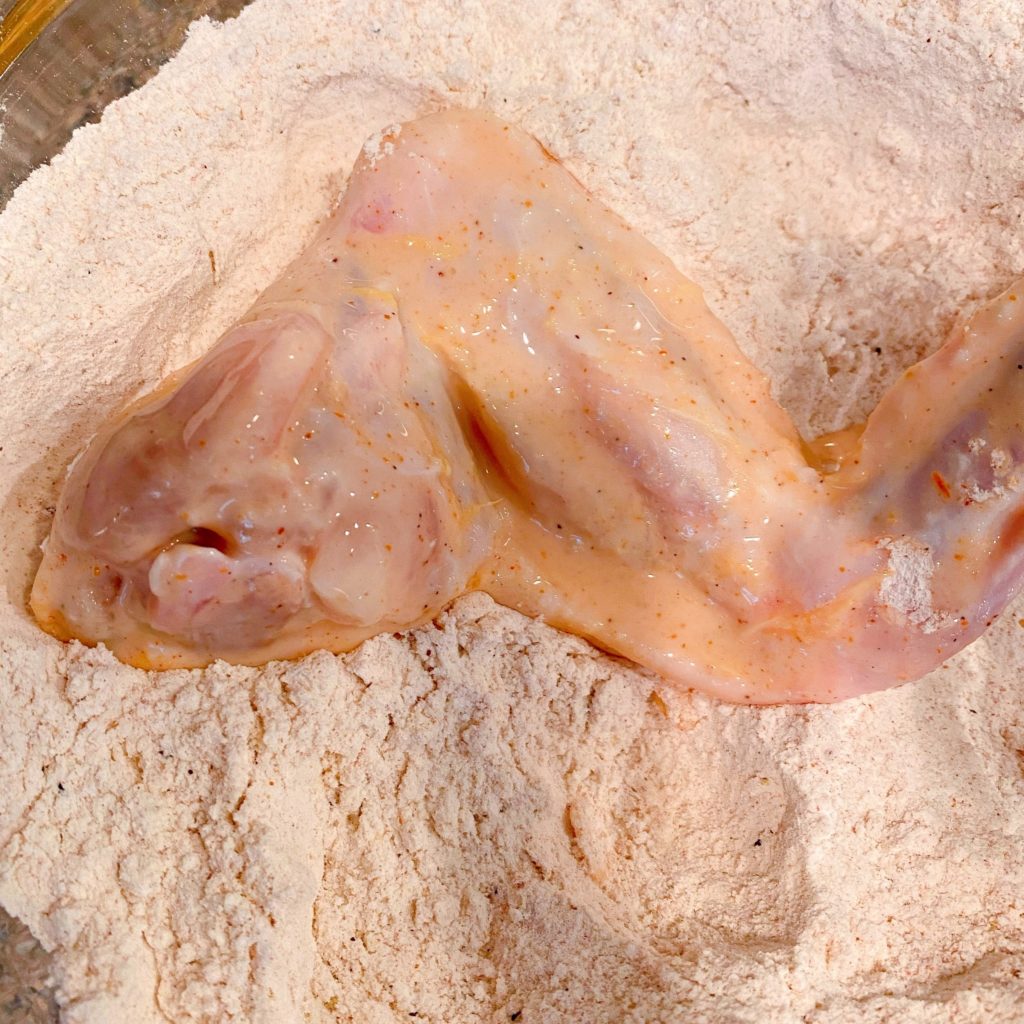
In the photo below you can see the extra skin attached to the thigh. Using kitchen shears or a sharp knife, cut the extra skin off, trimming it close to the edge of the meat. Discard excess skin.
Place chicken pieces in the bowl with the buttermilk mixture. Be sure each piece is submerged under the buttermilk. Cover the bowl and place in the refrigerator for at least 4 hours, and up to 24 hours.
Deep Frying Chicken
Remove the chicken from the refrigerator to bring it to room temperature.
TIP: This will help keep the oil a consistent temperature during frying. The oil will drop in temp as you add the chicken, however it will drop less if the chicken isn’t dropped directly from the refrigerator.
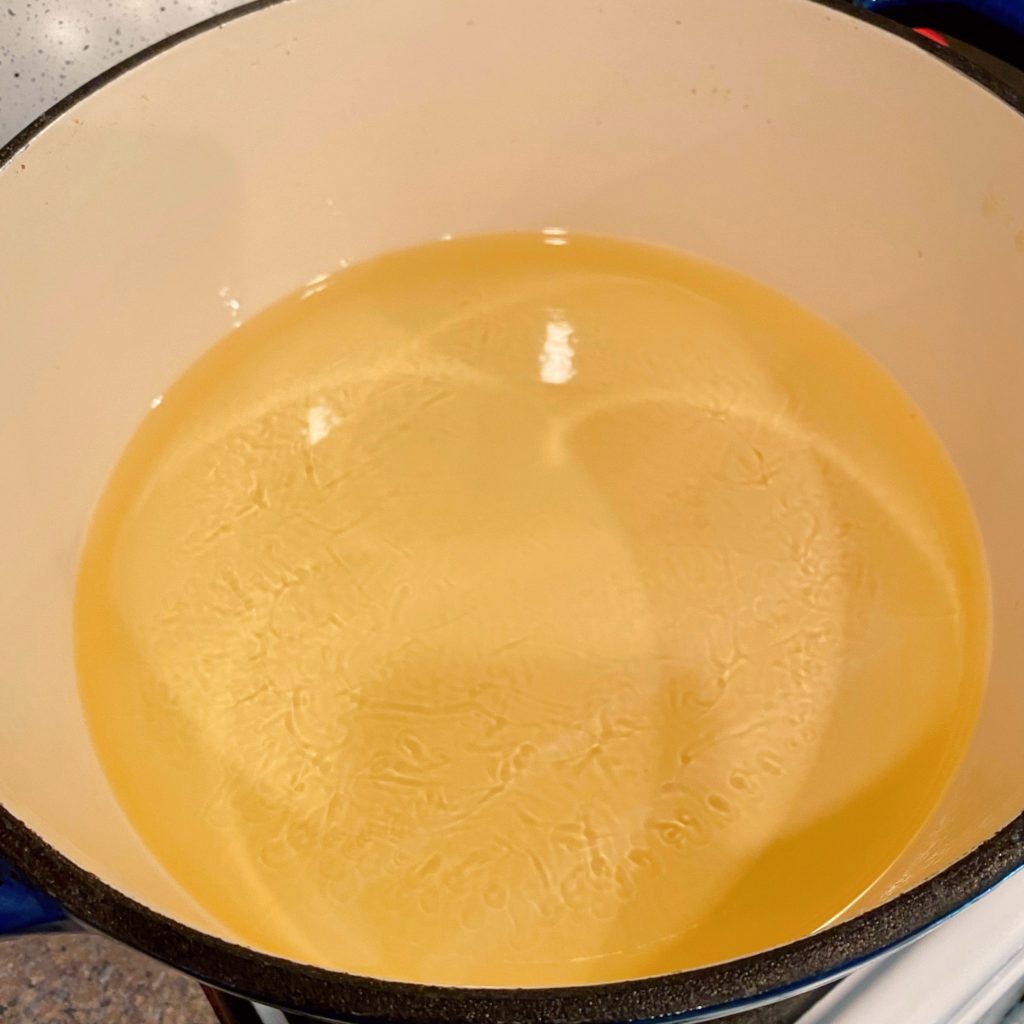
In a large deep Dutch oven, heat 1-1/2 quarts of vegetable oil over medium high heat to 350°.
TIP: I recommend placing the Dutch oven on a back burner for safety! Especially with children in your home. Hot pans, with hot oil, should never be placed on the front burners where they can tip more easily!
Why use a Dutch oven? Great question! Let’s talk about it for a minute. A Dutch oven is made from cast iron. Some are coated in ceramic enamel, others are not. Either is fine. I like the ease of cleaning an enamel coated pot.
Cast iron holds the heat really well which is important when trying to maintain a consistent temperature for frying.
Second, it’s H.E.A.V.Y! A heavy cast iron pot is less likely to tip or spill during cooking which could be catastrophic!!! I’d much rather fry in a heavier cast iron skillet, plus it’s what grandma always used… and Grandma’s always make amazing Fried Chicken!
How to Make Seasoned Flour Dredge for Fried Chicken
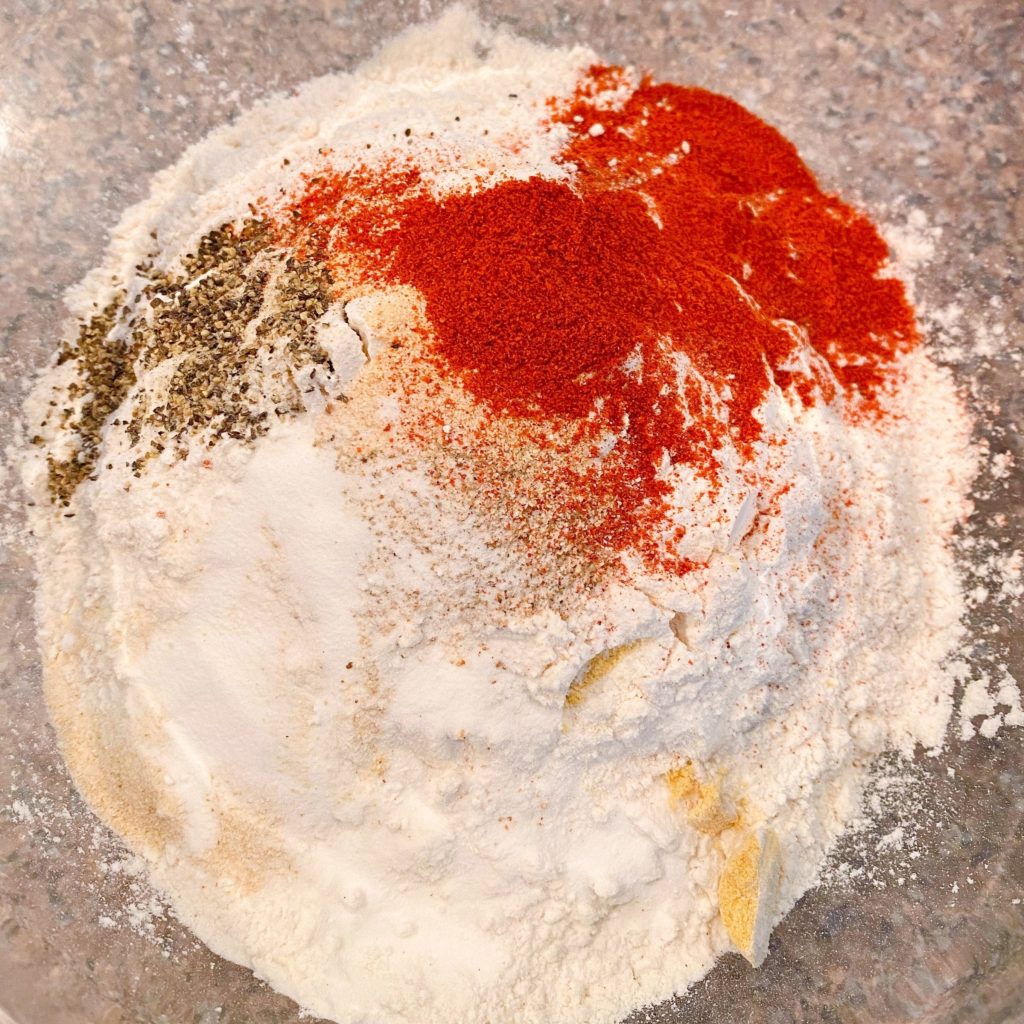
In a large bowl combine 3 cups of flour, 4 Tablespoons Paprika, 1 teaspoon garlic powder, 1 teaspoon onion powder, 1/2 teaspoon Creole seasoning, 1 teaspoon coarse black pepper, 1/4 teaspoon dry ground mustard, and 3/4 teaspoon baking soda! If you like spicy…add 1/2 teaspoon ground cayenne red pepper. (That’ll clear out the ol’ sinuses! You’re welcome!)
TIP: DO NOT SKIP THE BAKING SODA!! The baking soda creates the super extra crispy crinkles on the chicken breading!
Using a wire whisk, combine the dry ingredients until well incorporated. Make sure that the baking soda is mixed in well. Stir a few extra turns just to be sure.
Place the bowl of chicken in the buttermilk and the bowl of dredge side by side, near the Dutch oven. Using a thermometer check the temp of your oil and adjust the heat accordingly. Remember the perfect temperature for frying is 350°.
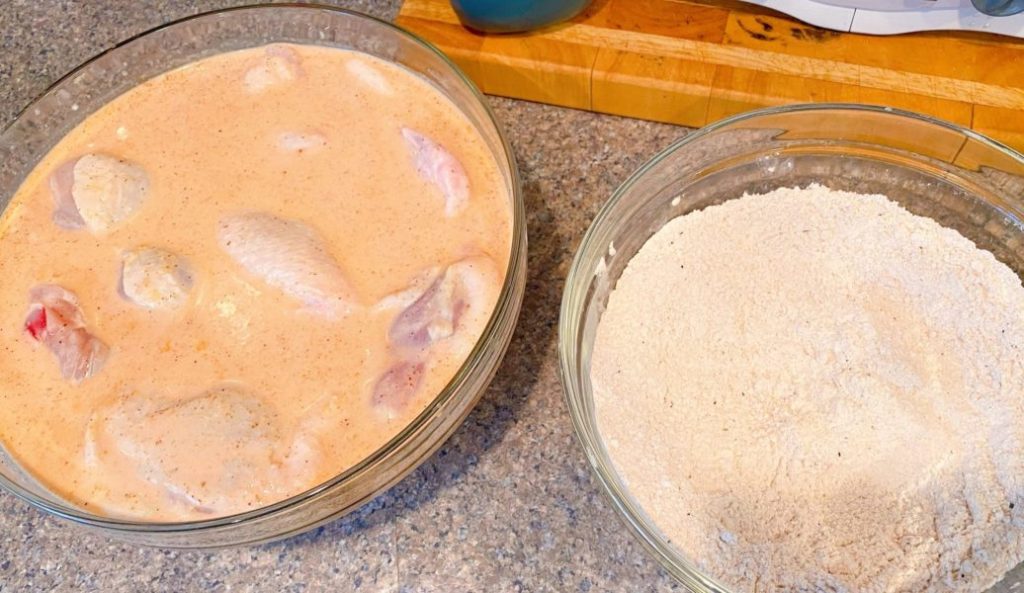
You will need two sets of tongs. One for dredging the chicken and placing it in the oil. Another “clean” pair to turn the chicken, and remove it after cooking.
Using a pair of long handled tongs, remove a piece of chicken from your buttermilk, draining off some of the excess. Place the chicken in the flour dredge and coat the chicken thoroughly with the flour mixture. Gently shake off some of the extra flour.
TIP: Rather than turning the chicken over in the dredge, use your tongs to toss flour on top of the chicken.
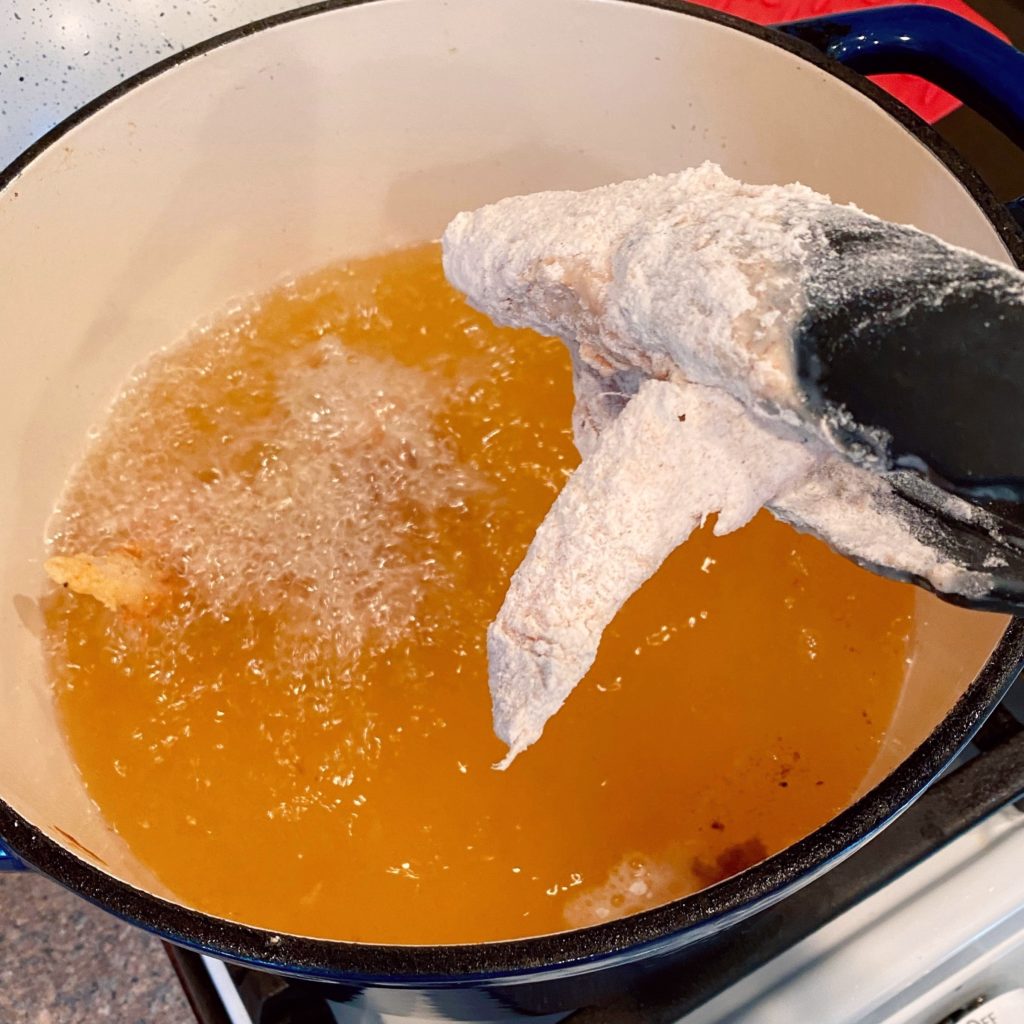
Carefully place the chicken in the hot oil…VERY CAREFULLY!!! This is extremely HOT OIL! Please use all safety precautions when deep-frying!
TIP: Always lay chicken away from you to prevent the oil from splattering on you!
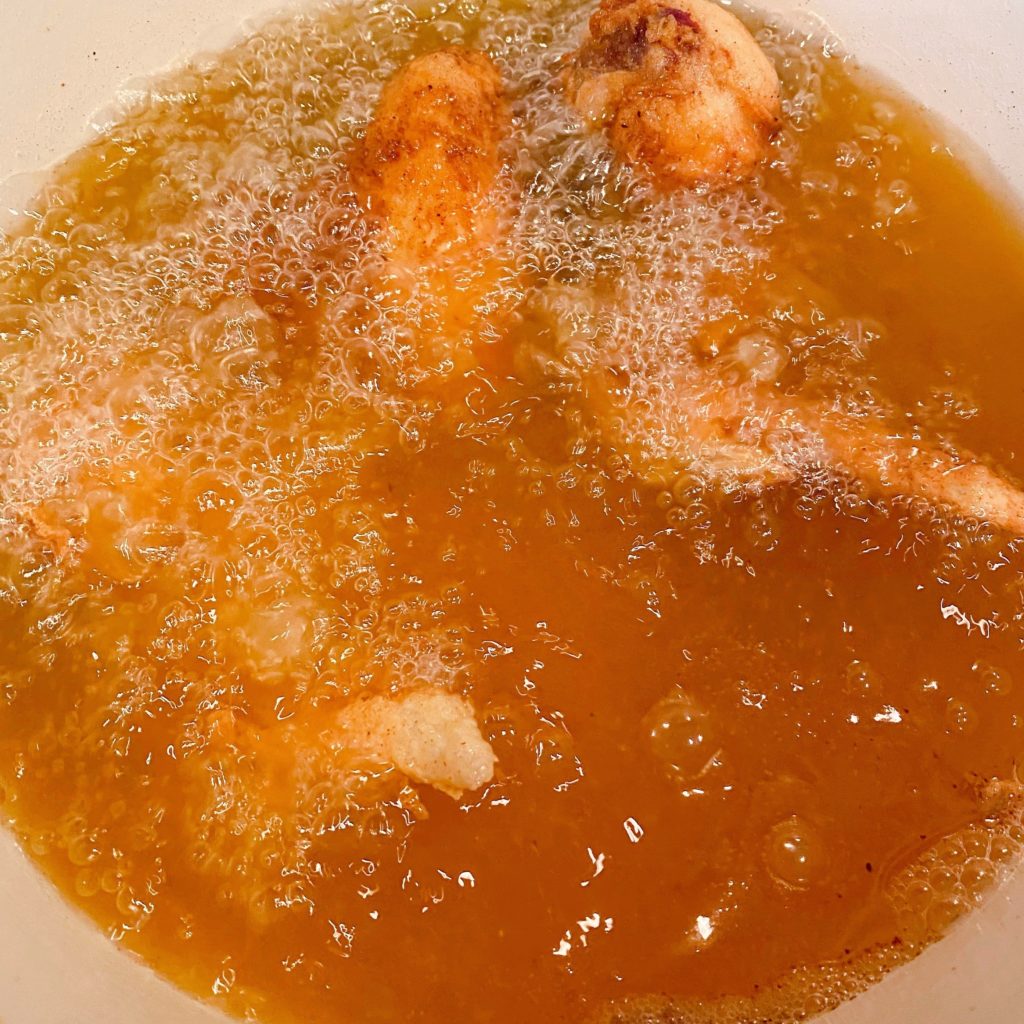
Cook 3–4 pieces of chicken at a time. Fry chicken for 12–14 minutes. 6–7 minutes per side. Turning once during cooking. Remember to check the temperature of your oil from time to time. (Yes! I’m nagging and for good reason!)
Note: The oil will turn a golden orange color. That is from the Paprika in the dredge…but it is also what gives the chicken such beautiful color.
Internal temperature of the chicken should be 165°.
Carefully remove the chicken with the “clean” tongs and place on a paper towel lined platter.
Continuing frying the chicken pieces until all the chicken has been cooked. The chicken will stay warm sitting out on the platter. Remember it’s been in very hot oil and this chicken is JUICY! In other words it’s full of hot chicken juices! Cooling is a good idea!
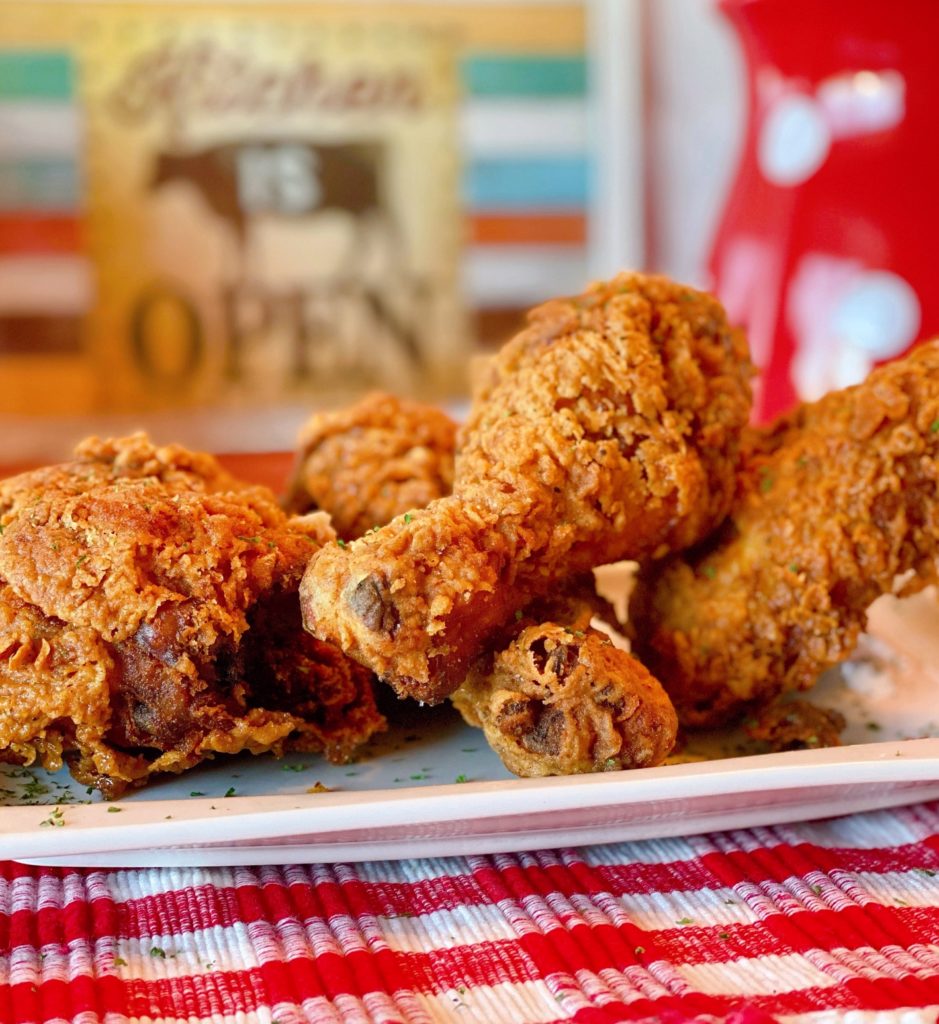
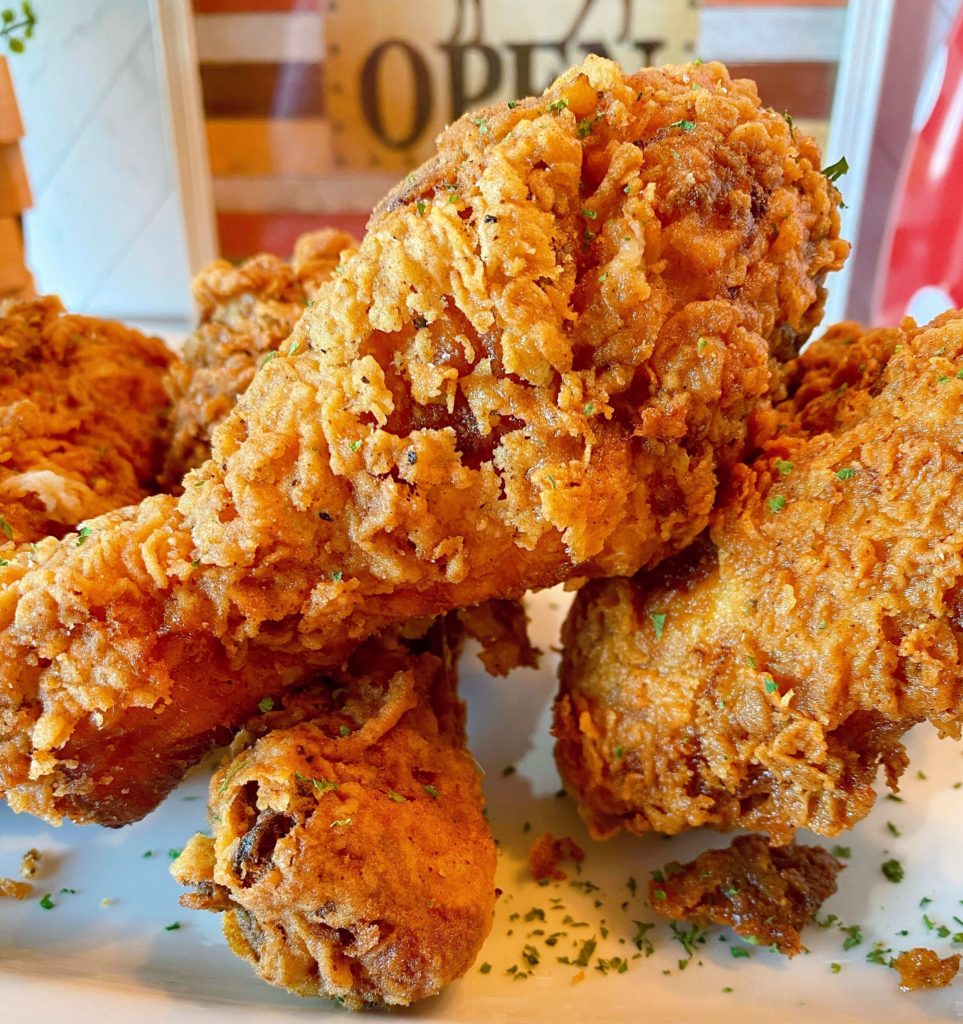
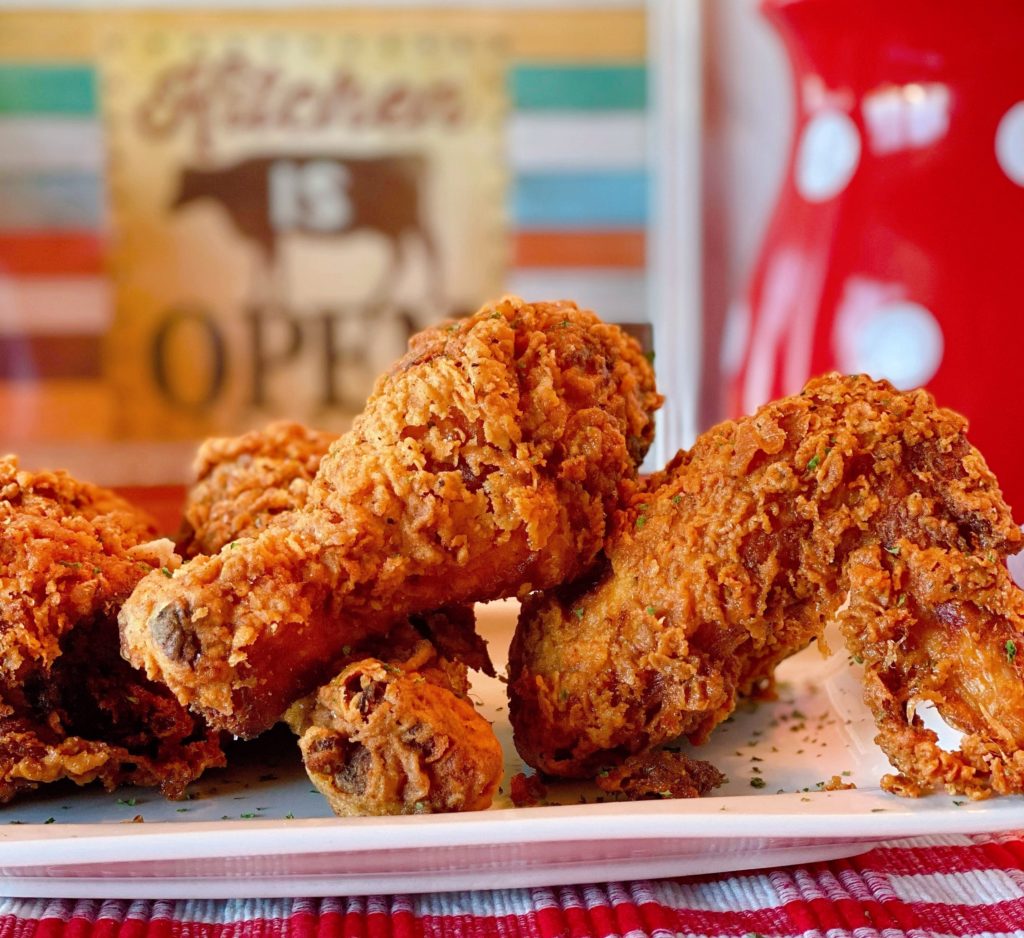
Place cooked chicken on a serving platter. Sprinkle with dried parsley (optional).
Look at all those beautiful golden crinkles! I LOVE crinkly crispy crunchy chicken skin! (Not such a fan when it’s the skin on my face…but on chicken! Wooohooo!!!! I’m the team captain of the cheer squad!)
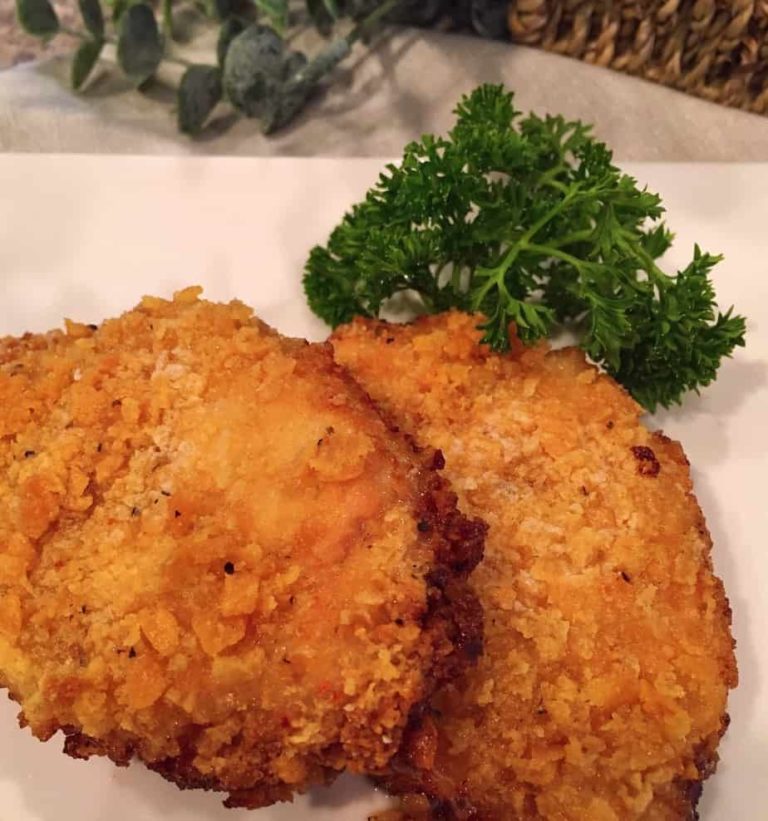
Y’all I can’t lie…this simple fried chicken recipe is OUT OF THIS WORLD!! The magic the baking soda creates on that chicken is my secret weapon when frying! Whether it’s my Country Fried Round Steak or Chicken Fried Pork Chops! I know some recipes call for “corn starch”….I recommend going with baking soda. It’s perfect every time!
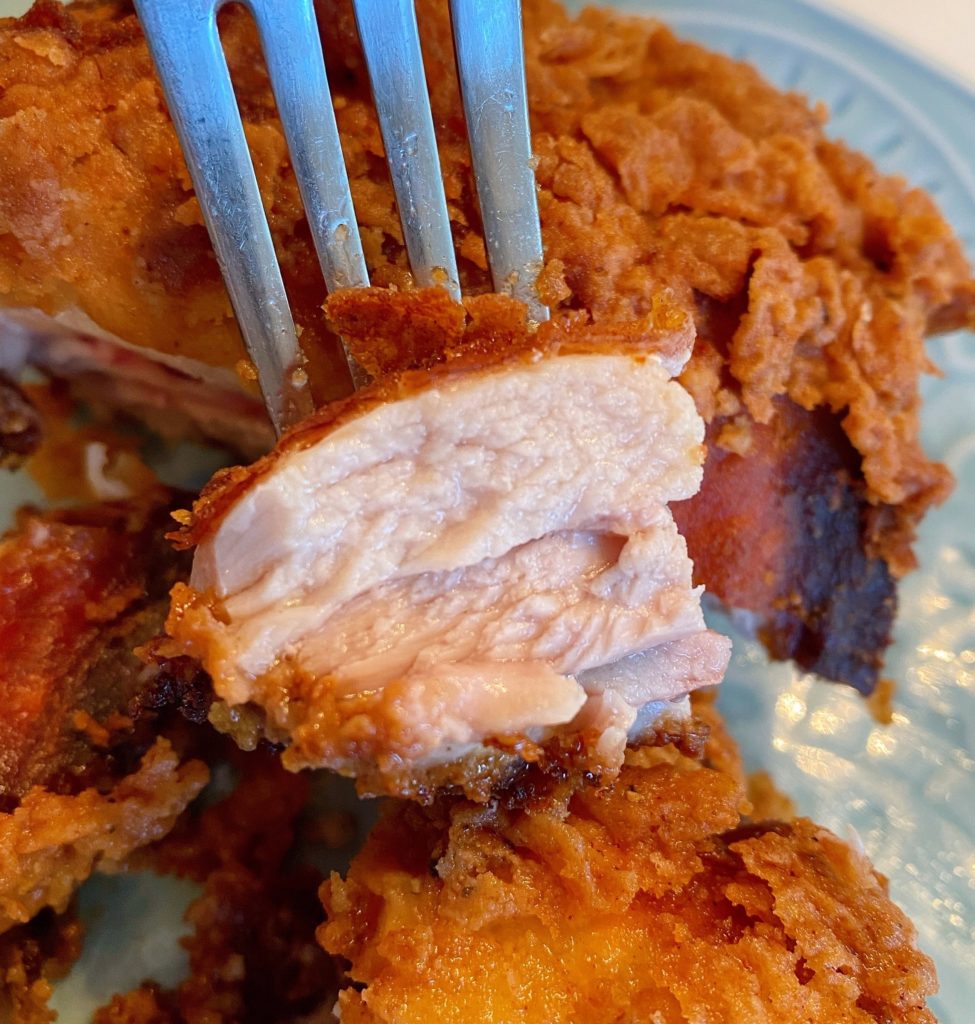
I want you to get a good look at how juicy this chicken is! That’s not oil! That’s juice from the chicken after it’s soaked in the buttermilk bath. Isn’t that incredible!! (Y’all are going to bathe in buttermilk now, aren’t you? 2021 the year of the buttermilk shortage! Lol)
There you have it! My delicious version of Classic Crispy Fried Chicken! With a few staple ingredients, like buttermilk, flour, baking soda, and spices…you can take regular chicken and turn it into a mouth-watering platter of fried chicken!
Looking for great sides to go with your fried chicken dinner? Here are some of my favorites!
Great Side Dish Recipes For Fried Chicken
- Creamy Summer Macaroni Salad
- Classic Red Potato Salad
- Sweet Potato Pecan Casserole
- Green and Gold Squash Casserole
- California Slaw Recipe
- Oven Fried Yellow Squash Recipe
- Watergate Salad (The Green Stuff) from Julia’s Simply Southern
As always, Thanks for stopping by my Nest today! I hope you have a great week and I hope you and your family enjoy this recipe!
Happy Nesting!


Easy Crispy Fried Chicken Recipe
Ingredients
- 12 chicken pieces 4 legs, 4 wings, and 4 thighs (5.5 pounds)
- 4 Cups Buttermilk 1 quart
- 1/2 Cup Franks Buffalo Sauce
- 1/2 Tablespoon Tony’s Creole Seasoning
- 3 Cups of All-purpose flour
- 1/2 teaspoon Creole Seasoning
- 1/4 teaspoon ground cayenne pepper Optional
- 4 Tablespoons Paprika
- 1 teaspoon black pepper
- 1 teaspoon garlic powder
- 1 teaspoon onion powder
- 1/4 teaspoon dry ground mustard
- 3/4 teaspoon baking soda
- Oil for frying
- Dry Parsley flakes for garnish Optional
Instructions
- Rinse and pat dry chicken pieces. Cut off any excess skin.
- In a large bowl add buttermilk, buffalo sauce, and Creole seasoning. Mix until well combined. Add chicken pieces. Cover and chill for at least 4 hours, up to 24 hours.
- When ready to fry, remove chicken from refrigerator.
- In a large dutch oven, add oil (1-1/2 quarts), and heat over medium-high heat to 350°. (Watch oil temperature during frying)
- In a large bowl add flour, paprika, black pepper, onion powder, garlic powder, mustard, Creole seasoning, baking soda, and optional cayenne pepper if desired hot and spicy! (Omit cayenne for a milder fried chicken.) Mix dry ingredients until well combined.
- Using tongs remove the chicken pieces from the buttermilk bath, allowing some of the excess to drain off. Place the chicken pieces in the flour dredge, one by one, making sure chicken is well coated.
- Carefully place 3-4 pieces of chicken in hot oil. Fry each piece a total of 12-14 minutes. 6-7 minutes per side. Turn chicken with clean tongs half-way through cooking. Internal temperature of cooked chicken should be 165°.
- Place fried chicken on paper towel lined platter. Continuing cooking chicken until all the pieces have been fried.
Video
Nutrition

Meet the Author
Hi! I’m Norine, the cook, baker, and recipe creator behind Norine’s Nest. I love sharing and creating recipes that invite family, friends, and neighbors to gather around the dinner table. Sharing good food and creating memories with those we love brings me happiness. Thanks for stopping by my Nest!


1
In step 5. You say to add “baking powder”.. your recipe says 3/4 tsp baking soda. Which one or does it make a difference?