Chili Relleno Casserole


A comforting twist on a classic Mexican favorite, Chili Relleno Casserole layers roasted peppers, melted cheese, and a light fluffy batter, to create a flavorful meal the whole family will love.

What Makes This Chili Relleno Casserole Special?
If you love the bold, cheesy goodness of a traditional chili relleno but don’t have the time (or patience!) for stuffing and frying peppers, this Chili Relleno Casserole is going to be your new best friend.
It brings together tender roasted green chilies, plenty of melty cheese, and a light, fluffy egg batter topping in one easy-to-make dish that bakes up beautifully in the oven. All the flavor you crave, without the extra steps!
This is one of those recipes I turn to when I want something hearty and satisfying that doesn’t require a lot of fuss. It’s simple enough for a weeknight dinner, but still feels a little special when it hits the table. Pair it with a crisp salad or a side of rice, and you’ve got a meal that’s sure to bring everyone running to the kitchen.
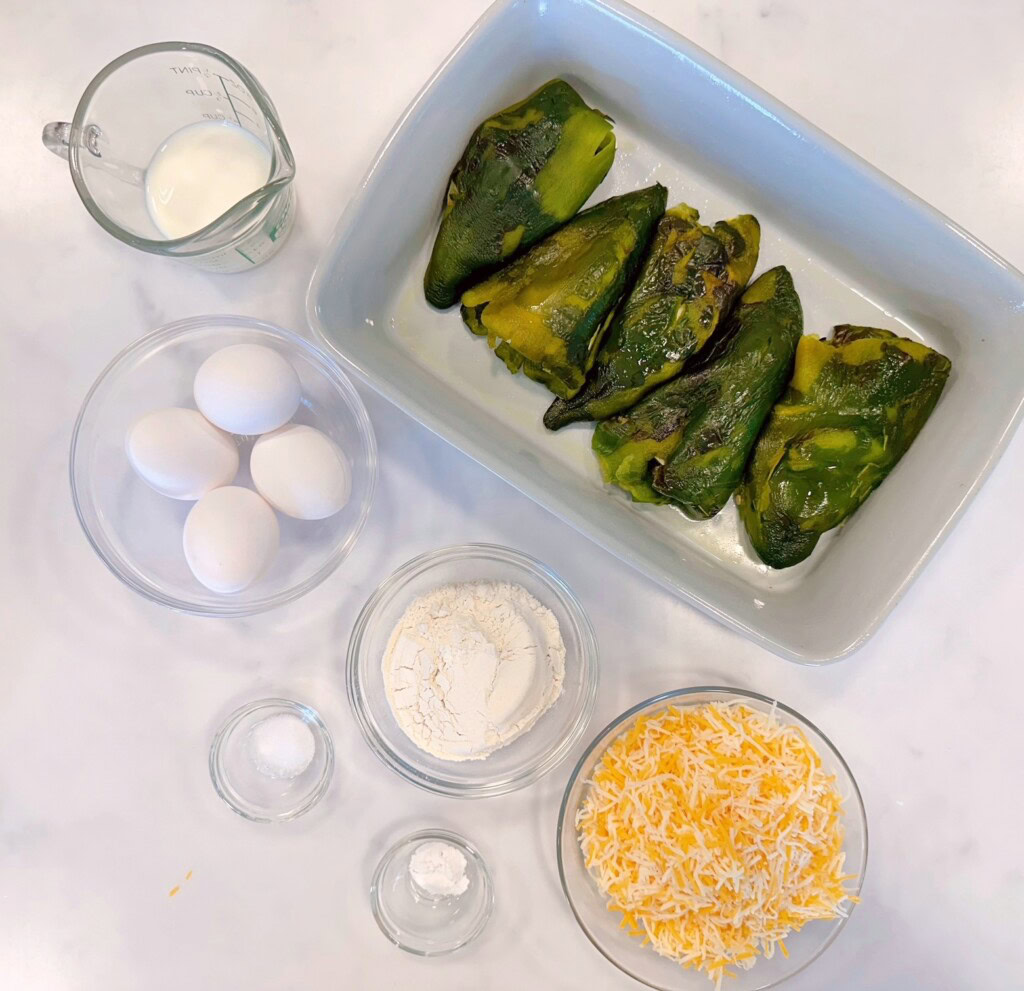
Ingredients Needed
- 6 Fresh Roasted Poblano Peppers, or 1 large (12 oz.) can of whole green chili peppers
- 6 ounces Monterey Jack Cheese, cut into 1/2 inch slices or Pepper Jack cheese.
- 4 large eggs, beaten
- 1/3 cup whole milk
- 1/2 cup all-purpose flour
- 1/2 tsp. Baking powder
- 1/2 tsp. Salt
- 1 cup shredded cheese
Step-by-Step Instructions
This recipe begins with the peppers! I prefer to use fresh poblano peppers, but you can also use Anaheim peppers, or roasted Ortega peppers (basically the same thing). Let’s go over how to roast peppers in the event you’d like to roast them yourself.
Step 1 — Preparing The Roasted Peppers
Preparing the roasted peppers is one of those simple steps that really brings this casserole to life, and I promise it’s easier than you might think!
If you’re starting with fresh Poblano peppers, you’ll want to roast them until the skins are blistered and slightly charred. You can do this right over a gas burner, under the broiler, or even on a hot grill. I generally do mine on a cookie sheet in the oven on a high broil. Just be sure to watch them carefully and turn them every so many minutes.
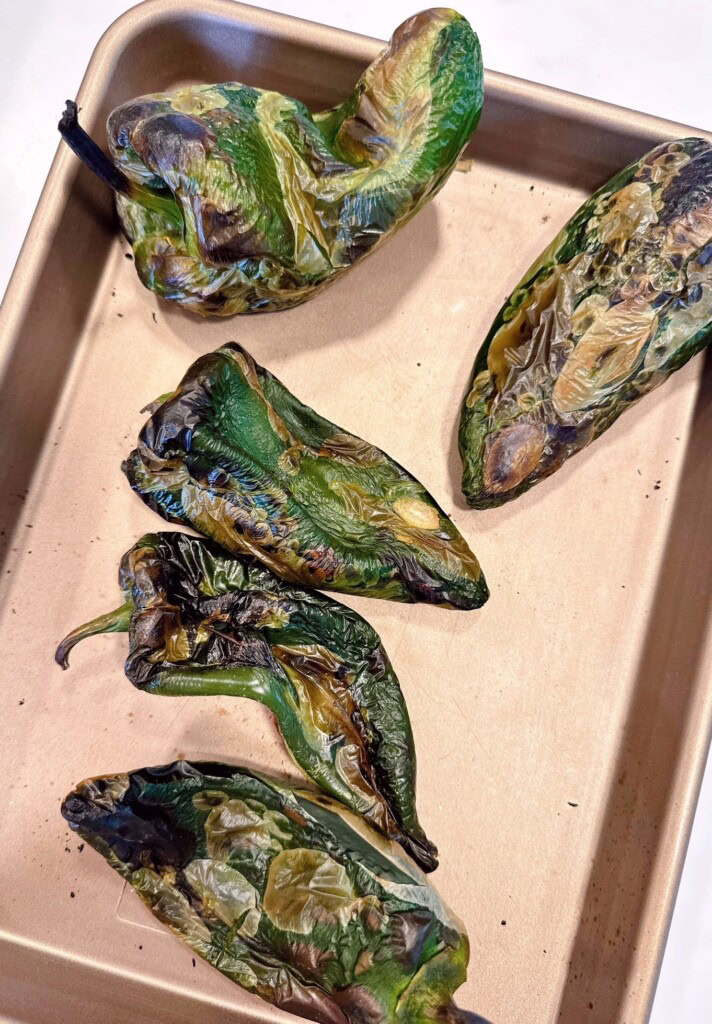
Once they’re nicely blackened, place them in a bowl with water, and cover with plastic wrap or a lid. Let them steam for about 10–15 minutes—this makes the skin peel right off without any fuss.

After they’ve cooled enough to handle, gently peel away the skins, then slice the peppers open and remove the seeds and membranes. Don’t worry if they tear a little—this is a casserole, so rustic is just perfect! Remember, a lot of the heat is in the seeds of the peppers! Fewer seeds, less heat!
TIP: If you are sensitive to the oils in peppers, be sure to wear gloves when handling fresh peppers to prevent burns.
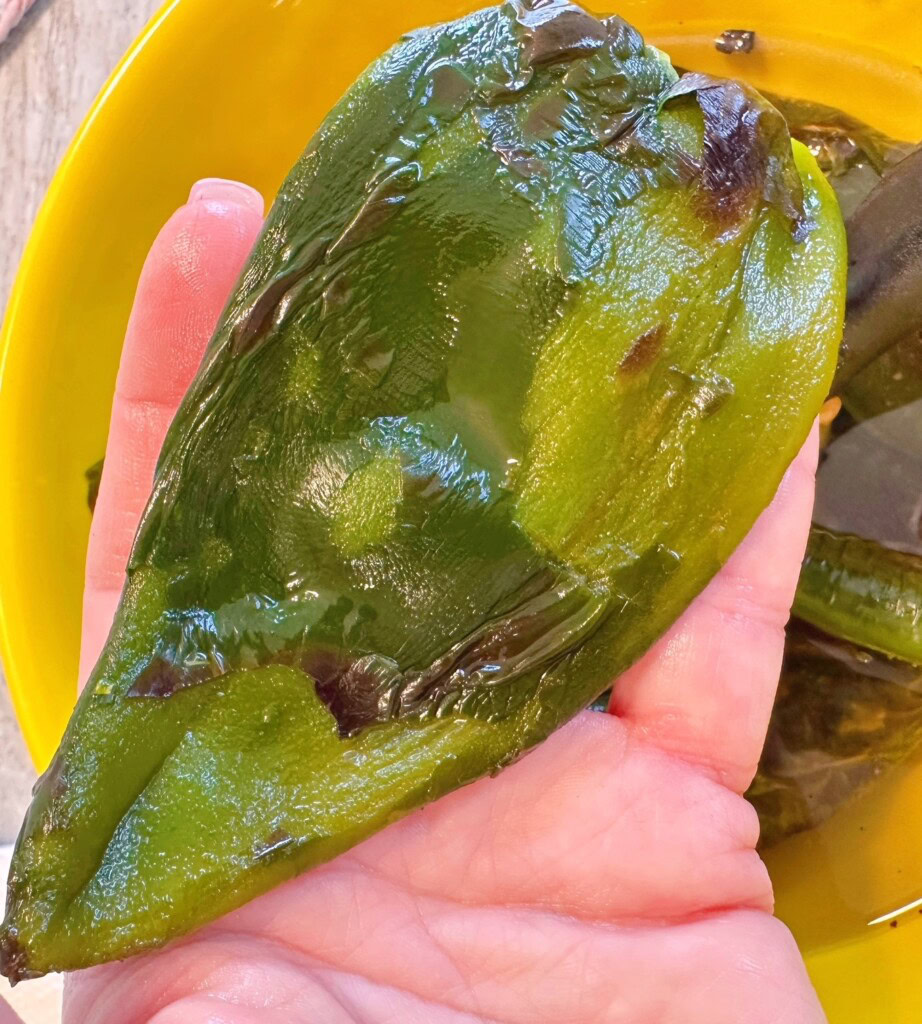
From there, you can cut them into strips or leave them in larger pieces, depending on how you like your bites. And if you’re short on time, canned whole green chiles are a perfectly good shortcut—no judgment here, just good food on the table!
Tip: The heat comes from those pesky little seeds! Don’t want all that heat…get rid of those little burning bits! (However, if your “heat” is coming from menopause…you’re on your own sister! I’ve got enough of that myself! Lol)
Step 2 — Choosing And Preparing the cheese filling
Preheat the oven to 350°(F). Spray a 10×6-2 inch baking dish with cooking spray.
Once the peppers are prepared, stuff each pepper with the thickly sliced cheese.
When it comes to the cheese for this Chili Relleno Casserole, this is where all that rich, melty goodness really shines. Traditionally, chili rellenos are filled with a mild, creamy cheese that melts beautifully.
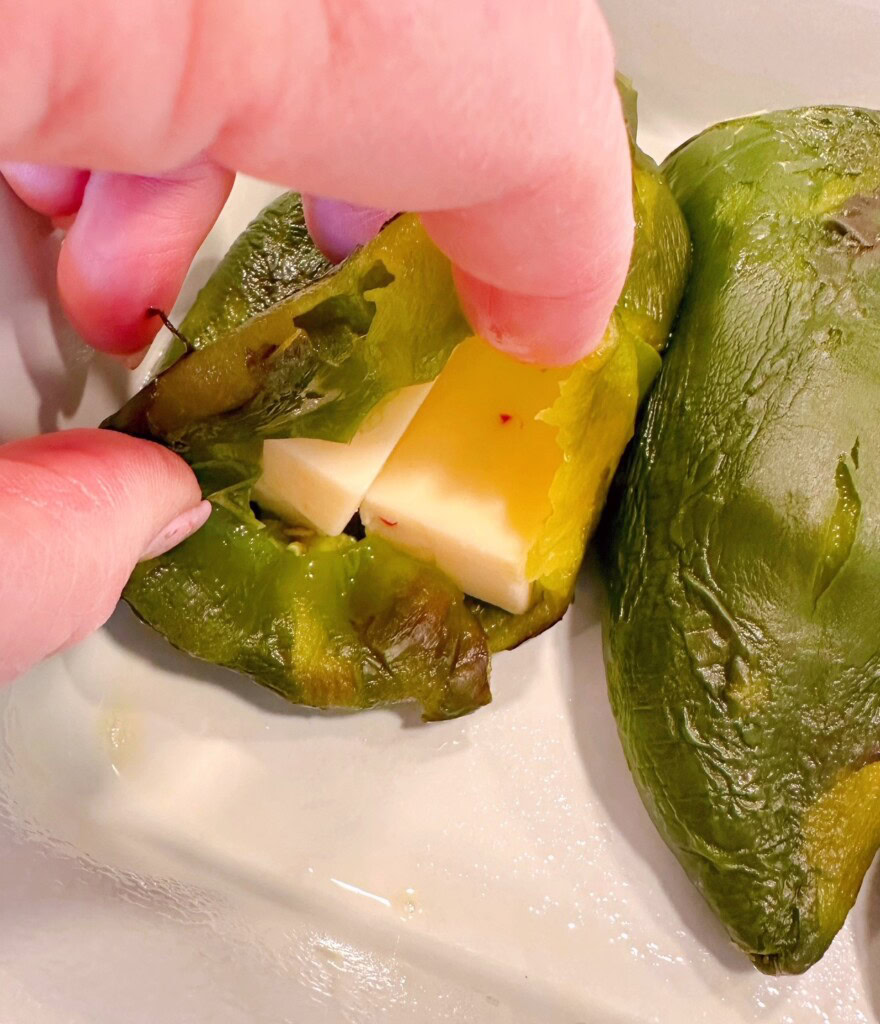
For this casserole, I like to stick with that same idea. A good Monterey Jack is always a winner. It melts smoothly and lets the flavor of those roasted green chilies come through without overpowering them. If you want to add just a little more depth, using a Pepper Jack can really kick things up and is my personal favorite.
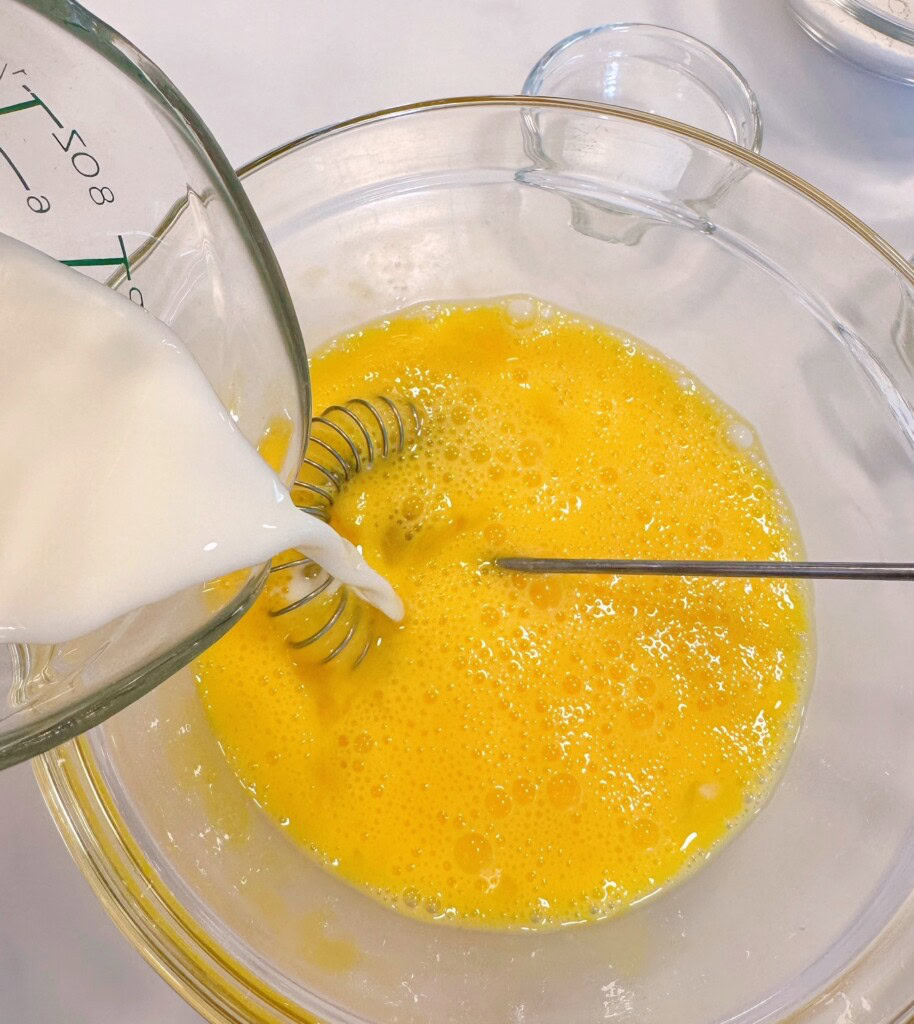
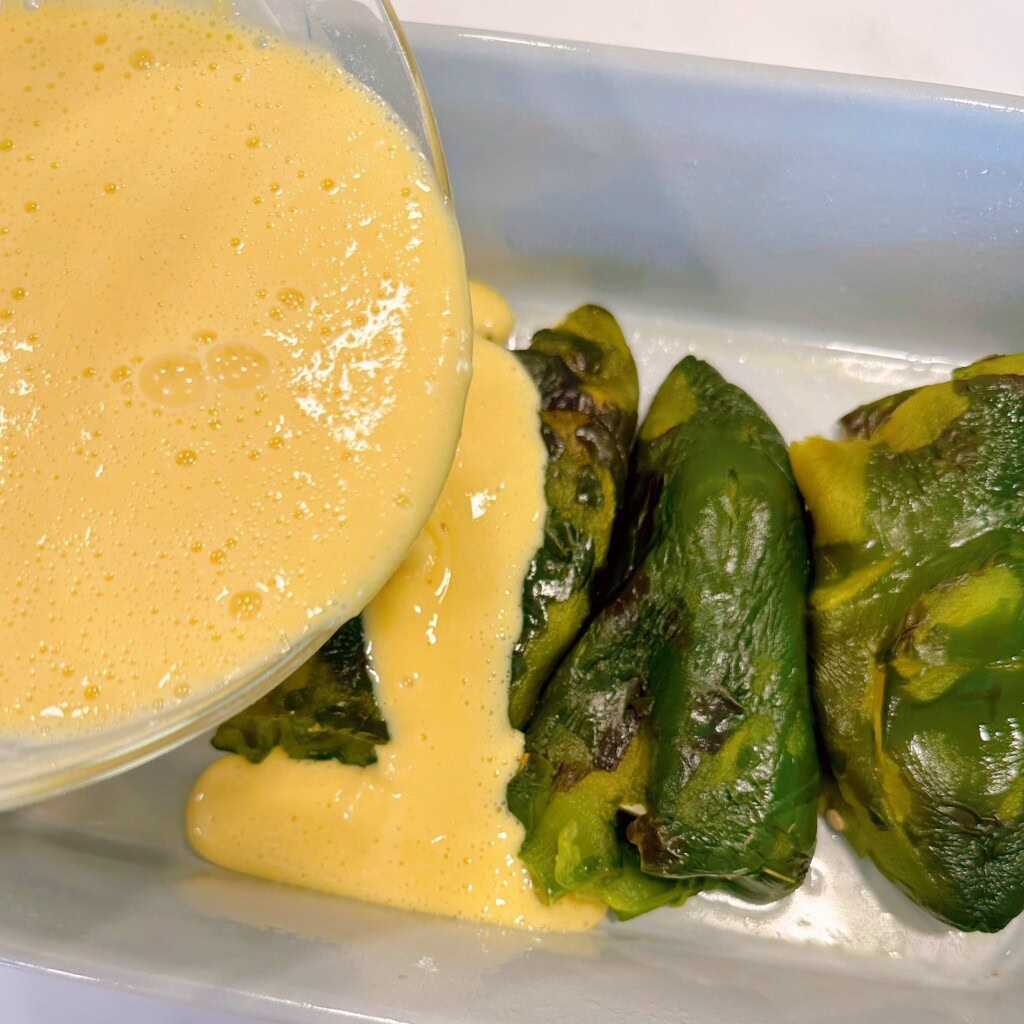
Step 3 — Creating the Egg Batter
In a medium bowl, combine beaten eggs and milk. Whisk together until well combined.
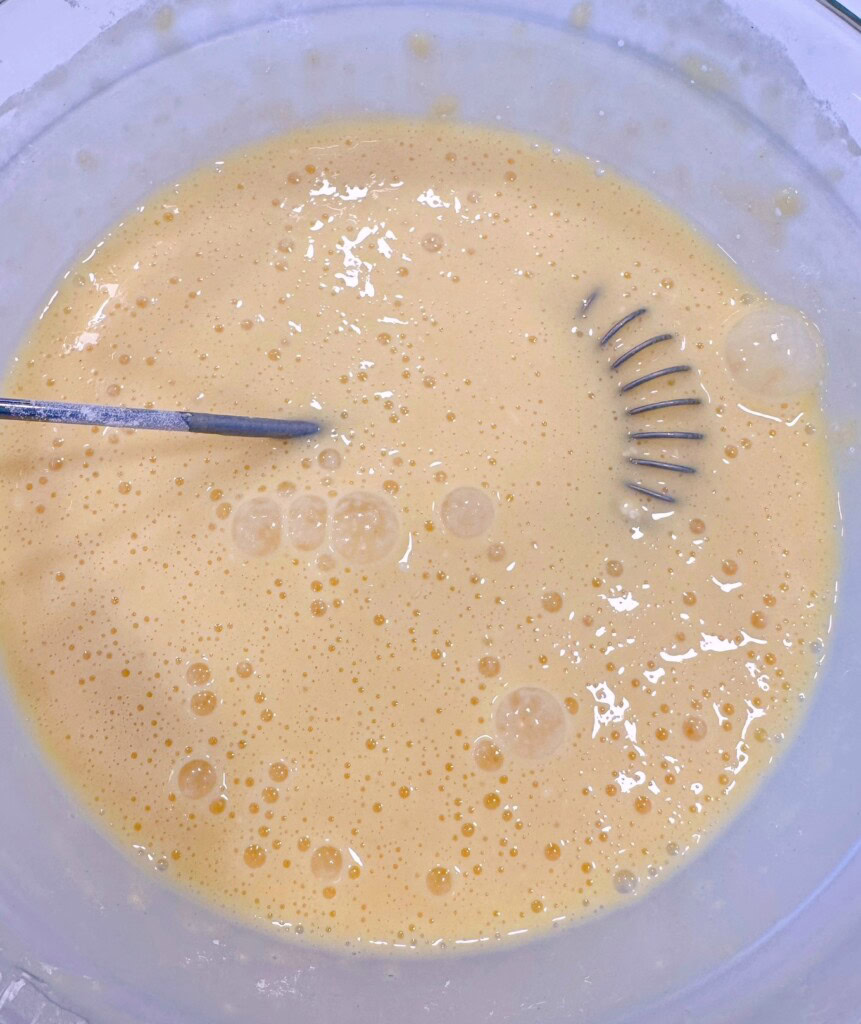
Add flour, baking powder, and salt.

Mix until smooth. A few small lumps may remain, and that is okay. The point is to get as many large lumps out as possible. Whisk away friends!
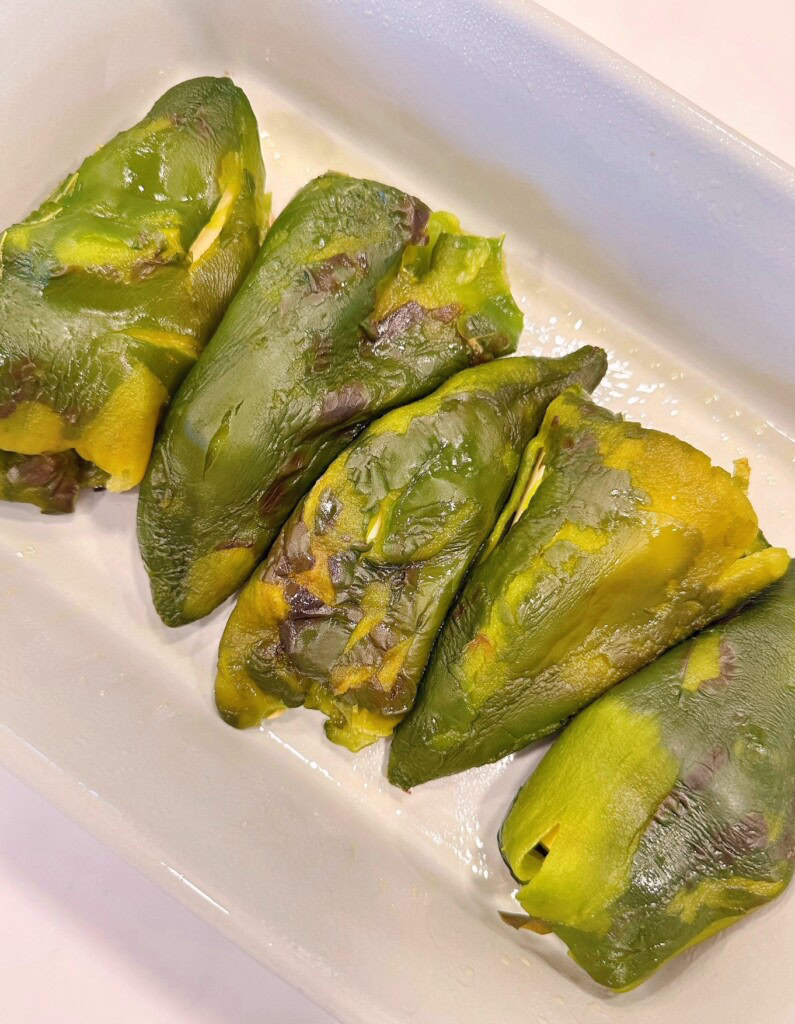
Step 4 — Assembling the Casserole Layers
Place the stuffed peppers in the prepared baking dish. Arrange the stuffed peppers in a way that takes up as much room as possible in the baking dish.
Slowly pour the egg batter over the peppers.
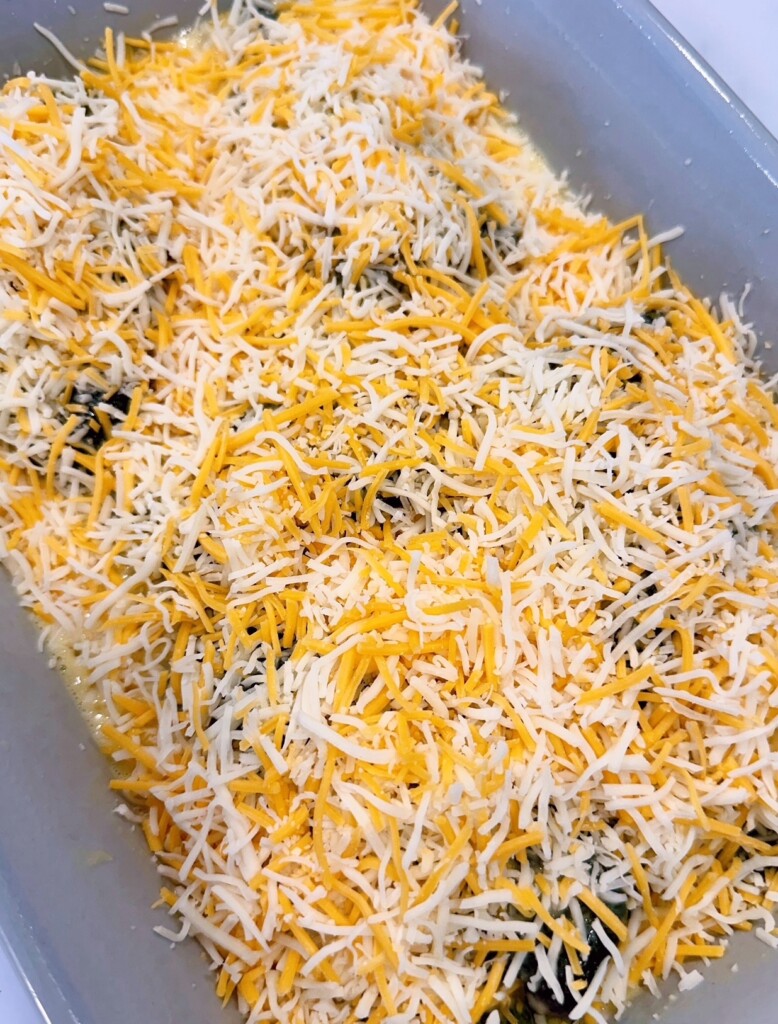
Top with shredded cheese.
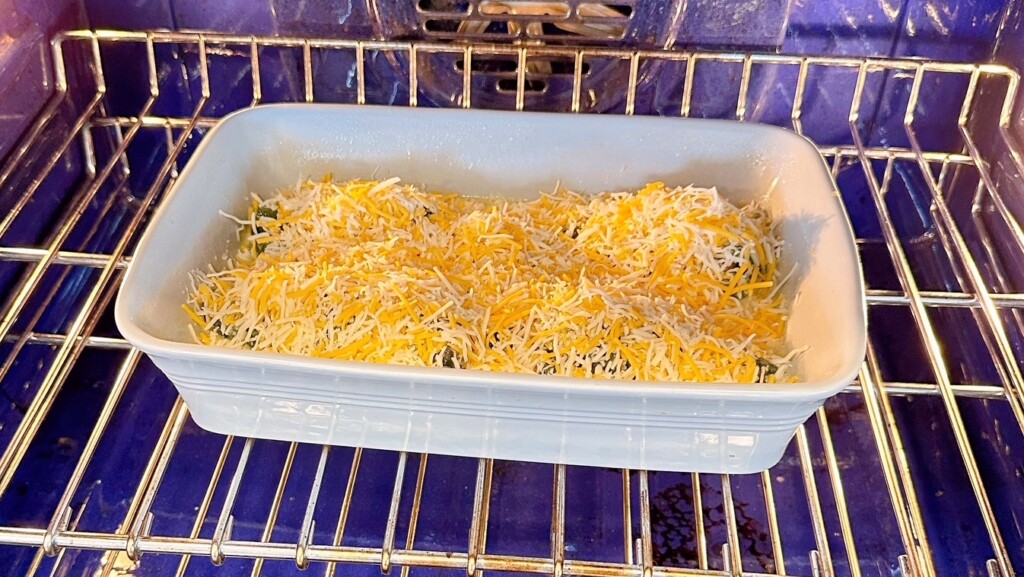
Step 5 — Baking Instructions And Tips
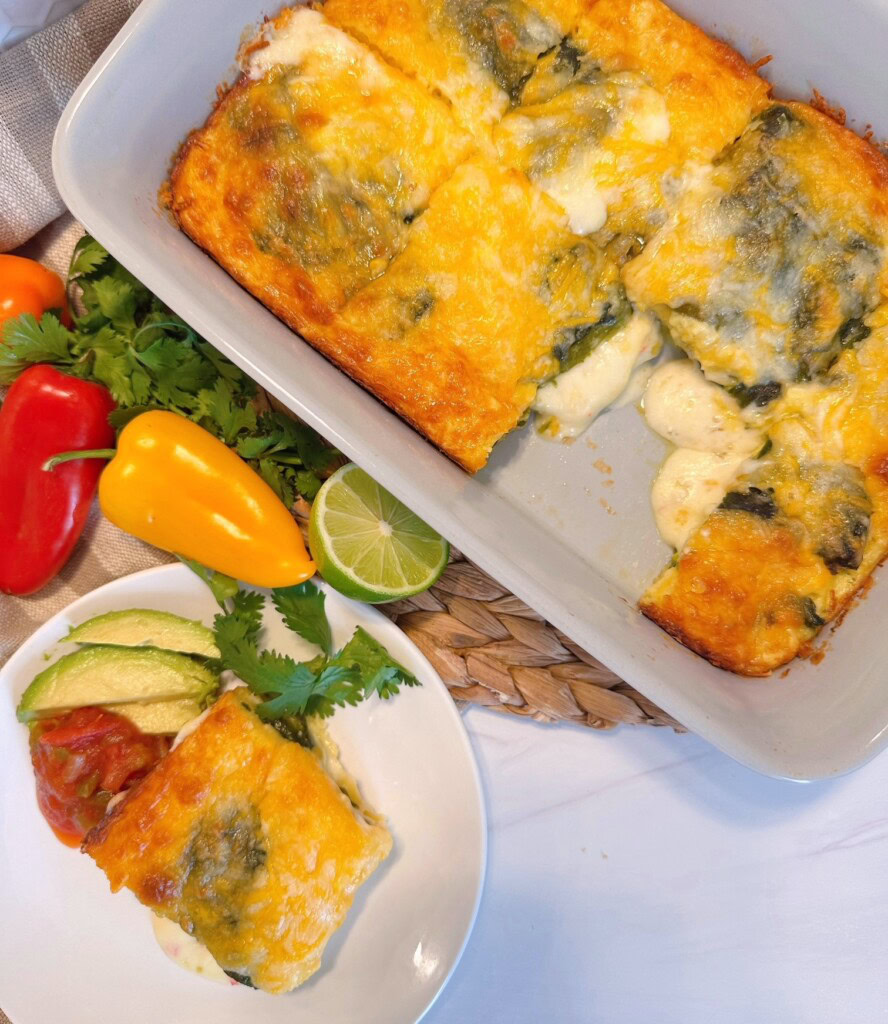
Bake on the center rack in the preheated 350°(F) oven for 30 minutes until golden on top and centered is baked through. To test if the casserole is done, insert a sharp knife into the center of the casserole into the egg batter. If it comes out clean, it is done baking.
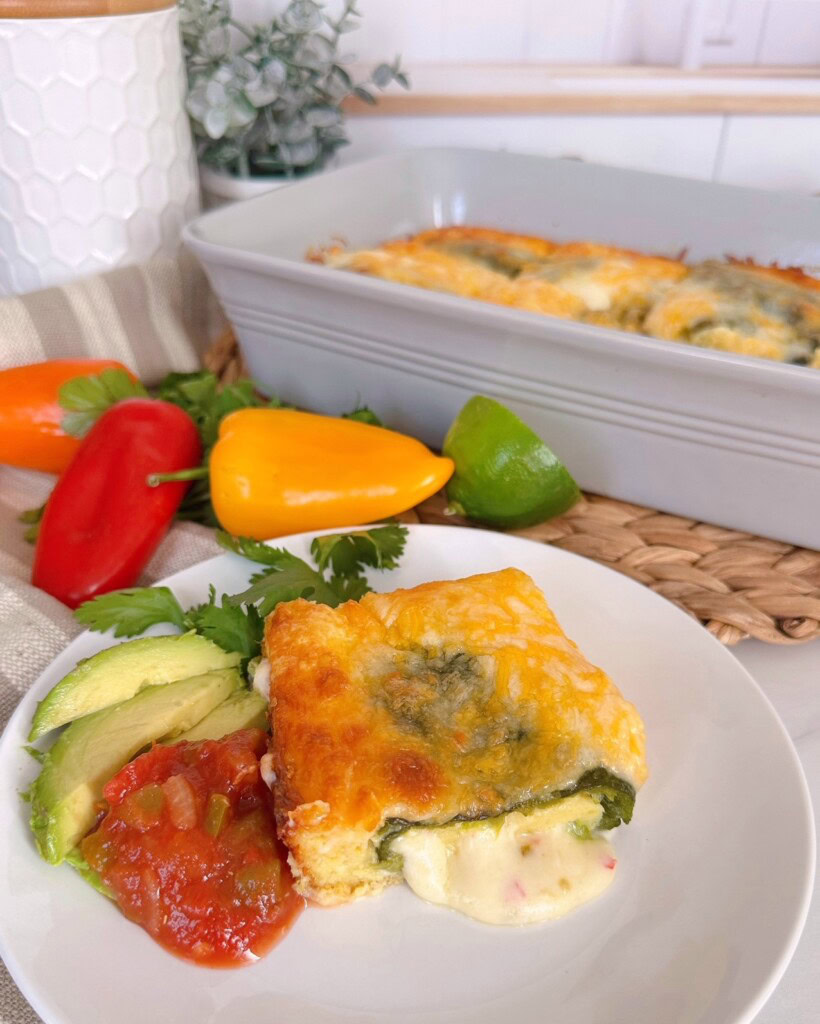
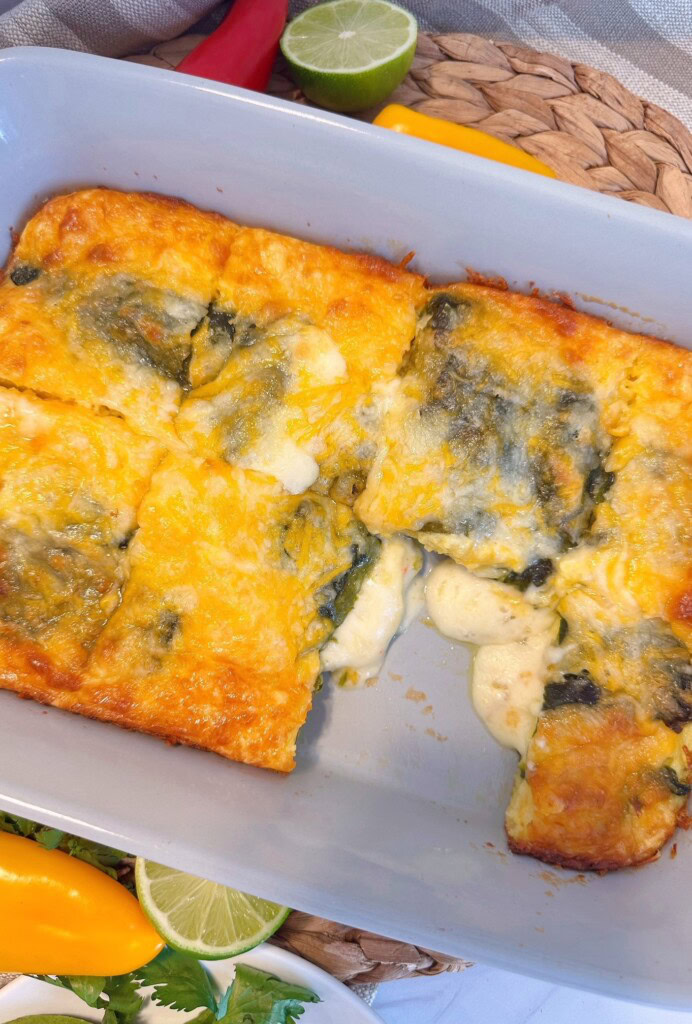
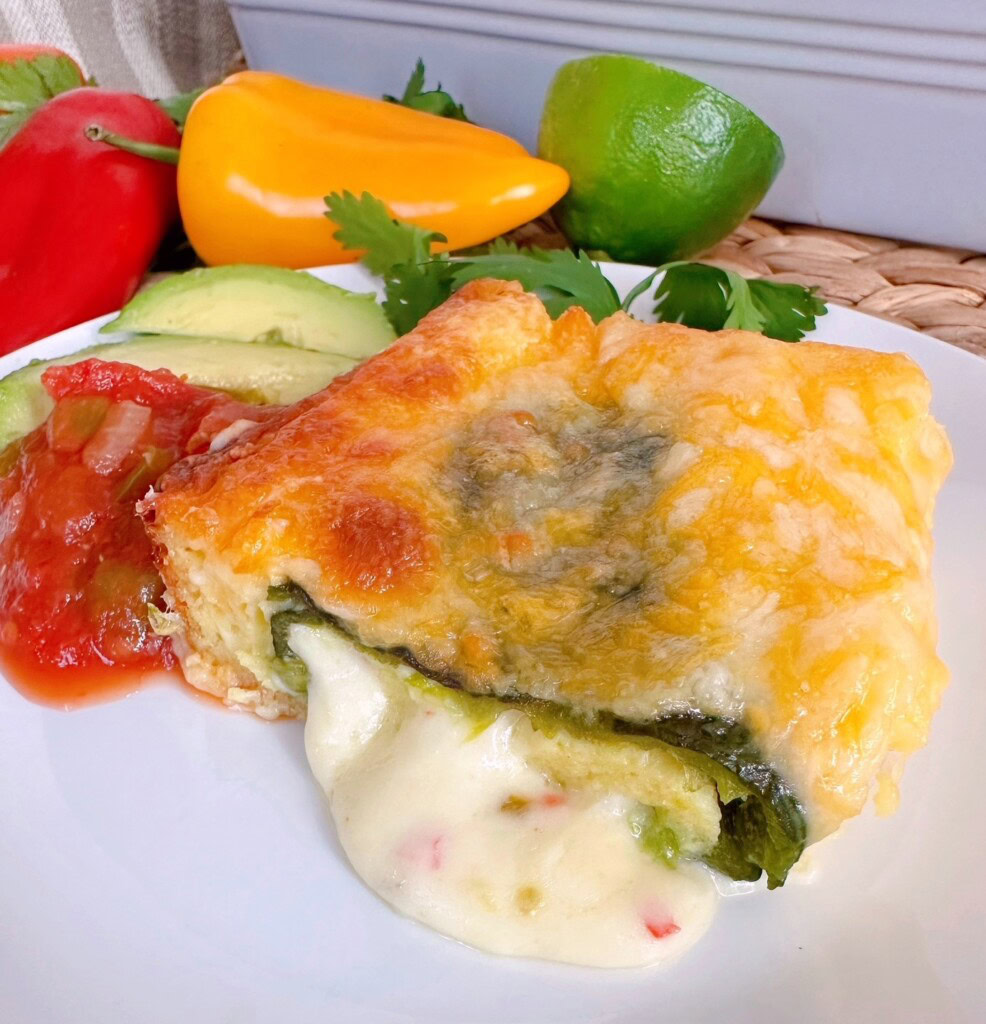
Remove from the oven and place on a rack to cool for 5–10 minutes. Cut into squares and serve.
Look at all that cheesy goodness. The smell of this casserole is baking is out of this world!
Serving Suggestions
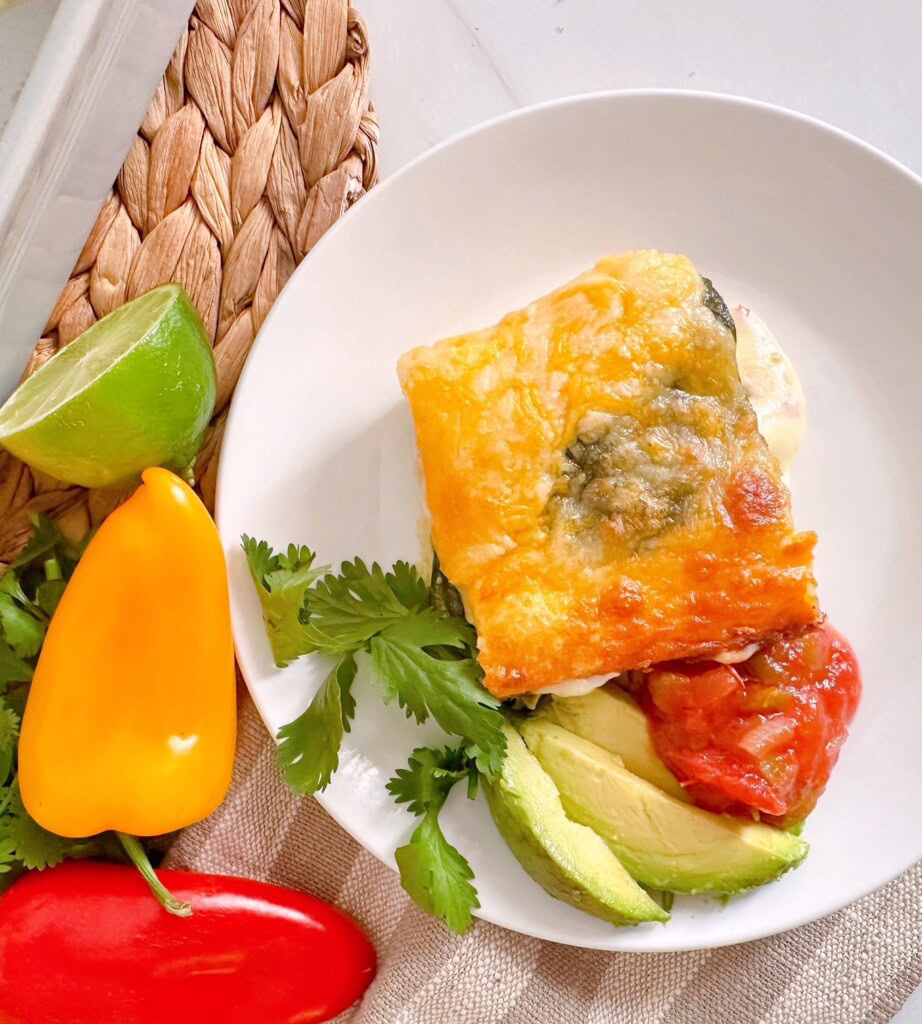
When it comes time to serve this Chili Relleno Casserole, I love keeping things simple to balance all that cheesy goodness.
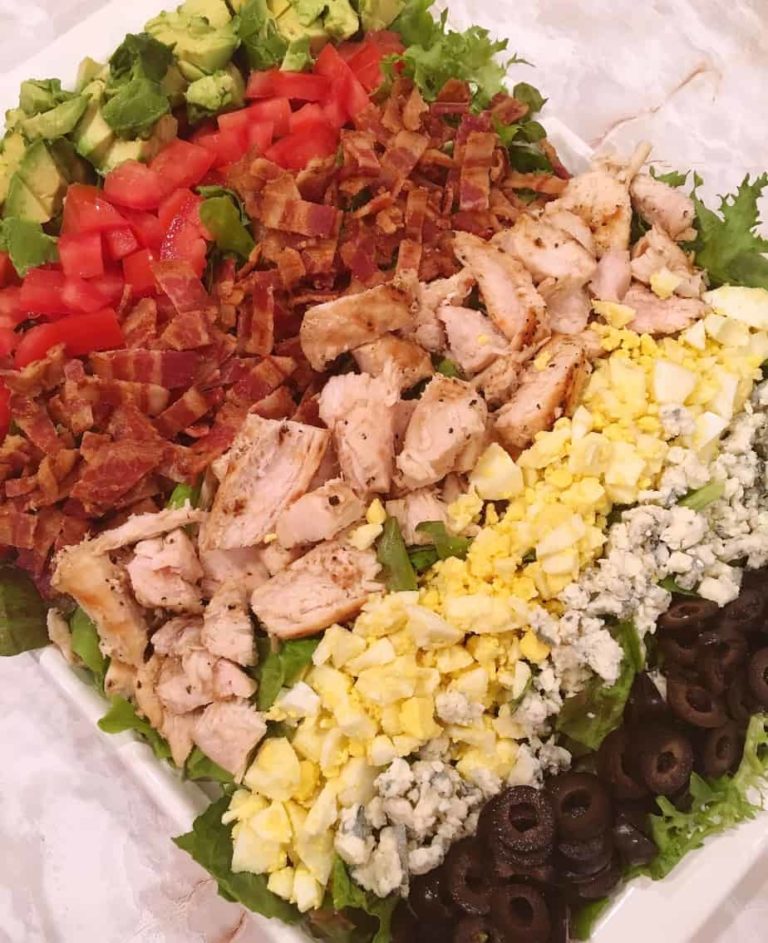
Fluffy Mexican-style rice or even a scoop of cilantro-lime rice for a little extra flavor on the plate helps round out this dish, or even a fresh green salad with a cilantro lime dressing.
If you want to round things out even more, a side of refried beans or black beans makes the meal feel extra hearty and satisfying.
And don’t forget the toppings! A dollop of sour cream, a scoop of homemade guacamole, a spoonful of fresh salsa, or a sprinkle of chopped cilantro can take each serving to the next level.
Warm tortillas on the side are always a good idea too. They’re perfect for scooping up every last bite and making the meal feel just a little more special.
Variations And Substitutions
One of the things I love most about this Chili Relleno Casserole is how easy it is to make it your own, depending on what you have on hand or what your family enjoys most.
If you’d like to add a little protein, shredded beef, browned ground beef, or shredded rotisserie chicken mixes in beautifully and turns this into an even heartier main dish. Want a bit more heat? Toss in a few diced jalapeños for an extra kick without overwhelming the dish.
You can also lighten things up or adjust for what’s in your fridge. Egg substitutes or egg whites work fine in place of whole eggs, and reduced-fat cheese can be used if you prefer.
If fresh roasted poblanos aren’t available, as mentioned above, canned whole green chiliesa are a fantastic shortcut that still delivers great flavor. And for a slightly different twist, try layering in sautéed onions, bell peppers, or even a handful of corn for a touch of sweetness and color. It’s a flexible, forgiving recipe that welcomes a little creativity…just the way home cooking should be!
Storing And Reheating Leftovers
If you happen to have leftovers of this Chili Relleno Casserole, you’re in for a treat because it reheats beautifully!
Once the casserole has cooled completely, cover it tightly or transfer portions into an airtight container and store it in the refrigerator for up to 3–4 days. The flavors actually have a chance to settle and deepen, making those next-day servings just as delicious, if not better, than the first time around.
When it’s time to reheat, you can warm individual portions in the microwave in short intervals, about 1 minute on high, until heated through. If you’re reheating a larger portion, pop it in the oven at about 325°F, covered with foil, until it’s nice and hot again. Adding a sprinkle of fresh cheese over the top before reheating can bring back that melty, just-baked goodness. And if it seems a little dry, a small spoonful of salsa or a dollop of sour cream when serving will freshen everything right up.
Recipe Wrap-Up for Chili Relleno Casserole
At the end of the day, this Chili Relleno Casserole is one of those recipes that brings big flavor to the table without asking for a lot in return. It takes everything we love about the classic dish…those tender green chiles, layers of melty cheese, and that light, fluffy topping, and turns it into something simple enough for any night of the week.
It’s the kind of meal that fills the kitchen with the best aromas and brings everyone wandering in, ready to grab a plate.
Whether you’re making it for a busy weeknight dinner, pairing it with another favorite Mexican dish, or sharing it with family and friends, this casserole is sure to become a repeat favorite. I know it is at our Nest.
It’s warm, satisfying, and just a little bit special in all the right ways. So go ahead and scoop up a generous serving, add your favorite toppings, and enjoy every cheesy, flavorful bite! You’ve earned it!
Other Favorite Mexican Dishes
- Instant Pot Pork Chili Verde
- Easy Ground Beef Enchiladas
- Loaded Nachos
- Mexican Bean Salad from Allrecipes.com
Thank you for stopping by my Nest! I love having you here sharing my love for good family-friendly recipes!
Remember to sign-up for my weekly newsletter and follow me on Instagram, Facebook, and Pinterest.
Happy Nesting Friends!

Printable Recipe Card

Chili Relleno Casserole
Ingredients
- 12 oz. can whole green chili peppers
- 6 oz. Monterey Jack Cheese
- 4 large eggs beaten
- 1/3 cup milk
- 1/2 cup Flour
- 1/2 tsp. baking powder
- 1/2 tsp. salt
- 1 cup shredded cheddar cheese
Instructions
- Roast peppers or drain and seed peppers. Cut Monterey Cheese into long ½ inch thick cheese sticks that will fit inside the peppers. If pepper tears, wrap the pepper around each strip of cheese.
- Place the stuffed peppers in a greased 10x6x2 baking dish.
- In a medium bowl, combine the beaten eggs and milk. Beat in flour, baking powder, and salt until smooth. Pour over peppers in baking dish. Sprinkle with grated cheese.
- Bake in a preheated 350° oven for 30 minutes until golden and the center is baked.
- Let the casserole cool for 5–10 minutes and then cut into squares and serve.
Video
Nutrition

Meet the Author
Hi! I’m Norine, the cook, baker, and recipe creator behind Norine’s Nest. I love sharing and creating recipes that invite family, friends, and neighbors to gather around the dinner table. Sharing good food and creating memories with those we love brings me happiness. Thanks for stopping by my Nest!


I made this for my green chili loving family. I had frozen Anaheim Chili’s from last year’s garden. I whipped this up and It turned out perfectly.
Everyone loved this🥰
Hi. I love this recipe! Do you think I can make it , refrigerate it it and bake it later the same day?
Hi Jeanette!
May I suggest that you prep the chili’s with the cheese and place them in a casserole dish, cover and chill. Mix your batter in a separate bowl, cover and chill. Then you can give it a good whisk in the event the ingredients separate, pour over your prepared peppers and bake! This is what I would do if preparing ahead of time.
Happy Baking!
Norine
Is it necessary for it to be in a 10 x 6 x 2 pan I don’t have that all I have is a 9 x 13
Hi Brenda!
If you don’t have a 10x6x2 pan I recommend using an 8×8 pan. The batter may spread out a little too thin in a 9 x 13. Sorry for the delayed response. We’re in the middle of a kitchen remodel and it’s a tad crazy around here. Hope you have a great Easter weekend.
Norine