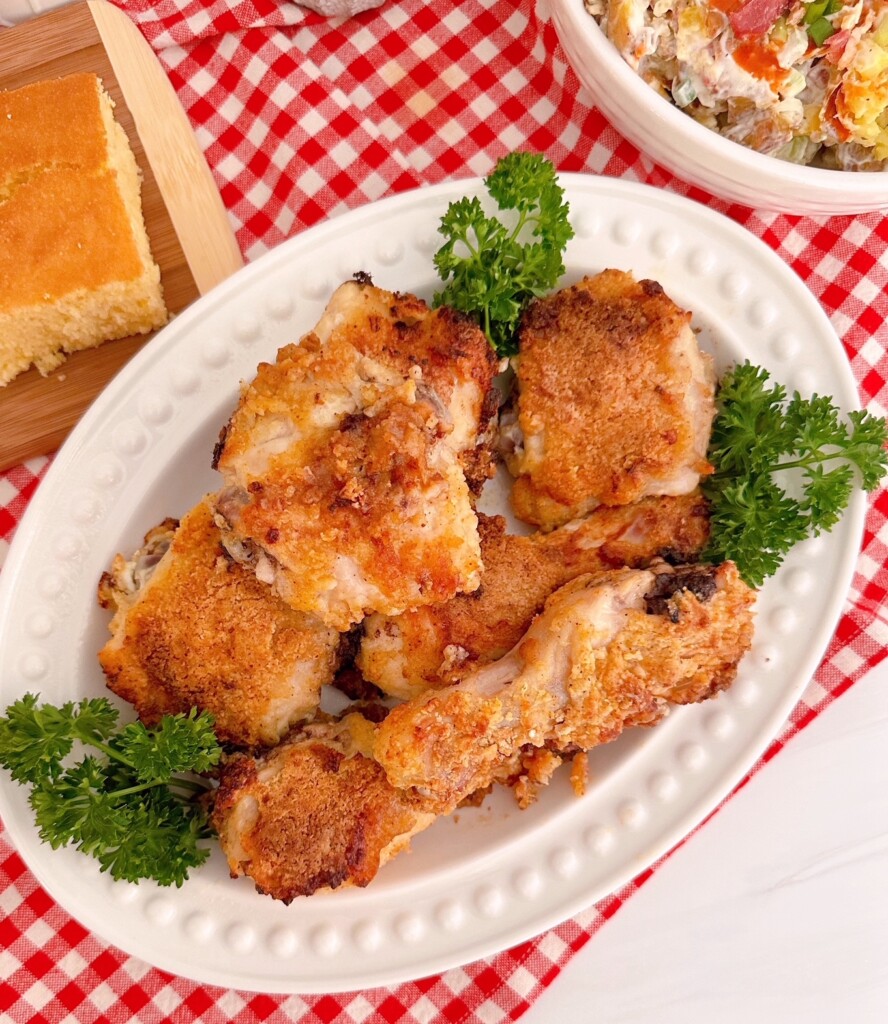
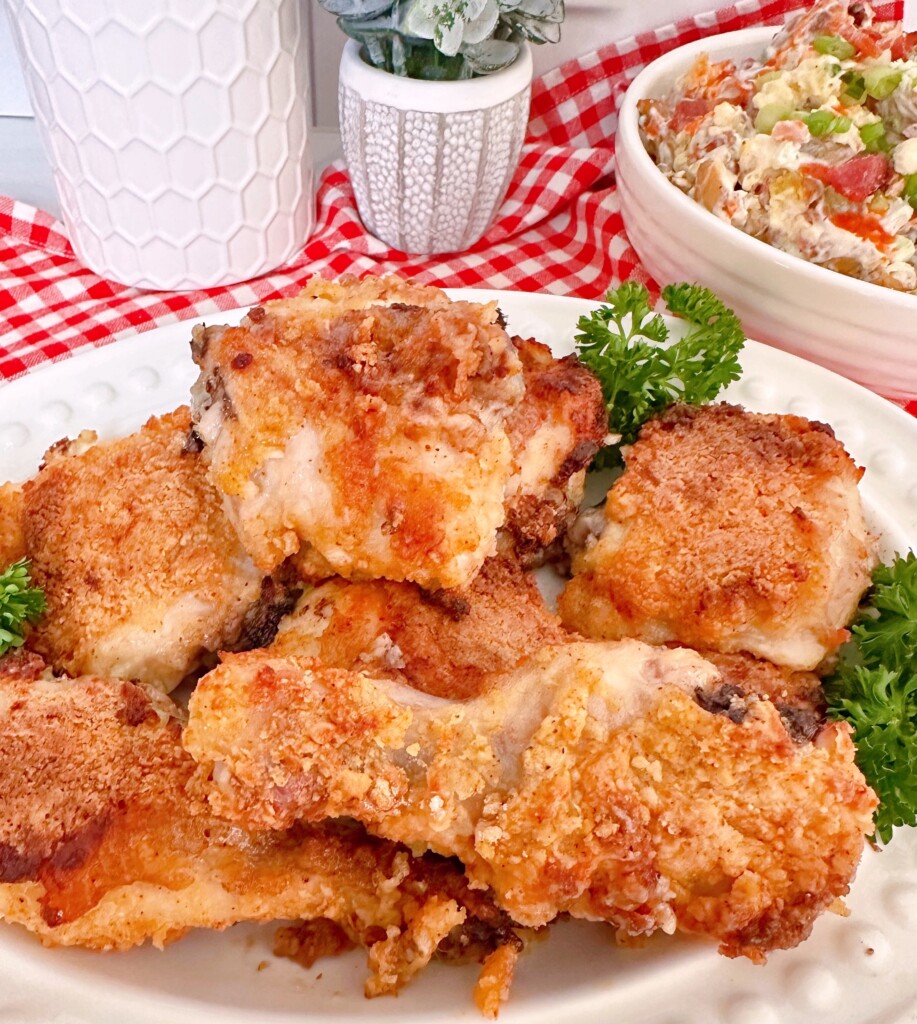
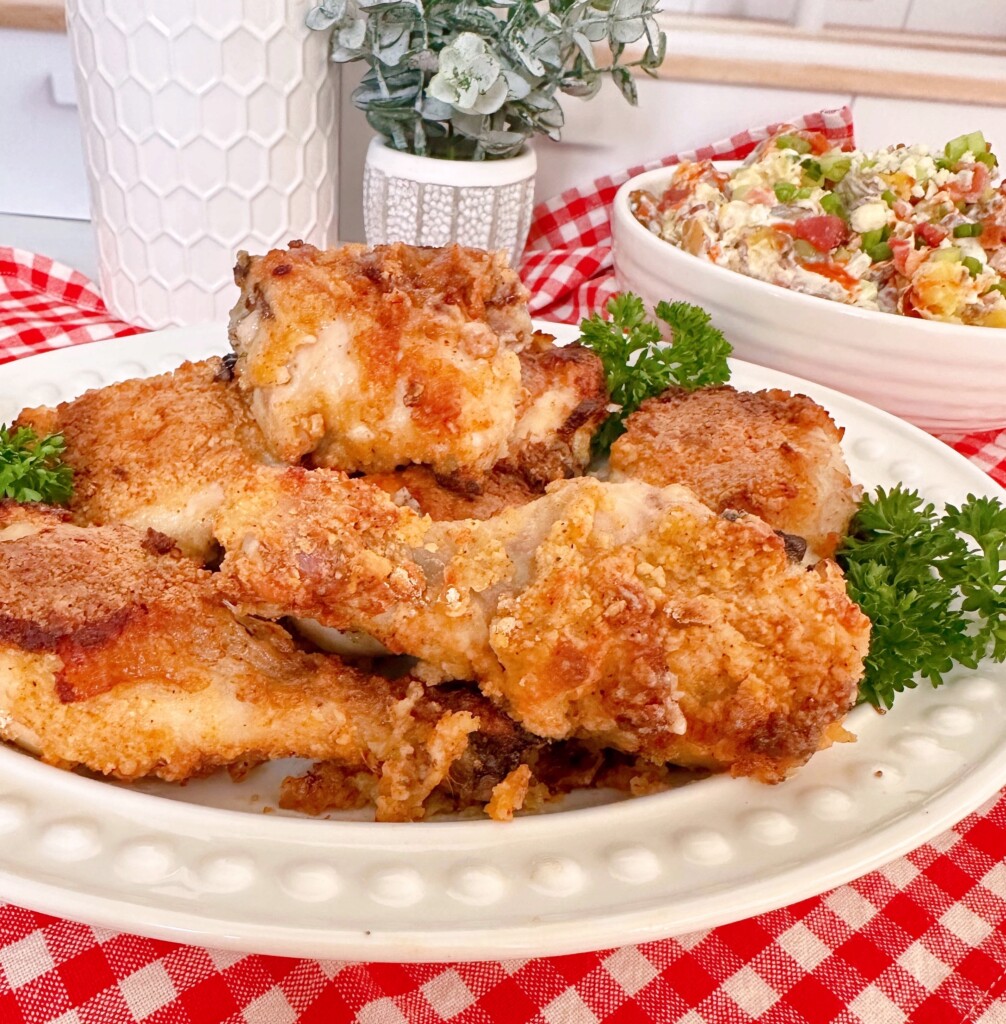
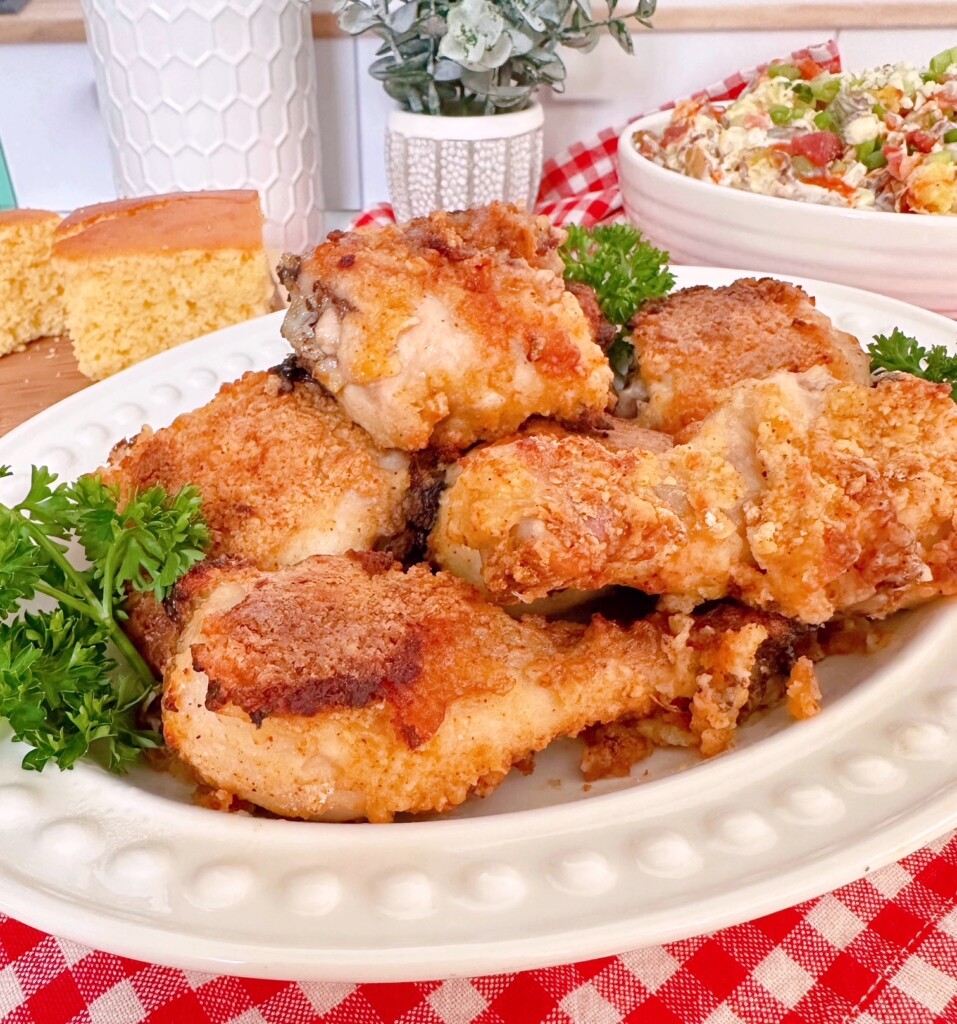
Bisquick Crispy Oven Fried Chicken


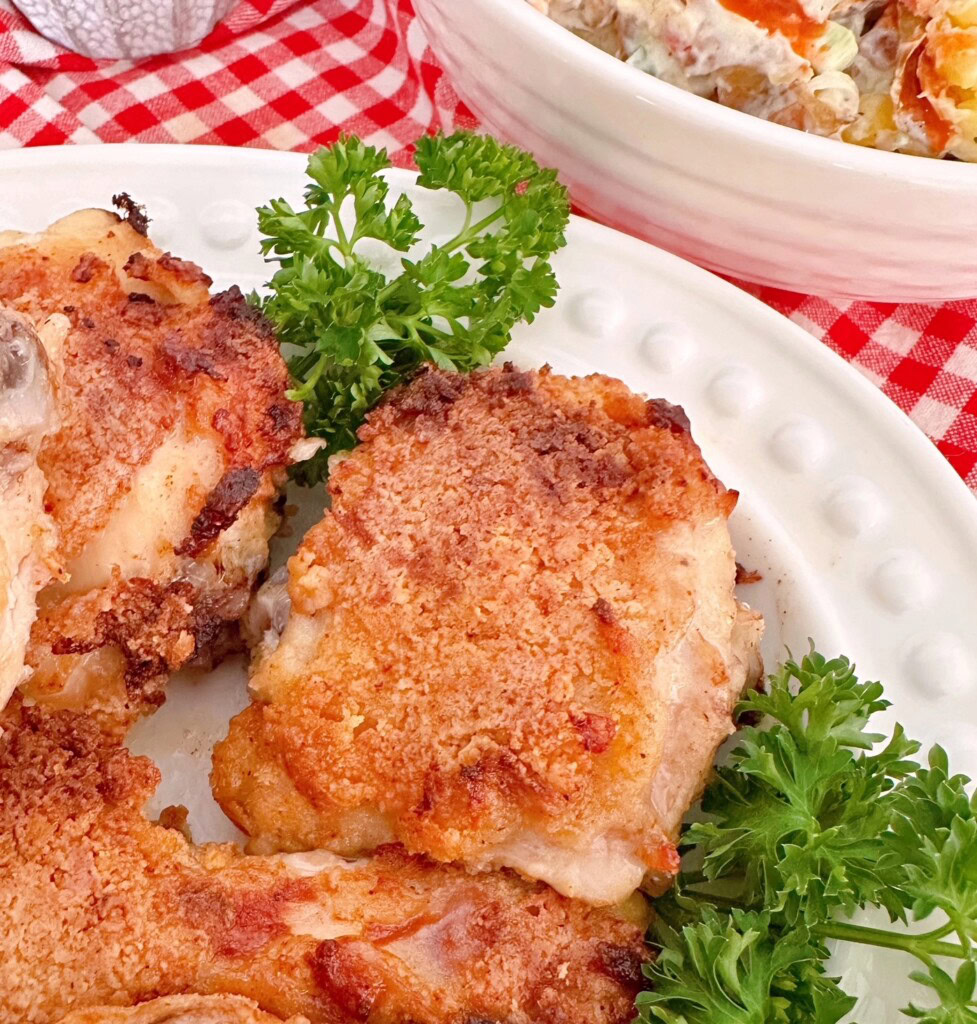
Discover the secrets to perfectly crispy oven-fried chicken that’s juicy on the inside and golden-crunchy on the outside and the best part…no deep fryer needed!
Why Choose Oven Fried Chicken?
Hi Friends! There are nights when you want fried chicken…like, really want it! However, the idea of standing over a pot of hot oil, dodging splatters…and smelling like a diner for two days… well, suddenly baked chicken starts looking mighty appealing. That’s where this Retro Bisquick Oven Fried Chicken struts in like it owns the place. It’s got that golden, crispy coating you crave, but without the fuss, the mess, or the deep fryer staring you down from the counter like a challenge you didn’t sign up for.
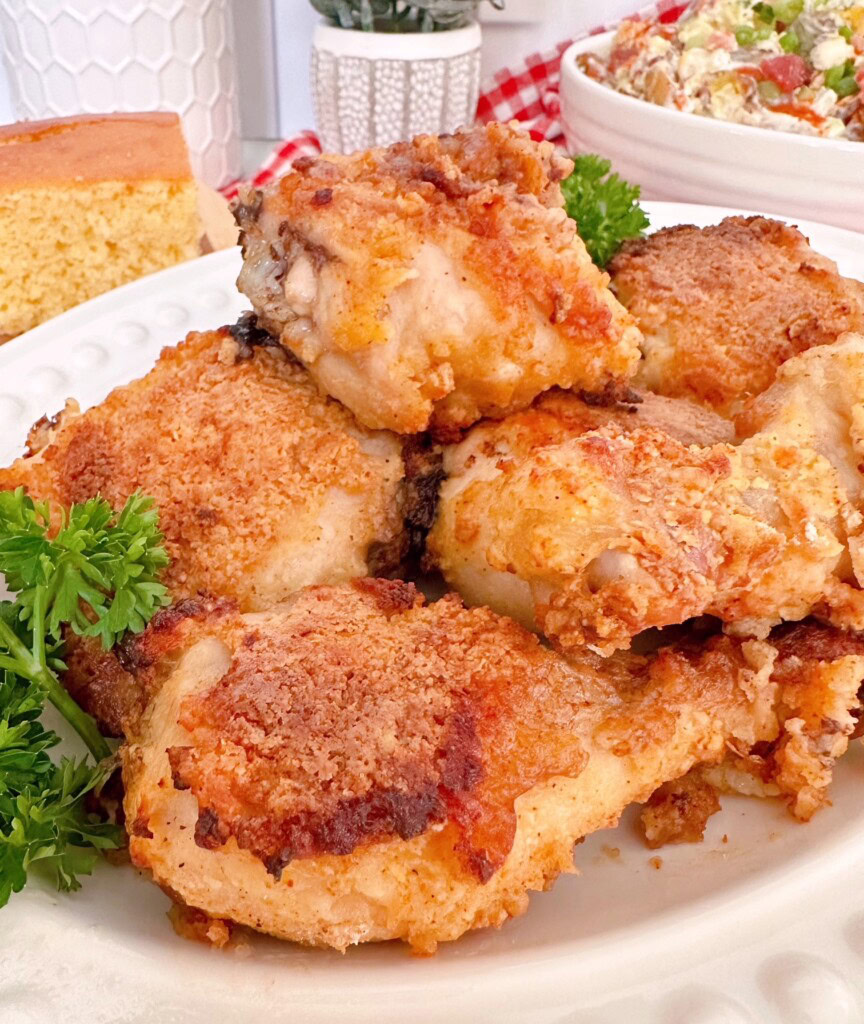
What I love most about this recipe is how it turns a simple pantry shortcut into something that feels downright special. Bisquick does all the heavy lifting. Paired with a few Panko bread crumbs for extra crunch, seasoned just right and crisping up beautifully in the oven, it’s the perfect dinner idea. It’s the kind of meal that makes everyone at the table happy, and on a busy weeknight, that’s about as close to magic as it gets.
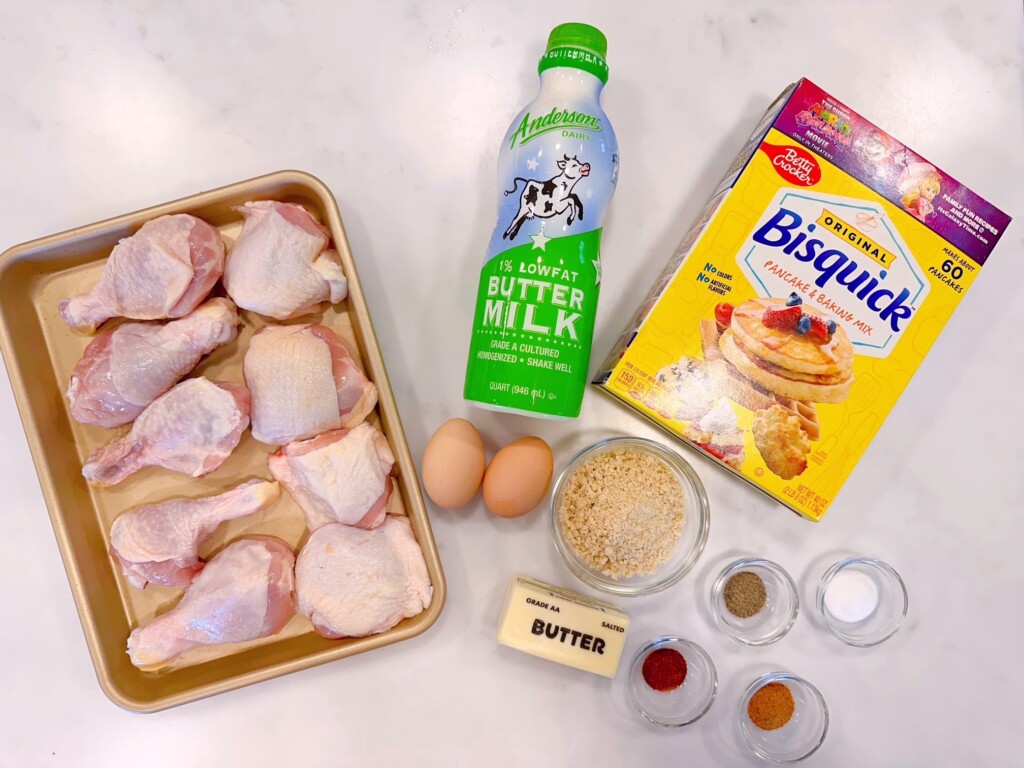
Ingredients For Bisquick Crispy Oven Fried Chicken
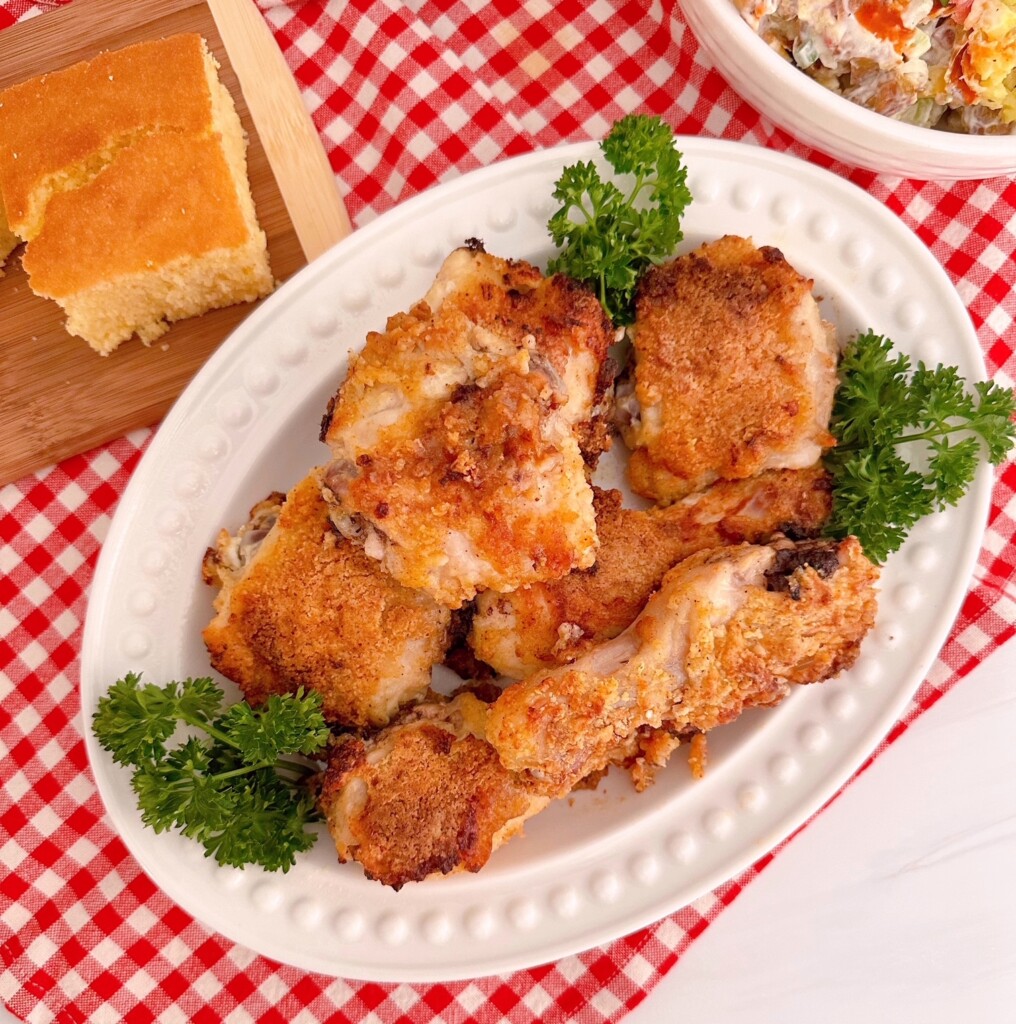
- 3 lbs. chicken, cut up. I like to use chicken legs and thighs
- 3 cups buttermilk (optional)
- 1 cup Bisquick
- ½ cup Panko Breadcrumbs
- 4 Tablespoons butter
- 1 teaspoon salt
- 1 teaspoon all-purpose seasoning
- 1 teaspoon smoked paprika
- ¼ teaspoon black pepper
- 2 large eggs
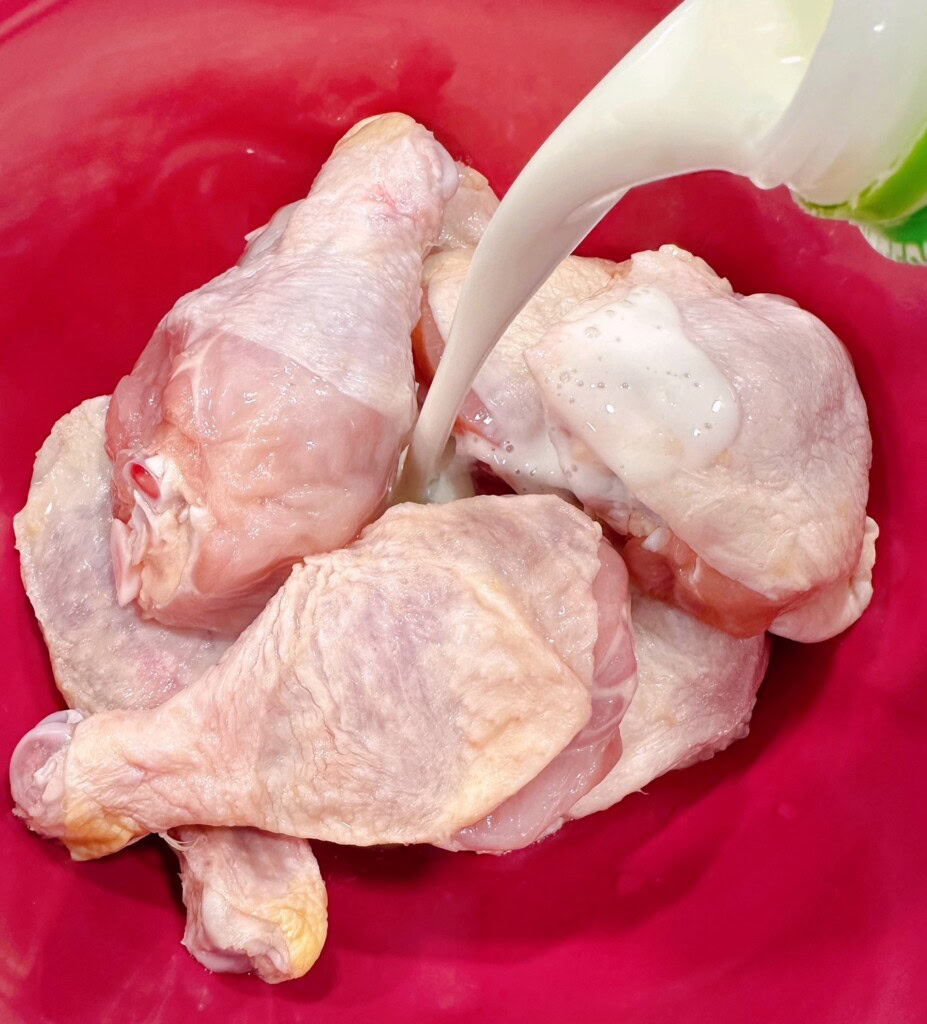
Preparing The Chicken: Tips For Juicy Results
If there’s one little secret that makes all the difference with this Bisquick Oven Fried Chicken, it’s giving that chicken a bit of TLC before it ever meets the coating. I like to pat my chicken pieces dry (don’t skip this, it helps the coating stick like it means it). Soaking your chicken in a buttermilk bath is a must if possible. Nothing fancy, just good ol’ buttermilk working its magic to tenderize and lock in moisture. I recommend soaking at least 4 hours or overnight. The result? Chicken that’s juicy on the inside and still crisp on the outside… which, let’s be honest, is the whole goal here.
Another little trick is not overcrowding your pan. I know it’s tempting to squeeze every last piece in there, but give them some breathing room so the heat can circulate and crisp things up properly.
And don’t be shy with the melted butter in the pan! This is oven-fried chicken after all, and that buttery base helps create that golden, flavorful crust while keeping the meat nice and juicy. Trust me, these simple steps are the difference between a “pretty good chicken” and “Hey, did the Colonel die?” kind of chicken.
Preheating Oven and Preparing Baking Dish
Preheat the oven to 425°(F). In a 9 x 13 baking dish, add butter and melt in the oven.
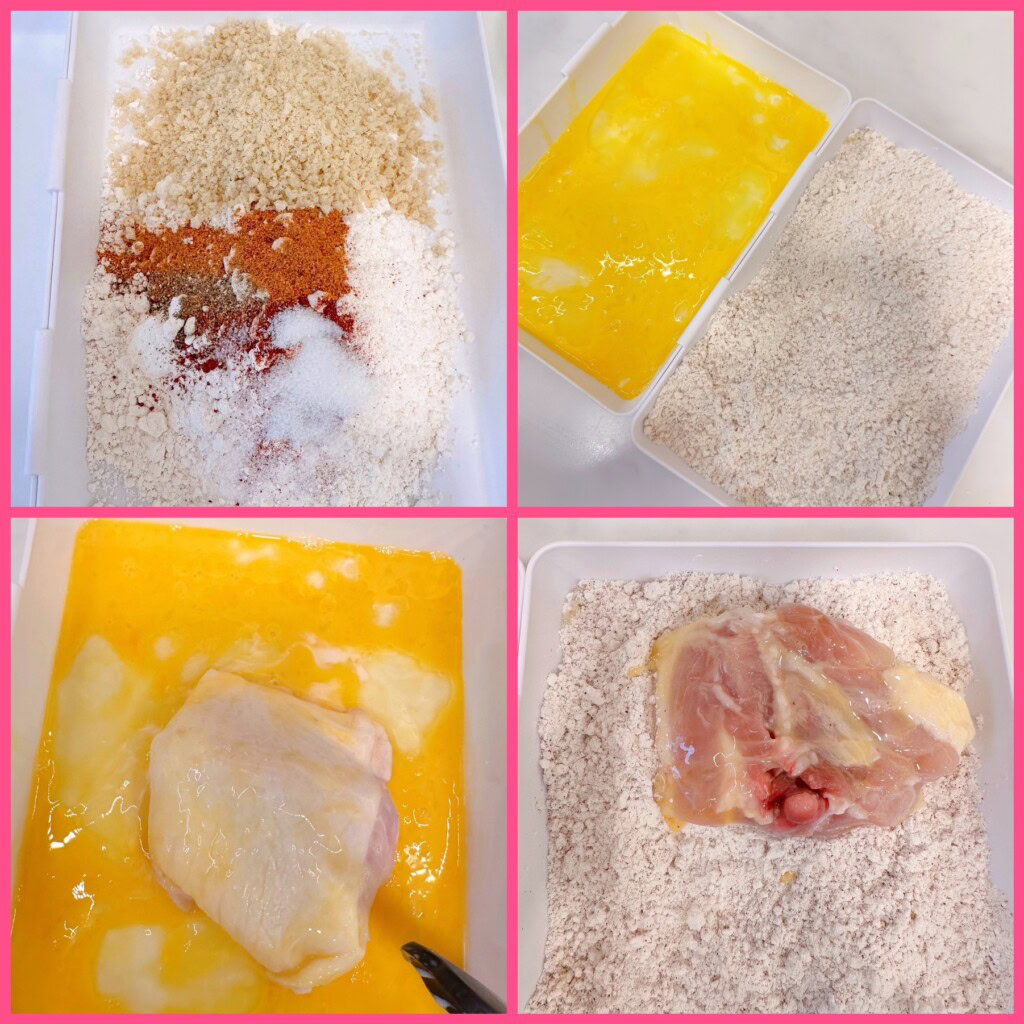
Coating The Chicken With Bisquick Mix
In a dredging dish, or shallow pan, combine Bisquick mix, panko breadcrumbs, salt, pepper, smoked paprika and all-purpose seasoning. Mix with a fork, or small whisk, until well blended.
In another dredging dish, or shallow pie plate, beat two eggs.
Remove chicken from the buttermilk bath and pat dry. Dip each piece of chicken into the egg bath and then coat in the flour and breadcrumb mixture. Be sure to coat the front and back of each piece of chicken.
Cooking Time For Perfect Crispiness
Place the coated chicken skin side down in the hot butter.
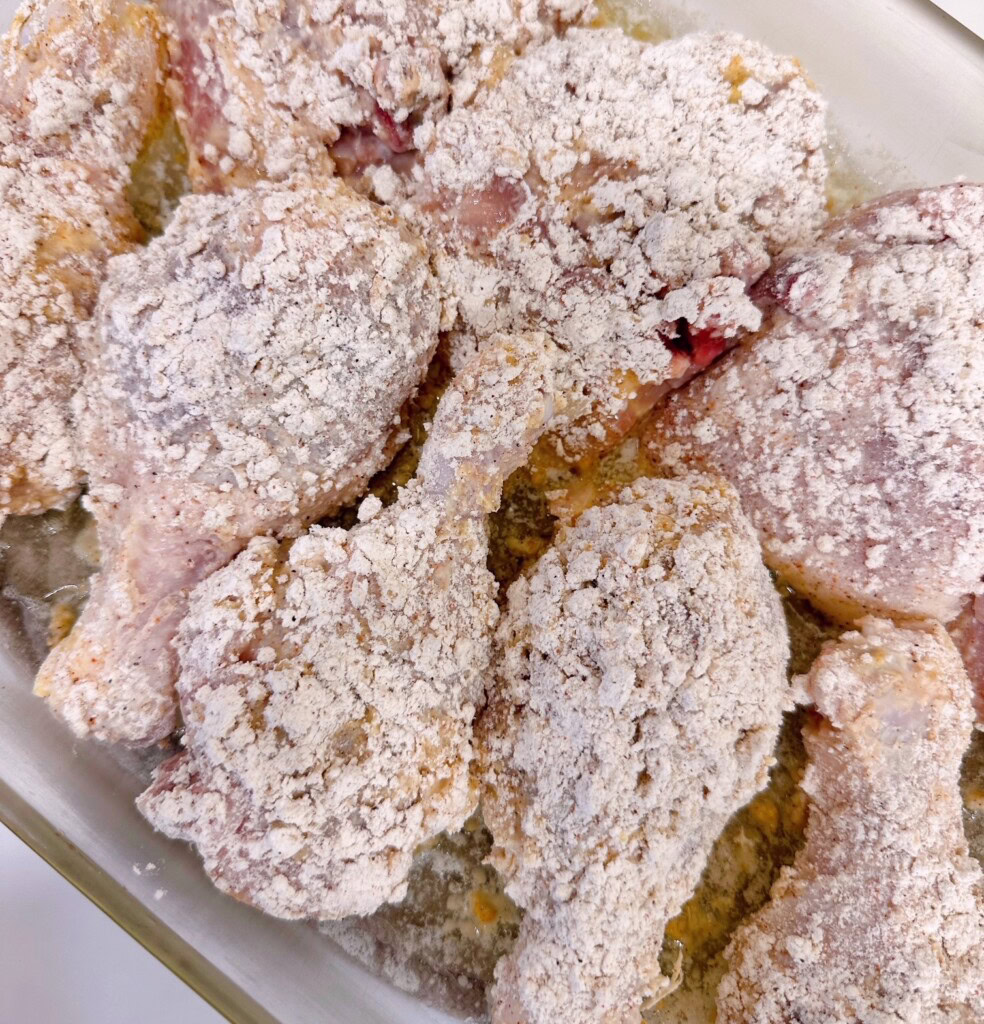
Place the coated chicken in the center rack of the preheated oven. Bake for 35 minutes. Slide a spatula under each piece of chicken and carefully turn them over and bake for another 15–20 minutes.
Using a digital thermometer to check for an internal temperature of 165°.

Remove the baked chicken and let cool for 10 minutes before serving.
Tips For Achieving Extra Crunch Without Deep Frying
If you’re chasing that extra crunch…the kind that makes you close your eyes for a second after the first bite, there are a few easy tricks that take this Bisquick Oven Fried Chicken from good to “don’t mind me, I’ll just have one more piece.” First up, let that coated chicken rest for about 10–15 minutes before it goes into the oven. I know it sounds fussy, but it gives the coating time to really stick, which means less of it sliding off and more of it crisping up beautifully.
Let’s talk heat and butter…because they’re your best friends here. Make sure your oven is fully preheated (no sneaking the pan in early!), and pop your baking dish with the melted butter in the oven for a few minutes so it’s hot when the chicken hits it. You should hear a little sizzle…that’s the sound of crunch in the making. And don’t turn the chicken too soon; give it time to develop that golden crust before flipping.
One last little trick I swear by? A light spritz of cooking spray right over the top of the coated chicken before baking. It helps mimic that fried texture without a drop of oil splatter on your stovetop. Add all that together, and you’ve got crispy, golden, oven-fried chicken that’ll have everyone wondering if you secretly deep fried it when no one was looking.
Serving Suggestions And Side Dishes
When this Bisquick Oven Fried Chicken comes out of the oven all golden and crispy, it practically begs for a few good friends on the plate. I’m talking about those classic, no-fuss sides that know their role and play it well.
A big scoop of creamy mashed potatoes with a little gravy never hurt anybody, and if there’s a buttery biscuit nearby, or a big piece of my buttery sweet cornbread, to catch every last drop… well, I’m not stopping you. Toss in some sweet corn, green beans, or a crisp garden salad and suddenly dinner looks like you planned it all day, even if you didn’t.
If you want to keep things a little lighter (or at least feel like you are), this chicken pairs beautifully with a tangy coleslaw or a bright pasta salad. That crunchy coating next to something cool and refreshing? It’s a match made in weeknight dinner heaven.
Don’t forget that this chicken is just as happy at a picnic table as it is at your kitchen table. Pack it up with potato salad and fresh fruit, and you’ve got yourself a meal that travels well and disappears fast… so you might want to snag your piece early.
Troubleshooting Common Issues
Every now and then, even the best recipes like this Bisquick Oven Fried Chicken can have a “moment.” Don’t worry, it happens to all of us. The good news is most of the common hiccups are easy fixes, and once you know what to watch for, you’ll be turning out crispy, juicy chicken like a pro every time.
If your coating isn’t sticking, chances are the chicken was a little too wet or skipped that quick rest before baking. A good pat dry before dipping in the egg wash, and letting the coated pieces sit for a few minutes helps everything cling like it should.
On the flip side, if your crust is there but just not crispy enough, it’s usually an oven or spacing issue. Make sure your oven is fully preheated (no shortcuts here!) and give those pieces room to breathe, crowded chicken steams instead of crisps, and nobody invited soggy to dinner.
Now, if your chicken is browning too fast but not cooking through, that’s your oven running a little hot. You can loosely tent it with foil and let it finish cooking without overdoing the outside. And if it turns out a bit dry, it’s often just a case of overbaking or using smaller pieces that cook faster. Next time, pull it a few minutes earlier or check for doneness sooner. This is where an oven thermometer really comes in handy!
Bottom line? This recipe is wonderfully forgiving. Even if it’s not picture-perfect the first time, it’s still going to be downright delicious, and honestly, a slightly imperfect piece of crispy chicken still disappears pretty fast around most dinner tables.
Conclusion: Enjoying Healthier Crispy Chicken At Home
There’s something downright satisfying about the older recipes Grandma came up with. Biting into that crispy chicken and knowing you didn’t have to haul out a deep fryer, or deal with the aftermath clean-up is a huge win. (Grandma knew what she was doing friends!)
This Bisquick Oven Fried Chicken gives you all that golden, crunchy goodness with a whole lot less oil, which means you can enjoy every bite without that “maybe I shouldn’t have…” feeling sneaking in halfway through dinner. It’s one of those little kitchen wins where comfort food and a lighter approach meet right in the middle, and everybody at the table is happy about it.
Other Favorite Chicken Recipes
- Chicken Fried Chicken with Creamy Country Gravy
- Buttermilk Pecan Chicken
- BBQ Cherry Dr Pepper Chicken
- Grilled Jerk Chicken Recipe
- Honey Garlic Chicken Thighs
- 15 One Pan Chicken Recipes from Allrecipes.com
What I love most about this recipe is that it doesn’t feel like a compromise. You’re still getting juicy, flavorful chicken with that irresistible crunch, just made a bit smarter in the oven instead of a pot of oil.
Pair it with fresh sides, keep the portions generous (because we’re not counting crumbs here), and you’ve got a meal that feels both indulgent and balanced. It’s proof that “better for you” can still taste like something you’d happily serve again and again!
Happy Nesting Friends!

Printable Recipe Card

Bisquick Oven Fried Chicken
Ingredients
- 3 pounds chicken cut up
- 3 cups buttermilk optional
- 1 cup Bisquick
- ½ cup Panko breadcrumbs
- 4 tbsp butter melted
- 1 tsp salt
- 1 tsp smoked paprika
- 1 tsp all-purpose seasoning
- ¼ tsp pepper
- 2 large eggs
Instructions
- Place chicken in a large bowl and cover with buttermilk. Allow chicken to soak for 4 hours or overnight. (This step is optional but highly recommended for tender juicy chicken)
- Preheat oven to 425°. In a 9×13 baking dish, melt butter in the oven. While the butter is melting, pat chicken pieces dry.
- In a dredging dish, or shallow pan, combine Bisquick, panko breadcrumbs, salt, pepper, smoked paprika, and all-purpose seasoning blend. Mix until well combined. In a separate bowl, beat two eggs. Dip the patted dry chicken into the egg wash and then coat in the Bisquick mix.
- Place chicken, skin side down, in the hot baking dish with melted butter. Bake for 35 minutes in preheated oven. Using a spatula, carefully turn each piece of chicken over and bake for an additional 15–20 minutes. Check with a digital thermometer for the internal temperature of 165°. Remove from oven and let sit 5–10 minutes before serving.
Nutrition

Meet the Author
Hi! I’m Norine, the cook, baker, and recipe creator behind Norine’s Nest. I love sharing and creating recipes that invite family, friends, and neighbors to gather around the dinner table. Sharing good food and creating memories with those we love brings me happiness. Thanks for stopping by my Nest!