Sweet and Sour Chicken

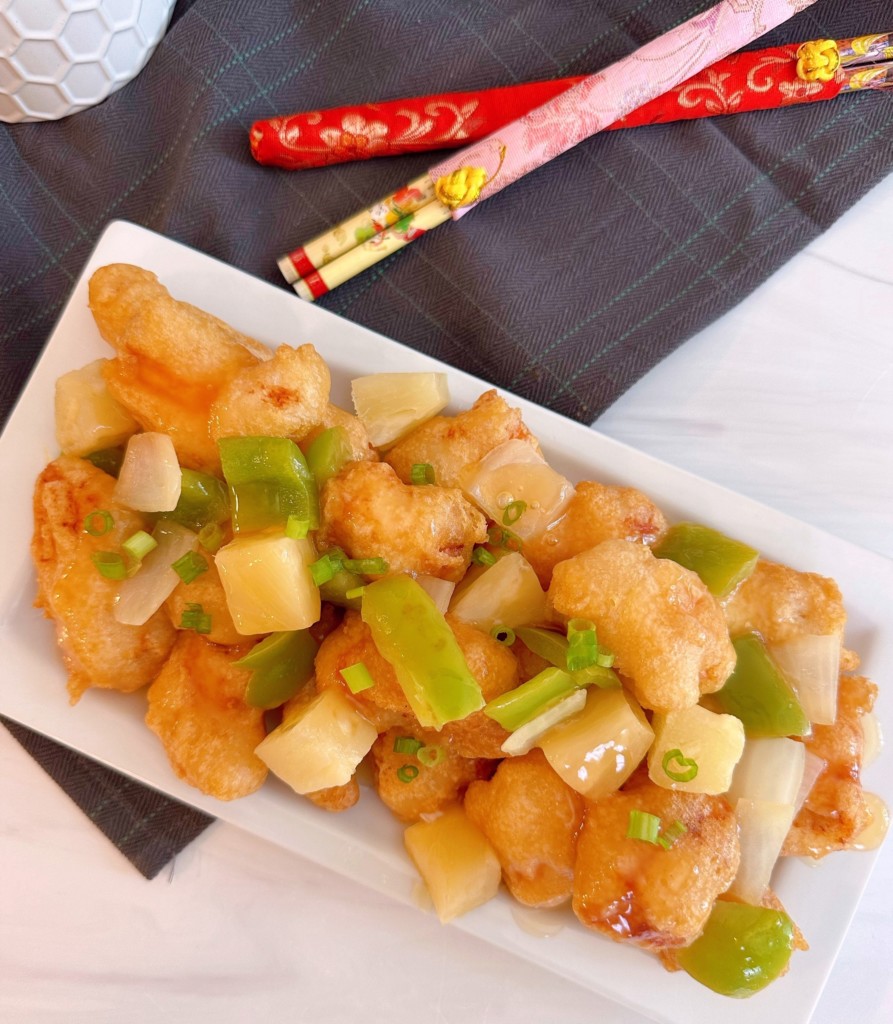
Tender, juicy chicken nuggets dipped in a light batter and fried to a golden crisp, served with a homemade sweet and sour sauce and sprinkled with fresh vegetables. Served over fried rice, they come together in this outstanding Sweet and Sour Chicken!

Yesterday, I decided to treat myself and drove through the only Chinese food place we have here in Country Town, U.S.A. Boy was I disappointed! Don’t get me wrong, I love my small town life. Living life in a small country town is full of so many perks, but one major drawback is finding good…excellent… Chinese food!
We have two choices when it comes to fulfilling Chinese cravings… One, a major national chain which is hit or miss some days, like yesterday when my fortune cookie had no fortune! (Say What?!!! I mean, seriously, I deserve my future happiness told on a piece of paper in a cookie if I’m buying!) The other…we won’t discuss.
This sad tale of woe, sniff-sniff, led to the “great sweet and sour chicken” hunt of 2012! Eureka! I struck “gold”…well…more or less! (In case you are wondering... It was followed by the marvelous walnut shrimp hunt of 2013! That’s a story for another day!)
Let’s get cooking friends! Here’s a list of the ingredients you’ll need. Please note that you do not have to add the vegetables if you’re not a fan!
Ingredients
- 1 (8 ounce) can pineapple chunks, drained (juice reserved)
- 1 green bell pepper, cut into 1 inch pieces—optional
- 1 medium onion diced into 1 inch pieces—optional
- ¼ cup cornstarch
- 1½ cup water, divided into 1¼ and ¼ cups
- ¾ cup white sugar
- ½ cup distilled white vinegar
- 2 drops of orange food coloring (optional)
- 6–8 skinless, boneless chicken breasts cut into 1 inch chunks
- 2¼ cups self-rising flour
- 2 tablespoons vegetable oil
- 2 tablespoons cornstarch
- ½ teaspoon salt
- ¼ teaspoon ground white pepper, you can substitute black
- 1 large egg
- 1½ – 2 cups icy cold water
- 1 quart vegetable oil for frying

Instructions on How to Make Sweet and Sour Chicken
Step One: Sweet and Sour Sauce & Veggies
First up is the sweet and sour sauce. Drain the canned pineapple, reserving the juice.
TIP: I pour mine into a strainer over a bowl and let it sit while I get the other ingredients together.
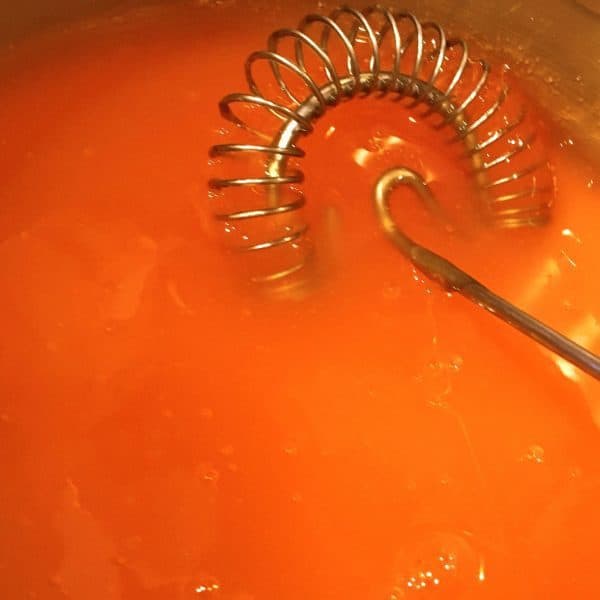
In a medium sauce pan, combine the water, sugar, vinegar (see tip below), and the reserved pineapple juice, plus orange food coloring (If you don’t have orange…red + yellow makes orange. One to two drops of each should do ya!). Heat over medium-high heat to boiling. Turn off the heat.
Combine the cornstarch and another ¼ cup water, slowly stir into the sauce pan with the other ingredients. Continue stirring until the mixture thickens.
Tip: I only add about half the vinegar called for in the recipe and taste test it. If it isn’t sour enough, I add a little more. You can always add more, but you can’t “un-sour” (My English teacher just rolled over in her grave poor thing) it once you’ve dumped the vinegar in.
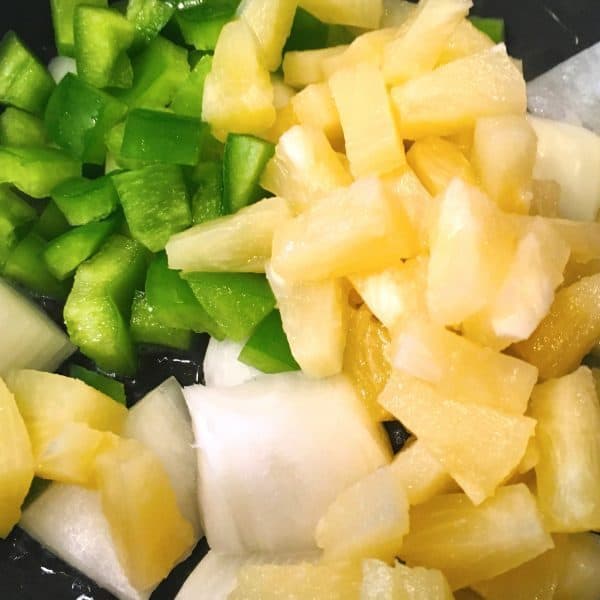
Vegetables
This next step is completely optional. If your family doesn’t like vegetables in their sweet and sour chicken, just skip this step, but you’ll still need that pineapple juice for the sauce.
Next, in a small skillet, sauté the veggies until slightly tender and crispy. Cool and set off to the side.
Step Two: How to Make Homemade Tempura Batter
Cut chicken breast into bite-sized chunks.
It’s tempura time. In my opinion, this is one of the BEST homemade tempura batters ever in the history of homemade tempura. It’s light and crispy and frankly…perfect!
In a large bowl, combine the self-rising flour, oil, cornstarch, salt, white pepper (I use black, little flecks don’t bother me. It’s a personal choice.), and the egg. Blend.
Add 1½ – 2 cups of icy cold water gradually to make a batter that is about the same consistency of pancake batter. I use all the water in my batter.
Tip: Always use self-rising flour! The elements of self-rising flour, corn starch, and icy cold water combine, which are what makes this a light, fluffy, crispy tempura batter.
Step Three: Coating the Chicken
Just a FYI. You don’t want the tempura batter too thick, and you don’t want it too runny. Somewhere in the middle is perfect. (Think pancake batter texture)
Dump all the chicken pieces into the batter, stir to coat.
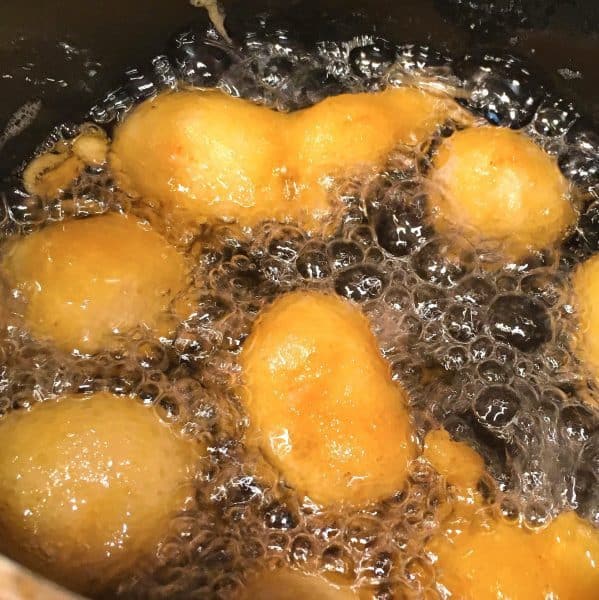
Step Four: Deep Frying Tempura Chicken
In a heavy pot, I like to use a ceramic coated cast iron pot, add 2–3 inches of vegetable oil. Heat the oil over medium-high heat until it reaches a temperature of 360°. I can’t stress enough how important it is that you check the temperature of your oil BEFORE you begin frying.
TIP: I use a large cast iron pot for several reasons. First, whenever working with HOT OIL, you want a heavy pot or pan that will not easily tip over! Second, a large deep pot reduces the amount of splatter on my stove top! ALWAYS be sure the handles are facing AWAY from you during frying and ALWAYS use extreme caution when cooking with HOT OIL!
Carefully lift the coated chicken out with a fork and place in the hot oil.
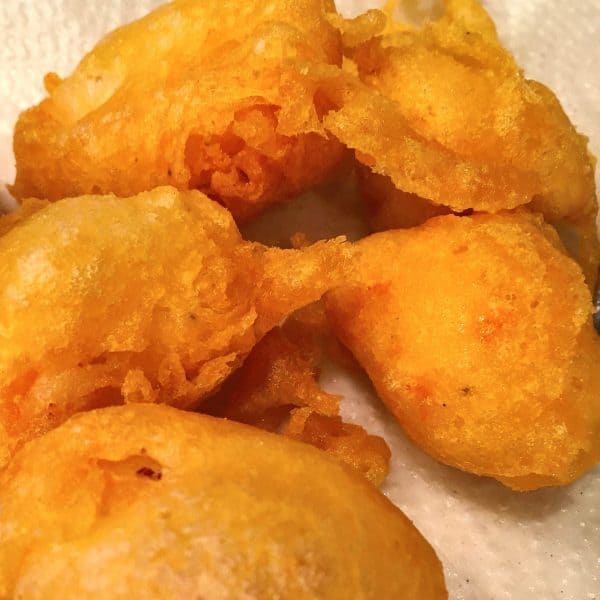
Fry the chicken in hot oil until golden, flipping and turning halfway through the cooking process, then remove with a steel spider skimmer, or similar fry scoop.
Place fried chicken on a plate lined with paper towels.
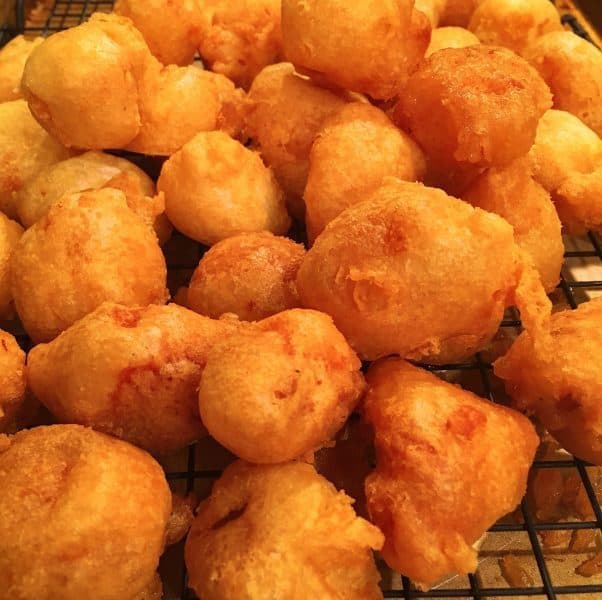
TIP: I place an oblong cake cooling rack on my cookie sheet and transfer the cooked drained pieces onto the rack and keep them in the oven set on a low temperature of about 200 or less. Just enough to keep it all hot.
It does take several different batches to get all that chicken cooked, but it stays perfectly crispy and hot in the warm oven on top of the cake rack.
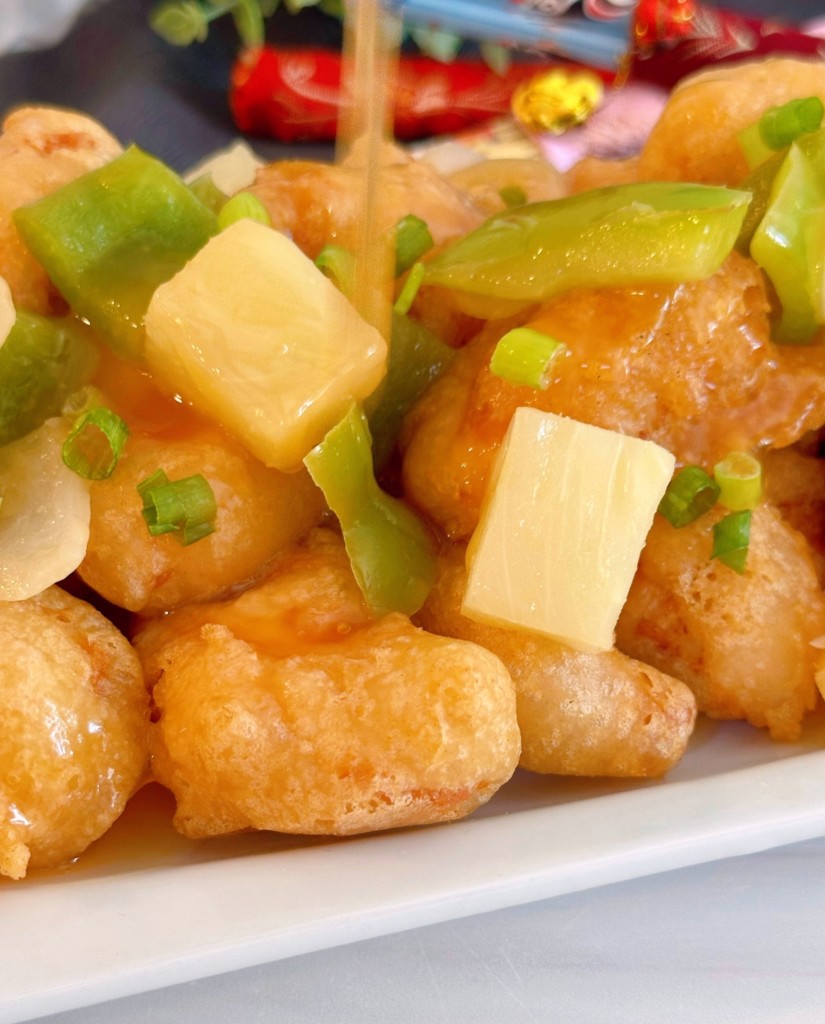
Bringing it all together
Once you have fried all the chicken pieces to golden perfection, place them on a large serving platter and top with the reserved veggies and drizzle with that luscious sweet and sour sauce.
This is better than any sweet and sour chicken you can order in a restaurant! You will love this recipe and be surprised how simple it is to make your own Chinese food.
I wish I had had this yesterday instead of my “fortune less” drive-thru lunch! In fact, I wish I had it now! Lol
This recipe doesn’t come with a “fortune” per se, but you will be so “fortunate” to have this for dinner at your Nest! (Come on…cut a girl some slack…how do I pass up a word play like that?!)
Recipe Wrap-Up
Granted, this recipe takes a little prep, but in my humble opinion, it’s worth the extra effort. That batter is so light and crispy and that sauce is the perfect balance of sweet and sour! Once I start nibbling on this chicken, I can’t seem to stop!
I serve mine with fried rice. I love this easy to make version. You can also pair it with my yummy Egg Foo Yung!

Favorite Family Chicken Recipes
- Chicken Fried Chicken with Country Gravy
- Crispy Parmesan Oven Fried Chicken
- Roasted Spatchcock Chicken
- Roasted Rotisserie Sticky Chicken
- Buttermilk Pecan Chicken
- Traditional Southern Fried Chicken from Julia’s Simply Southern
Thanks for stopping by, and I hope if you are craving sweet and sour you’ll take the time to make this homemade version.

Printable Recipe Card

Sweet and Sour Chicken
Ingredients
- 1- 8 ounce can pineapple chunks, drained (juice reserved)
- 1 green bell pepper cut into 1 inch pieces, optional
- 1 medium onion cut into 1 inch pieces, optional
- ¼ cup cornstarch
- 1½ cups water
- ¾ cup white sugar
- ½ cup distilled white vinegar
- 2 drops of orange food coloring
- 6-8 skinless boneless chicken breast halves-cut into 1 inch cubes
- 2¼ cups self-rising flour
- 2 tablespoons of vegetable oil
- 2 Tablespoons cornstarch
- ½ teaspoon salt
- ¼ teaspoon ground white pepper you can use black.
- 1 egg
- 2 cups water, icy cold
- 1 quart vegetable oil for frying.
Instructions
- In a sauce pan, combine 1½ cups of water, sugar, vinegar, reserved pineapple juice, and orange food coloring. Heat to boiling. Turn off the heat. Combine ¼ cup cornstarch and ¼ cup water; slowly stir into sauce pan. Continue stirring until the mixture thickens.
- In a small skillet with a tiny bit of cooking oil, saute the bell pepper, onions and pineapple till tender and crispy over high heat for about 2–3 minutes. Stirring frequently. Set aside.
- Combine flour, 2 tablespoons of oil, 2 tablespoons of cornstarch, salt, white pepper, and egg. Add 1½-2 cups of water gradually to make a thick batter. Stir to blend thoroughly. Add the chicken pieces, and stir until coated.
- Heat the oil in a sauce pan to 360° degrees. Fry the chicken pieces in hot oil until golden. Remove the chicken, and drain on a paper towel. Once drained, place them on a baking sheet, or on a cake rack over a baking sheet, in a 200°degree oven till ready to serve. (Placing them on the cake rack prevents them from cooking more on the side lying on the cooking sheet)
- Once all the pieces are cooked, and you are ready to serve, place the green peppers, onion, and pineapple chunks, and the cooked chicken pieces on a platter. Pour the hot sweet and sour sauce over top. Serve immediately.
Nutrition
About the Author

Meet the Author
Hi! I’m Norine, the cook, baker, and recipe creator behind Norine’s Nest. I love sharing and creating recipes that invite family, friends, and neighbors to gather around the dinner table. Sharing good food and creating memories with those we love brings me happiness. Thanks for stopping by my Nest!


These turned out fabulous! Thank you for the wonderful recipe. When my mom asks for seconds, I know it’s good! 👍🏽👍🏽
Hi Anna!
I love that Mom asked for seconds! Thanks Mom! Also…I love this recipe and have been craving it! I need to make it for New Years.
Thanks for visiting. Come back soon!
Norine
Best recipe ever..tried this and it was superb..thanks for sharing.
Hi Janelle!
I’ve been wanting to make this for dinner the last week! My kids love this Sweet and Sour more than going out! I’m so glad you liked it! Thanks for stopping by and sharing with me. You made my day!
Have a great week!
Norine
Tried it and LOVED it. Best I have had so far. Can’t find your fried rice recipe though.
Hi Jim!
Thank you so much and can we just have a moment of silence for that Email address of yours! A fellow Dr Pepper lover is my kind of foodie friend.
Let me grab the link for the fried rice recipe. Sorry. I thought that was in with the sweet and sour chicken. Here you go https://www.norinesnest.com/easy-fried-rice/ Also there is a search bar at the top of the website that will allow you to search and find almost any recipe on my site. Hope that helps. Thanks for stopping by and I hope you’ll come back again soon!
Norine
Haven’t made this yet but I’m giving it a try tomorrow night. Just wanted to let you know, not getting a fortune in your cookie is the ultimate in good luck as far as fortune cookies go. It means you are special and your fate cannot be determined. Anyways, I hope my chicken balls turn out as delicious as these sound. 😁
Hi Rita!
Thanks for sharing that with me. I feel extra lucky now!!! Hope you enjoyed this recipe as much as we do at this Nest! Have a Great weekend and come back soon.
~Norine
Hi! Do you think this recipe would work with boneless chicken thigh pieces?
Hi Daniella!
Yes! It will work perfectly with boneless chicken thigh pieces. Most Sweet and Sour recipes call for boneless chicken thighs I just always have chicken breast on hand…but this will work great! Enjoy and thanks so much for visiting with me. Hope you have a great week.
~Norine
Well organized. I used self rising corn meal. It turned out fantastic. The batter was nice and light, and the sauce was excellent. We will save this one, and use it often. Thanks. Richard
Hi Richard!
I love the idea of using self-rising corn flour! I’m going to have to try that soon! I just made this last week and we ate every last bite! It cured the cravings for Chinese take-out. Thanks so much for stopping by and sharing with us. Have a great week.
~Norine
This looks amazing. Thanks for sharing! I do miss Chinese food, too. Having lived in big cities, we were spoiled with Chinese delivery, too! Make sure to share your shrimp walnut recipe. 😉
I promise I will Carrie! You are my kind of gal! Thanks for your sweet comments and encouragement! Have a Great Day! 🙂